The Best Underlayment For Laminate Flooring Is Budget-Friendly & Easy To Install
Affordable, durable, and attractive, laminate flooring remains as popular as ever, especially with DIYers due to its effortless click lock installation. Today's laminates are more resilient and look more authentic than ever. Yet, many of the old complaints persist. Even with many products boasting attached underlayment to save you time and effort, these still don't offer the complete sound absorption and water-resistance that laminate can often only get in the form of a traditional underlayment. The extra layer smooths over bumps and other imperfections in the subfloor. Toss in moisture prevention to keep the boards from warping or degrading, and you'll ensure maximum comfort and longevity from your floor.
Adding another step to the process can seemingly diminish laminate's benefits. But that isn't always the case if you pick the best types of underlayment for laminate floors. Options like cork provide exceptional sound-dampening in an eco-friendly medium, while felt creates a heavy layer to block water and create a more level floor. At the top of the list, though, is high-density foam. A high-density foam underlayment checks off all the right boxes, offering a durable, supportive sub layer at budget-friendly prices. Compared to low-density polyethylene foams, a high-density variety delivers superior sound-dampening with less compression and better stability under heavy foot traffic. With an attached vapor barrier, it has everything needed for lasting performance, especially over concrete and other sub-flooring that hold moisture. Best of all, it can be easy to install, making any DIY attempt a stress-free and satisfying experience.
How to install foam underlayment for laminate flooring
The installation process is one of the most crucial things to know when buying flooring underlayment, and it's one of the many areas where high-density foam varieties shine. Sweep and vacuum your subfloor. Remove any old nails, staples, and other fasteners in the floor, and level high and low points for a smoother, more stable surface.
Foam underlayment rolls often have a plastic strip on one edge and a tape line near the opposite edge. Unroll it so the tape side is facing up. Begin laying the underlayment along the longest wall. Orient it according to your manufacturer's directions. Butt it up against the wall, and run it from one end of the room to the other. Do another run next to the first. Remove the protective tape from the adhesive strip on the first row. Carefully lay the plastic strip of the second row along it, sealing the seam between the pieces. The foam portion of both pieces should butt against each other but not overlap, or you'll have a bump messing up your laminate flooring.
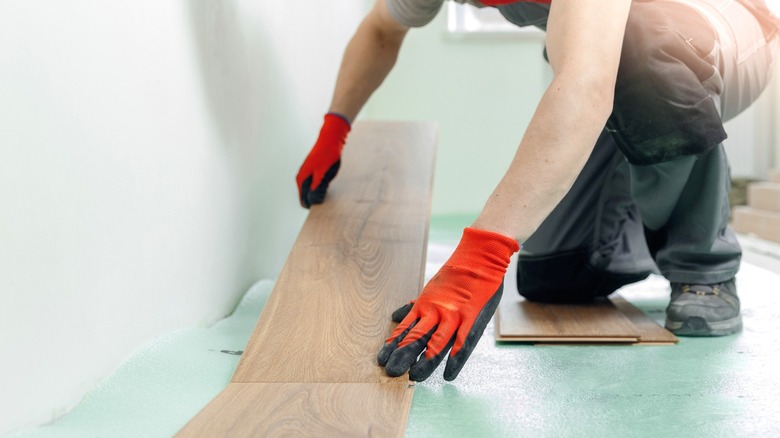
Continue laying rows of underlayment until the floor is covered. Use a utility knife to cut around vents and other features and remove excess at the ends of the runs. Tape any open or damage seams with packing or duct tape. With the underlayment in place, you can turn your focus to installing the laminate flooring and completing a clean, reliable installation.