What You Need To Know To Install Laminate Flooring

Laminate flooring is a great option for many homeowners because they are cheaper than solid hardwood flooring options, yet they look and feel very much the same. Compared to vinyl and other options, laminate flooring provides better resale value than many comparable installations as well, International Decorative Surfaces says.
Another feature that sets laminate flooring apart from many other choices is the ease with which a homeowner can install the planks without the expensive assistance of a professional installer. Laminate flooring planks are DIY-friendly, and with a few key knowledge elements brought into the project, you can select great planks and install them in your home over the course of a few days (or weekends, depending on the magnitude of the project).
Even a homeowner with little DIY experience can install their own laminate flooring with a patient and steady process. Building this feature on your own will give you a sense of pride that's hard to find with other typical homeownership tasks. Realtor Magazine reports that self-guided home improvement projects are great for your mental health, as well as the wellness and value of the home itself.
1. Select appropriate laminate planks for your room
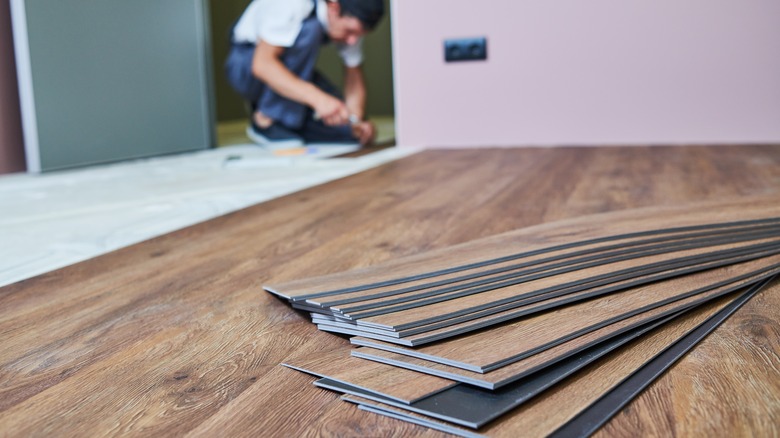
The first step to installing new laminate flooring is the selection of planking that works for your needs. Forbes Advisor notes that laminate flooring comes in a collage of color options and construction materials. Laminate flooring provides a watertight seal akin to tiles that can often be found in kitchens and bathrooms. Yet, with the versatility of laminates, you can add a touch of wood feel to any room in the house without worrying about spills, moisture, or other similar issues that often require less luxurious alternatives to combat.
2. Laminate core construction can dictate your decision
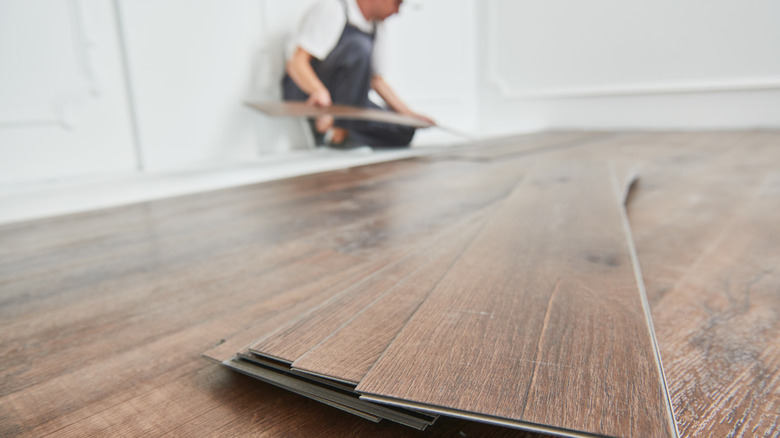
Selecting laminates based on core construction and thickness is the best place to begin when shifting to a new flooring option (via Forbes Advisor). Matching your needs and budget with the type of laminate that best fits your home will set you on the right path when selecting the planks. Then, consider the undertones of your room (or rooms) and work to match the color palette of your laminate selection with those hues.
3. Purchase the flooring planks and additional tools
The final component here is purchasing the required laminate flooring planks and materials. This Old House notes that in addition to the floorboards themselves, you'll want to invest in a flooring installation kit, levels, hammers, clamps, an effective saw (a circular saw or table saw), a multitool for careful removal of wall and jamb material, as well as a carpenter's square or speed square. Ensure that you've bought all the required materials before even considering starting the removal of old flooring or preparation work for the new installation.
4. Clear away the old flooring
To properly install laminate flooring, you must do some preparation work, This Old House explains. With laminates and some other installations, you may be able to lay the new flooring on top of existing flooring elements. Opting for this method can make the installation process faster and may even give you the option to quickly remove the overlayer and expose a well-maintained alternative. With carpeting, you won't be able to do this, and you should typically remove old flooring elements entirely to make way for a sturdy installation of your new laminate planking.
5. Prepare the subfloor and acclimate the laminate floorboards
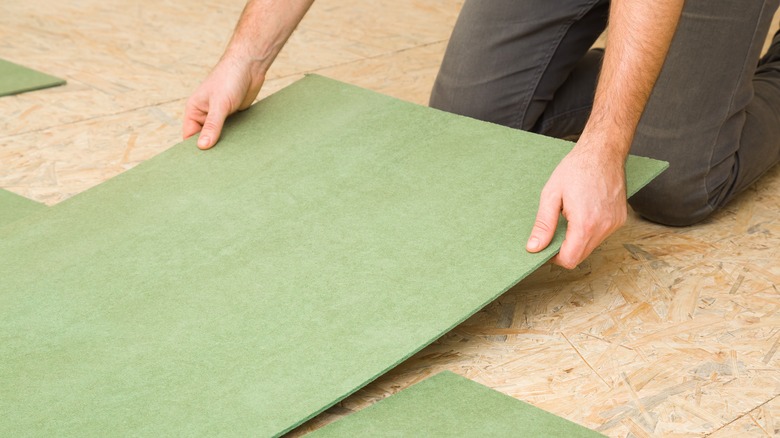
You'll then need to clean the surface to prepare the space for a level and snug fit for the new planks (via This Old House). Besides cleaning, you will need to leave the boards in the room they will occupy for at least two days before beginning the installation process. This is because various woods will swell and contract with the routine change in temperature and humidity throughout the year, so a 48-hour acclimation period is critical to preventing any warping during or after the installation of the boards.
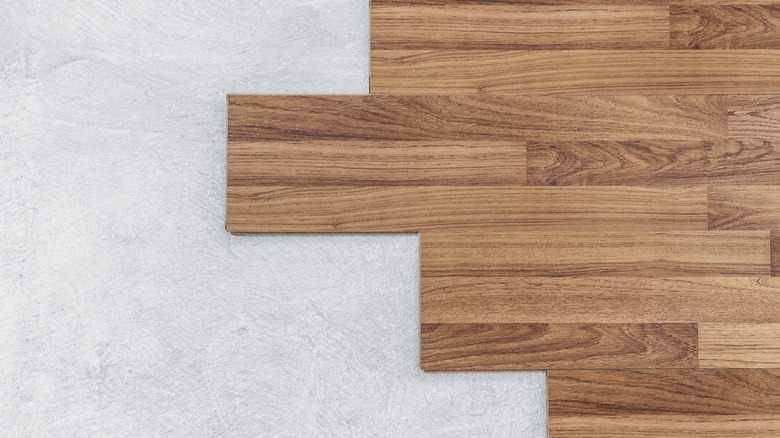
6. Measure the tricky sections

You can be sure that a perfect fit with each board won't be possible. Staggering the boards to create a natural plank effect will, at the very least, require you to cut the boards to varying lengths to install individual rows against one another. It's a good idea to measure the room and get a sense of where you may run into some difficulties or particularly tricky sections (via This Old House). Working around door jambs is one part of the job that will require a little forethought and additional cuts.
7. Cut boards, baseboards, door jambs, and underlayment as needed
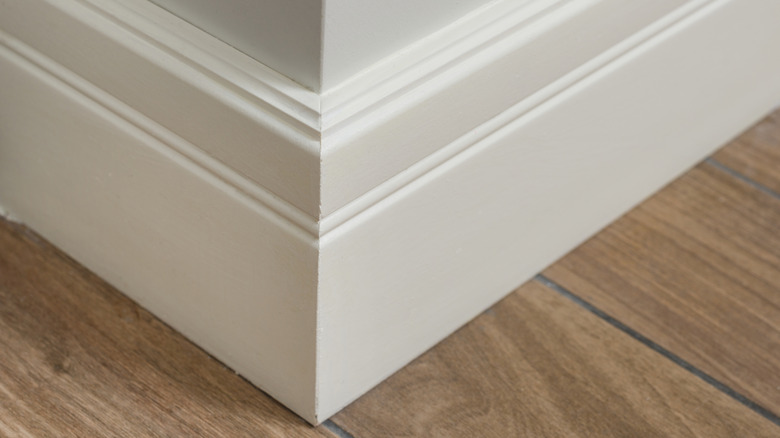
New laminate installation is done more smoothly if you remove baseboards, include an underlayment (and moisture barrier), and cut sections of jutting door jambs rather than the laminate planks themselves. Using a multitool is the best way to accomplish these tricky cuts. The Honest Carpenter calls the multitool the best saw on the market and notes that these easy-to-use cutting devices provide a precision cut and a flat blade that can be worked around any type of difficult corner or delicate space.
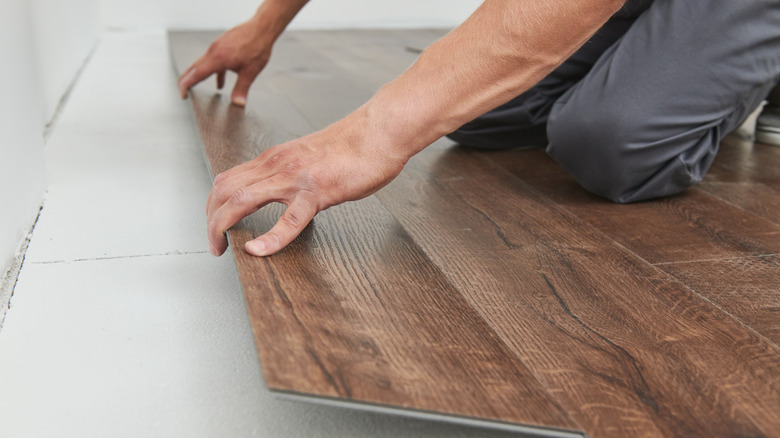
8. Lay your first row along a long wall or primary feature
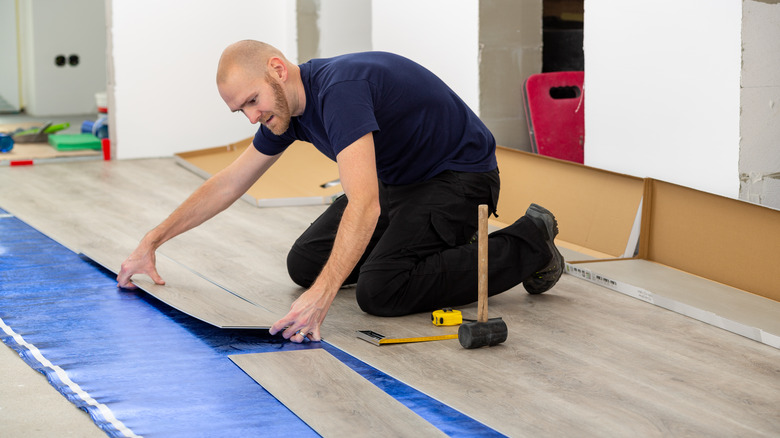
Laying the first row of your flooring will provide the guide for the remaining installation, so it's often a good idea to start along the longest wall. This Old House reports that a quality installation can also be done when factoring in a staple room piece. Beginning your installation there will bring the flooring and feature into focus together. Once you've completed this strip, staggering the next row so that long pieces are directly adjacent to shorter sections will give the laminate a classic wood flooring visual style.
9. Finish off the installation and let the room rest

Once done with the installation, it can be tempting to start replacing furniture in order to immediately enjoy the fruits of your labor and the brand-new environment. However, SG Wood Flooring recommends leaving the floor to continue its acclimation and adjustment period for at least 24 hours once it's been completely laid down. While these planks don't require the same timeline for installation and settling that solid hardwood floors do, giving the room a day to settle is crucial to finding lasting success with the installation.
10. Patience is key during this resting period
The planks are forged of wooden material and will continue to live and breathe in the room, changing structure in a minute way throughout the time the planking is retained in your home (via This Old House). Just like the necessary acclimation period before installing the boards, giving your room a day to settle once the boards have been placed in their proper location makes all the difference when completing this job. Maintain your patience at this stage to enjoy a long-lasting flooring installation that looks and feels fantastic.