The IKEA KALLAX Hack You'll Love If You're Short On Closet Storage Space
We may receive a commission on purchases made from links.
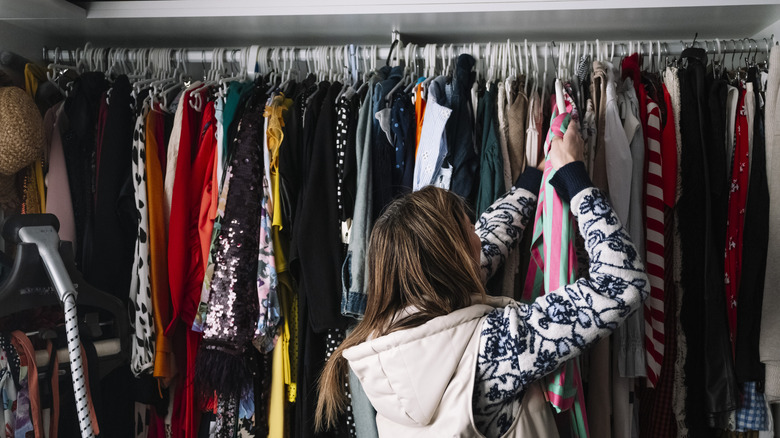
Running out of storage space in your closet can be a frustrating experience. There are a few simple tricks that you can employ to curtail the problem, such as buying thinner hangers or decluttering, but they're not always effective for completely overhauling the space. If you feel like the closets in your family's home have reached their limits, you can try building a new wardrobe for children's clothes with the help of an IKEA KALLAX shelving unit. To do this, you'll need to cut out a few of the shelves from one of the sides of the furnishing, and then install a clothing rail on the inside. You can also repaint the fixture and furnish it with a sliding barn door to ensure that it looks cute and chic. One stunning example of this hack comes from TikTok user fjhinteriors, who also installed a few KALLAX inserts and a handle low down on the door to make everything more functional.
If you have a KALLAX shelf at home and you'd like to try this hack, start by picking up wood filler, caulk, undercoat, and paint. You'll also need an MDF board that's large enough to cover the back of the shelving unit, a clothing rod, and some sturdy boards for propping the unit up a few inches. For the door, you'll need more MDF for both its surface and trim, plus some wood glue and barn door hardware. The completed project will make your bedroom more organized than ever.
How to turn an IKEA KALLAX into a freestanding wardrobe
To begin this project, sand down your KALLAX thoroughly with an orbital sander. Then, use a multi-tool cutter to remove the uppermost shelf from the side of the furnishing on which you'd like to hang the clothes. Removing the shelf will expose some of the gaps on the inside of the unit's paneling. Use wood filler and more sandpaper to restore the affected surfaces. Next, attach your large MDF board to the back of your KALLAX with a nail gun. Once that's done, caulk any remaining gaps on the inside, and prime the furnishing. Then, apply a layer of undercoat. Afterward, clean the surfaces with sugar soap to remove any lingering residue or grease. You can now paint your wardrobe.
After the paint dries, use your wood glue to attach your boards to the bottom of your wardrobe to elevate it a few inches. This allows your door to cover the full height of the KALLAX's face frame without rubbing against the floor. Now you should cut the door from your remaining MDF wood, and glue down a few planks to the sides of its front to make a trim. Paint everything to match the wardrobe, and attach the handle. Then, install the barn door hardware on the top edge of the cabinet, and hang the door. Lastly, install your rail inside the unit, near the top. You can use an adjustable clothes rail, or a tension rod instead.
Ways to customize your new KALLAX wardrobe
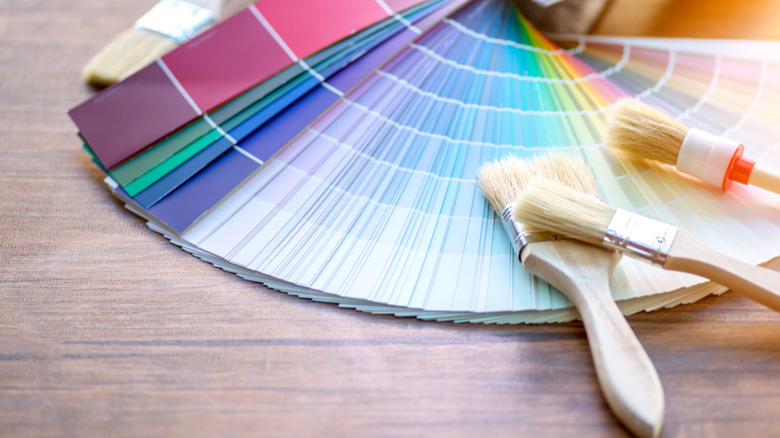
To alter the look of your new wardrobe so that it matches your bedroom's interior design, start by changing up the paint color. A neutral white or gray could be a good choice for spaces with a contemporary aesthetic. A warm brown or a burgundy red might better suit a more traditional interior. A muted, natural shade of blue, meanwhile, will make the furnishing look timeless in just about any home. To transform the wardrobe's shelves, you can try out the KALLAX inserts that fjhinteriors uses in the TikTok video, or purchase clear plastic dividers instead. Xydstay Acrylic Shelf Dividers, for example, will allow you to partition your shelves more freely, and might look a bit more seamless. If they don't appeal, try reading up on other ways to organize deep shelves around your home.
This wardrobe hack is great for creating a new space for kid's clothes, but if you want to use it for normal-sized shirts and blouses, you'll have to take the door off the design and move the curtain rod forward by 1-2 inches. This is because the KALLAX's shelves aren't quite deep enough to accommodate average-sized hangers. You'll also want to remove two shelves instead of one from the side that the clothes are going to hang on during the building process. However, even without the door, this project is still one of the best ways to keep clothes neat and organized while freeing up closet space.