Create Stylish Storage With A DIY Lego Shelf
Since 1949, the iconic brand Lego has delighted the masses with its glossy, plastic building blocks. The legacy of the Lego empire has expanded into a full-length film, multiple theme parks, and even furniture and home decor. From playful Lego coffee table trends to custom partition walls made of giant Lego-style blocks, the quintessential children's toy continues to make cameos in interior design.
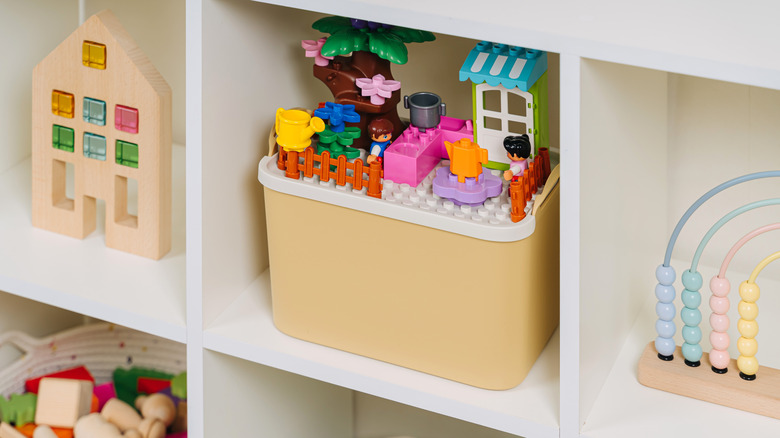
You can find the popular Room Copenhagen Lego Storage Brick on Amazon for $49.99, but enthusiasts are getting creative and saving money with crafty, DIY dupes. You can thrift an old Lego box and transform it into a whimsical and shockingly sturdy floating shelf. While some families may already have these boxes (since kids' Lego sets come in them), they can often be thrifted or found on online marketplaces for a fraction of the price.
These DIY Lego shelves bring a touch of nostalgia and childlike wonder to any room in your home, from children's playrooms to adults' hobby or game rooms. You can customize and paint the storage bins to match your taste and fit seamlessly into your home's design. While other styles of Lego shelves are open in the front with the rounded pegs on top, like the Room Copenhagen Lego Brick Shelf, this DIY allows you to store things inside the shelf and cover the front with the lid. That way, you can have the Lego's eye-catching studs face the front and also place items on top of the floating shelf.
How to assemble and customize your own Lego shelf
Once you've found your empty storage bin, clean it, then sand the plastic to prepare the surface for painting. You want to make sure you choose a primer and paint that can adhere to plastic, like spray paint or acrylic-based paint. Apply multiple coats until the surface looks even. After the paint dries, you can apply a finish of shellac to ensure the paint is properly sealed. After the finishing spray dries, you may want to consider using adhesive liners or vinyl bumpers on the back corner of the bin to prevent any scratches or damage to your walls once the shelf is mounted.
Next, it's time to decide where you want to hang the floating shelf, and use a level to make sure the result won't look lopsided. Some storage bins already come with holes drilled in the bottom, but if not, you can easily use a drill to make two holes for the screws. Finally, use a screwdriver or drill to mount the bin to the wall with screws, and viola, your very own DIY Lego shelf. The front lid can be easily taken on and off for interior shelf storage, but the bin is sturdy enough to support a couple of books, plants, or candles on top.
These DIY floating shelves with storage can add charm and personality to your home, regardless of your age. They are not only affordable but also extremely functional. And even if you aren't the handiest homeowner, this simple project can come together with ease.