DIY A Custom Centerpiece With Dollar Tree Salt Shakers & A Butter Dish
We may receive a commission on purchases made from links.
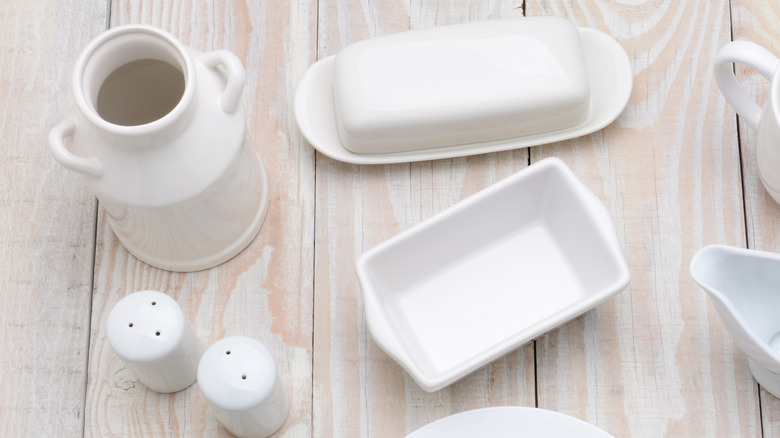
Many Dollar Tree DIY projects require items from aisles other than crafts. For another adorable home décor piece you can make with Dollar Tree items, hit up the cookware section. Nab two sets of salt and pepper shakers, a lidded butter tray, and a pack of festive napkins. Along with some multi-surface paint, heavy-duty craft glue, and ModPodge, you can make a bespoke centerpiece for an indoor or outdoor dining table or another corner of your home that needs brightening. A trio of capless shakers, painted and topped with decoupage napkins, become delightful bud vases or a spot to propagate plants like a pro.
A Dollar Tree butter dish with its lid inverted and glued to the tray is the perfect size to fit three shakers-turned-vases. After a unifying coat of paint, the ensemble is a blank slate for whatever customization strikes your fancy. Make a patterned version with napkins, put a shiny or distressed paint job into focus, or set it atop a quad of painted wooden block "feet" for a hint of height. Coordinate the feet with the shakers' and butter dish's rounded edges by swapping the wood blocks for spherical wooden beads. You should be able to find both of these crafting staples at your nearest Dollar Tree.
Along with the Dollar Tree wares, pick up a can of Rust-Oleum Painter's Touch 2x Ultra Cover Spray Paint. This stuff works wonders for covering both plastic and glass. To set yourself up for long-term success with this project, grab some heavy-grit sandpaper, rubbing alcohol, and a cotton ball (or an alcohol wipe) to prep the glass and plastic surfaces for a durable finish.
Steps to a Dollar Tree centerpiece
To paint the shakers and the dish, prepare them for the best possible results. Wash the shakers and butter dish set in soapy water followed by a wipe with rubbing alcohol (before applying alcohol to the plastic butter dish, rough up its surfaces with sandpaper). If you want to use up a paint you already have, but it's not rated for plastic, try this dryer sheet hack to make painting plastic easier.
After the paint on the shakers and butter dish dries, flip the butter dish's lid upside down, and glue it to the tray. Now it's ready for customization! For decoupage patterned "vases," peel away any extra ply in the napkin. Layer a coating of Mod Podge on the sides of the shaker, avoiding the neck area where the container narrows, and smooth the paper over the Mod Podged surfaces. Trim off excess napkin material. Make your shakers the most versatile vases possible by coating the decoupage with Outdoor Mod Podge; this product won't make the surfaces fully waterproof, but it is much tougher against watery run-ins than its original counterpart. This way you can add water to the containers with less concern about damage.
If a solid painted exterior is more to your taste, don't bother with the decoupage. Are you hankering to try a new paint technique? Give your centerpiece a weathered look with one of these hacks on how to DIY a distressed look. Coil some ribbon or jute twine around the threaded opening of each shaker, tie it in a neat bow, and stock the shakers with flowers.