Create A Budget-Friendly DIY Console With Fence Posts
We may receive a commission on purchases made from links.
In addition to serving as a display area for your decorations and photos, consoles can also bring your space to life with their material, color, and structural components. They're also a great place for home media centers containing security and entertainment systems. Sure, you can spend several hundred dollars for a head-turning console. But why do that when you can build your own for a fraction of the price? What if there were a way to build your console and spend less than $100 on the project? Well, with a wrought iron base paired with four fence posts, you can create a chic table console that's definitely attention-worthy.
This project is simple enough for the average DIYer, and it also allows you to flex your interior design muscles even more. To top things off, the materials for this budget-friendly project are pretty cheap to purchase. You can check out Facebook Marketplace or Etsy for an old iron console base, or try your local flea market, thrift store, or salvage yards. You may even have an old metal table base at home that you can use.
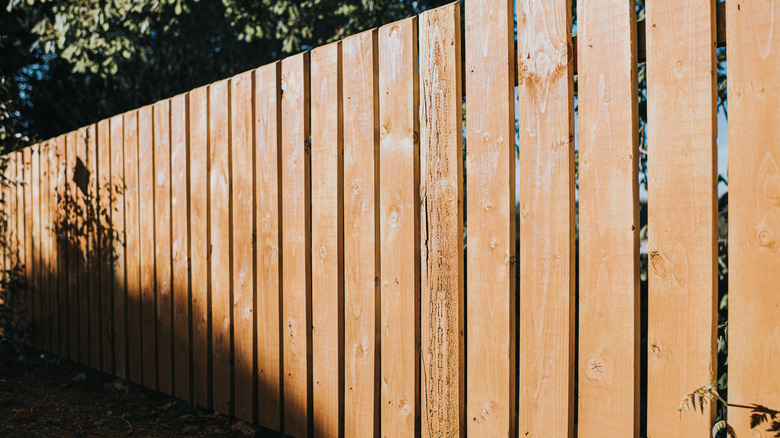
For the fence posts, you can find these at Home Depot, with some starting around $12 for an 8-foot post. Or, you can find reclaimed fence posts online or from a neighbor when they replace an old fence. Just make sure the wood is free of chemicals, termites, and other potentially dangerous contaminants that you wouldn't want in your home. With a few quick steps, you'll be ready to decorate your console table in no time.
Step-by-step to create an easy console using wood and iron
If you're looking for decor ideas to upgrade your home on a budget, this inexpensive DIY is an interesting way to level-up your entryway or living room with a bit of rustic or farmhouse appeal. Once you have your iron base, you'll need to purchase about four fence posts, depending on the width of the posts and the base, and four flat mending plates. You can purchase these plates for around $3 at your local hardware store.
To kick your project off, start by measuring the length and width of your base and fence post to decide the ideal length for the posts, per the base's dimensions. You typically want the top to overhang the base at least a little bit. However, the table might be unsteady if you make the top too long. If your posts are 8 feet or longer, it's best to cut them down for a better fit to your base — at least in most cases.
Note that you can also have the hardware store cut these pieces for you according to your measurements if you buy the fence posts new. Once your fence posts are cut, align the posts perfectly as you want them for the top, and place the plates so they run across all of the posts. This is how you're holding the posts together as a tabletop. Then, screw the plates on the back of them to secure them together. Be sure to space them evenly across for support and stability. Finally, move the new piece to the top of your base to complete the project. And you're all set.
Ways to customize this DIY and make it your own
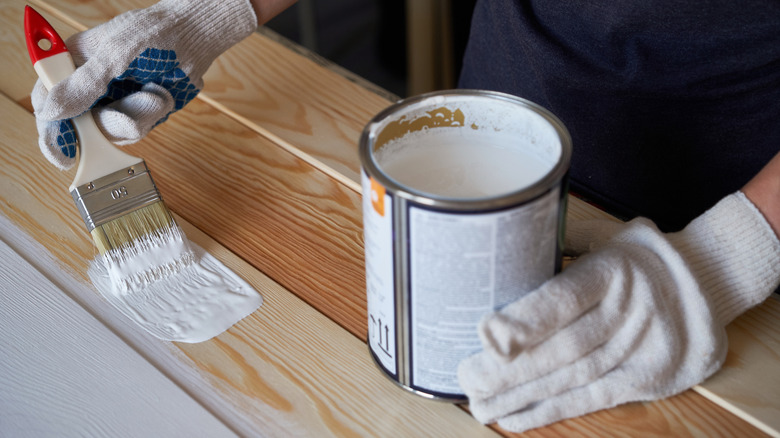
One thing that can set your tabletop console apart from others is a colorful paint job. You can paint the postsa warm neutral color, or go bold with a vivid color that complements your decor. If you like the look of the wood, you can stain it to enhance the natural grain. An orange runner, like this Unique loom runner on the floor, or an OTARTU ceramic vase can help make the wood stand out. If your wood has a cooler tone, perhaps add a blue LaVie Home picture frame on a nearby wall, or pair it with a light gray couch for added softness.
Swapping the iron base for wood is also an interesting option that can add more of an earthy, woodland feel to this creative DIY. Be sure that the wood base is sturdy enough to hold the weight of the wood posts. You can also paint the base a different color, whether you use iron or wood, to create contrast with the top.
By exploring different ways to style the base using these materials and trying additional fittings, you can take this simple DIY to new heights in no time. Also, knowing how to successfully clean wrought iron furniture can help preserve the beauty of your base. You can wipe it down with a soft cloth and clean it with mild, soapy water. Be sure to dry it completely to prevent rust.