The Different Levels Of Drywall Finishes (And Which Is Best For Your Home)
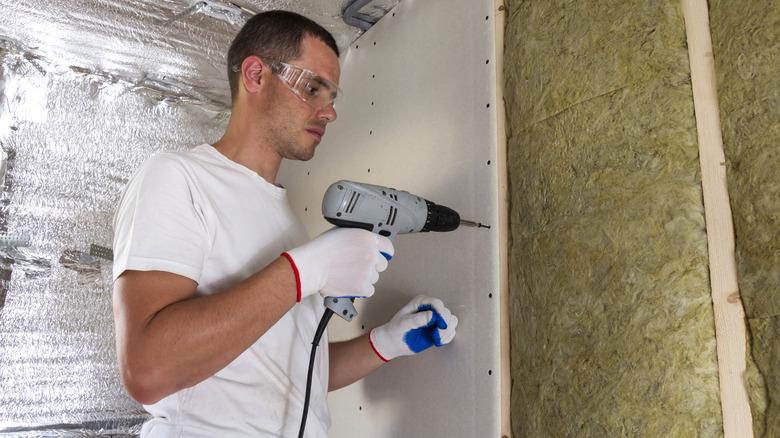
When you want to learn how to hang drywall like a pro, using the right tools and techniques is helpful. For many people, learning how to tape and mud the drywall correctly can be more difficult than hanging it. Mudding requires finesse, patience, and practice to do it well. You might find it easier to achieve the look you want for mudding and taping by focusing on which level of drywall finish you want to end up having. Drywall finishes are classified into five different levels, numbered one through five, based on the look of the finished product and the work involved. If you're less experienced, you might want to stick with an easier level to achieve that still meets your needs.
There's also a Level 0. At Level 0, you do not add mud or tape to the sheets. They're hung and left with screw holes and seams visible. You would never use Level 0 in a room where you want to give the walls a finished look. You might use Level 0 on a temporary installation where you haven't decided how you want to finish the room yet. This is the bare minimum work you can do. It's the cheapest option for an area that isn't going to be visible to anyone.
If you're ready to learn how to mud and tape drywall like a professional, you'll have to go beyond Level 0. Most people select Level 4 for a home, but Level 3 and Level 5 are perfect in certain instances. Let's learn more about the five levels of finishes available for sheets of drywall.
Level 1 drywall finishes add joint tape to the seams
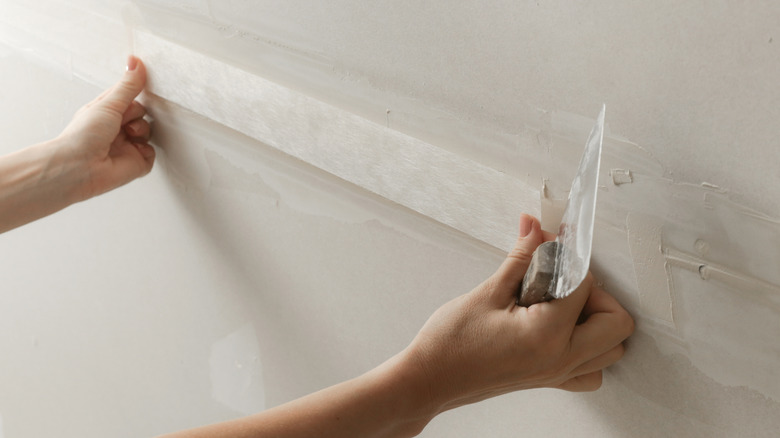
When finishing drywall to Level 1, you would add mud (or joint compound) to the seams between each sheet of drywall and place joint tape over the mud. You would not place more mud over the top of the tape, as the mud underneath the tape holds it in place. Some people refer to this as fire taping, because it provides a block against smoke and sound passing between the gaps in the sheets. You would wipe away any excess joint compound that oozes from underneath the tape, but you would not mud the screw holes in Level 1.
You might use a Level 1 drywall finish with your project when the sheets will be in an area that is not publicly visible. It's more common to see Level 1 finishing used in a commercial building than in a residential home. Some commercial construction teams may use it as the final finish in areas like attics, service corridors for the building, or in areas above ceilings. These are areas where regular foot traffic or visitors from the public would not visit. You'll be able to see any ridges or tool marks in the drywall when using a Level 1 finish, and they'll show through any paint applied. It's not possible in Level 1 to end up with a professional-looking paint job because the porosity of unfinished drywall sheets causes it to absorb paint unevenly.
A Level 2 drywall finish covers the screw holes with mud
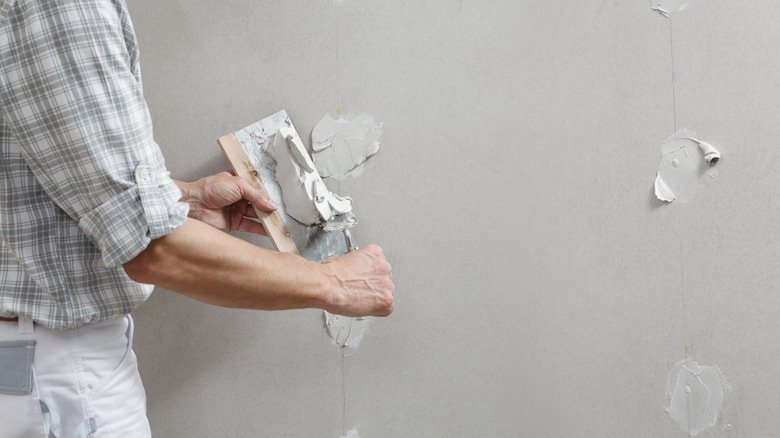
You won't be able to add any texture or paint to a Level 2 drywall finish, although it does deliver a more finished look than Level 1. At Level 2, the look is considered more functional than aesthetically pleasing. A professional or DIYer adds a level of mud over the top of the joint tape and fills in the holes that the drywall screws make in the drywall sheets. You'd then run a joint knife over the top of the mud you applied to remove any excess joint compound. There's no need to do any sanding when you select Level 2. The sheets of drywall may show some tool marks and other marks after doing the work.
Ultimately, you'd select Level 2 in areas where you don't really care about the look of the drywall after finishing, but you want to thoroughly cover seams and holes. You'll most likely use Level 2 for walls that you're going to cover with tile or paneling materials. When doing a Level 2 finish underneath tile in a bathroom, laundry room, basement, or kitchen, you may want to use a moisture-resistant type of drywall. Many people select this finish for an area meant to serve as a workshop or for storage, such as in a garage or warehouse. If you want to be able to add a textured finish to the sheets or you want to paint them, you'll have to do more than a Level 2 finish.
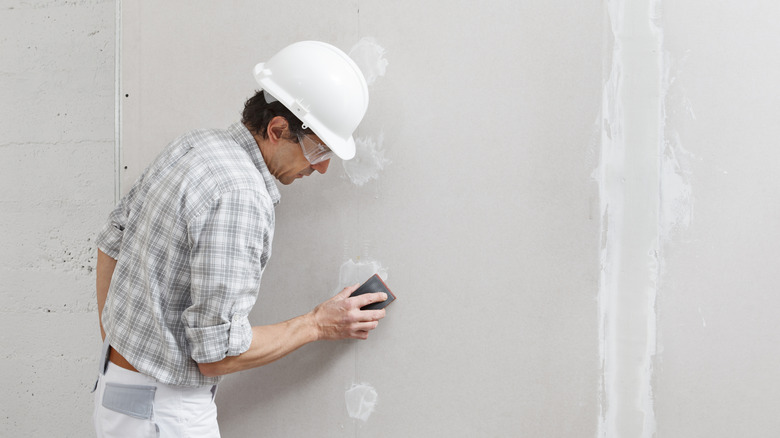
Level 3 drywall finishes add more layers of mud
If you want to use a Level 3 drywall finish, you'd add another coat of mud after the mud added in Level 2 dries. Place one additional layer of joint compound over the seams and angles, and you'd use two more coats of mud over any screw holes. You'll use a joint knife to leave a thin layer of mud in place while removing the excess mud. The final surface should be free of any marks in Level 3, meaning you may need to use light sanding to remove tool marks, ridges, or edges.
You should not use Level 3 in areas where you're seeking a smooth surface for painting as the finishing layer. You should not use this level when you plan to use a lightweight wall covering like wallpaper, either, as it will be too rough. You can use Level 3 when you plan to use a medium or heavy spray of joint compound as the finishing layer, such as you'd use when creating an orange peel or knockdown drywall texture that can add personality to your home. You could also stop at Level 3 when applying a wall covering like barn wood.
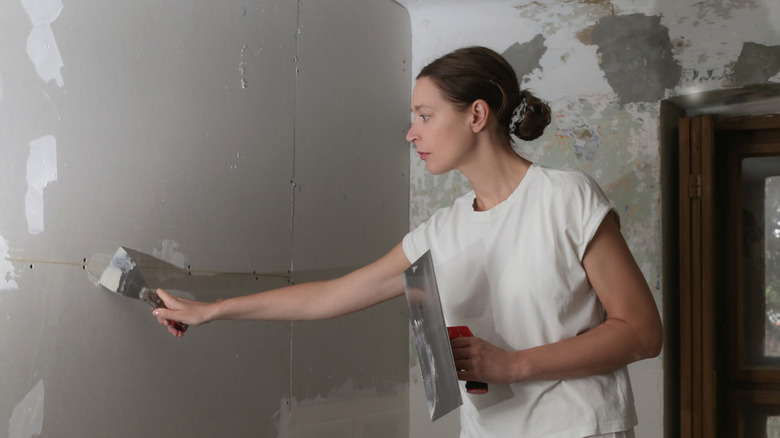
A Level 4 finish is common for residential interior drywalls
For homeowners who are looking to save some money on the drywall project while still receiving a surface that's smooth enough for painting, the Level 4 drywall finish is a popular choice. This is the most common drywall finish that most people select. Some people refer to it as a classic drywall finish where you'll continue applying joint compound over the screw holes and taped areas before sanding after it dries until you have a smooth finish. It should provide a nearly perfect finish that blends the sheets and hides the seams. All embedded joint tape areas will have at least two layers of mud over them, while screw holes would have at least three coats. The final product will have no tool marks or ridges.
You should have a layer of primer paint applied to the surface before adding any other paint or textured mud over the top. You can apply flat or satin paint and light textures to the Level 4 drywall finish. Some people use a Level 4 finish when applying a layer of wallpaper over the top of the drywall. Because Level 4 may show some imperfections in areas with bright lighting or that use glossy paint, you may need to go to Level 5 for drywall you're installing in these areas.
A Level 5 drywall finish is the highest-quality option
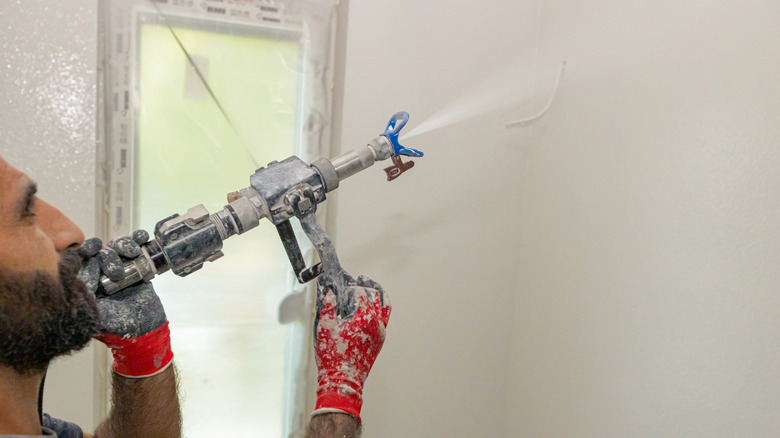
When you aren't worried about saving money on your drywall installation and finishing project, Level 5 is the best option. It's the ideal finish for high-end projects like luxury homes, hotels, or art galleries. It takes a lot of time and work to achieve the perfect Level 5 finish, which is why it's a pricey option.
In Level 5, the professional will apply a skim coat of joint compound over the top of what occurs in Level 4. Skim coating involves placing a thin layer over the drywall surface, which creates a smooth layer that hides any imperfections that remain. The professional may do skim coating with a texture sprayer, a paint roller, or a drywall knife. You can expect the thin layer to take one to two days to dry. If you see any imperfections after one coat, you may need to do a second coat. By the end of the process, there will be no chance of screw holes, tape edges, or joints showing through.
Level 5 is ideal in areas where strong artificial lighting is present and you need a flawless finish. You can use almost any kind of paint after skim coating, including matte, semi-gloss, and high gloss. If you're using dark paint colors or the walls receive a lot of natural light exposure, using Level 5 is a smart idea. Essentially, if you have a high-end space that needs to look as good as possible, Level 5 is the right choice.