DIY Your Own Custom Lazy Susan Organizer With Just A Few Dollar Tree Staples
Lazy Susans can be fantastic storage solutions. They are perfect for use in cabinets and spaces that are hard to reach, since their design lets you access everything on them with ease. If you need to find a storage option for small items in a corner cabinet, cube organizer, or other spot that only lets you see one side of its contents, then a lazy Susan could be perfect for you. These fixtures can be effective anywhere in the house, from the kitchen to the craft room. However, sometimes their ability to help you keep things tidy can be limited. Many lazy Susans are merely turntables. You can place storage cubes or baskets on them, but that may make them difficult to rotate. If you want the accessibility of a lazy Susan and have a good idea of the types of items you plan to store on it, then it may be worth making your own DIY version.
Lazy Susans can be quite easy to create, and you can even build one yourself using Dollar Tree items. You'll need two cake trays or other dishes that are flat on the bottom, and have a lip on the edges. You'll also need marbles, small pegboards, pegboard hooks or shelves, and hot glue. You can decorate the fixture with contact paper, paint, or anything else you would like to add to the exterior of the lazy Susan to give it the aesthetic you like.
How to create your custom lazy Susan

Once you have your materials, the assembly process is simple. Place a flat layer of marbles in the bottom of one of your dishes and then stack the other dish on top. The dish sitting on top of the marbles should rotate easily. This is the base of the lazy Susan. Next, glue two pegboards together using hot glue so you have a two-sided pegboard. Glue this to the center of the top dish in the lazy Susan. If you want to give your basic lazy Susan a chic upgrade with this easy placemat hack, or do something similar to resurface the base, be sure to do it before gluing in the pegboards. Add shelves and hooks, and you can then start organizing.
While some items, like the pegboards, are best bought from Dollar Tree, the dishes are a great opportunity to get creative. Rather than purchasing some plain ones, you can check a thrift store for two stackable bowls, plates, cake tins, or similarly shaped items. Just remember that tin and glass dishes will likely be a bit noisy as you turn them on top of the marbles. Alternatively, you can take the time to paint your entire assembled lazy Susan one color for a more finished and cohesive look. There are many brilliant ways to repurpose a lazy Susan around the house, so making an attractive and versatile project is ideal.
Personalizing your DIY lazy Susan
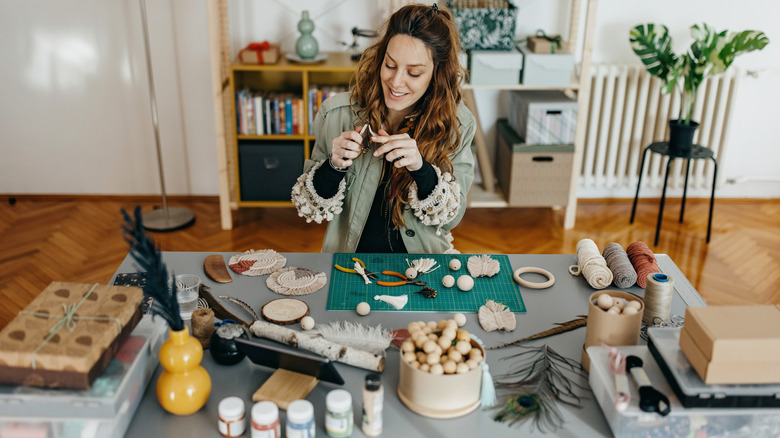
A small lazy Susan with a pegboard on top is perfect for all sorts of storage needs. It's handy for storing jewelry, since you can hang necklaces and bracelets from the hooks, and leave rings and miscellaneous items sitting in the bottom dish. It is also great for keeping small things like hair accessories organized in a bathroom cabinet or drawer. In an entryway, it can hold keys, wallets, lanyards, and other items you need to grab on your way out the door. It can also be a home for small tools or craft supplies, like scissors. In the kitchen, put spices on one side of the dish and hang measuring spoons on the pegboard to have everything you need for adding flavor to your dishes in one place. Overall, there are many ways to use pegboards for all of your organizing needs, and even a miniature one can be incredibly handy.
If you need your turntable for a larger space and want more surface area, you can glue a baking sheet or a thin plywood board on top of the upper dish of the lazy Susan base. The top will still rotate on the marbles, but you will have much more surface area to work with. Just make sure you avoid storing anything too heavy on top, as it will make the lazy Susan difficult to turn.