How To Make A DIY Herb Drying Rack From Recycled Materials
A successful herb garden can create a good "problem" to have: so many herbs you can't use them all at once. This can catapult you right into your next home project –- finding a way to harvest and store your fresh garden herbs for later use. Air-drying herbs is a classic way to preserve them, and doing this on a screen or cloth is not only effective but can look quaint. Even better news? You may already have some of the materials to DIY your own herb drying rack. Reuse plastic netting and doilies by fastening them into embroidery hoops, and then string the hoops together with twine so they can hang. If you like, protect the whole rack from bugs with a delicate tulle lampshade.
This project doesn't just get the job done and add whimsy to the herb-drying process, it's also sustainable and a brilliant way to reuse mesh produce bags around the home. Plastic netting that often comes with fruit or produce from the grocery store is not recyclable in many municipalities. Which is why those colorful mesh nets will do much more good as an herb-drying surface –- where they facilitate the needed airflow –- than they would in a landfill. You can choose to build each tier from the same material or mix things up with a blend of plastic mesh and vintage doilies. Either option will look gorgeous, enough to make the task of monitoring and turning your drying herbs feel less like a chore.
Turn plastic nets or old doilies into a pretty herb-drying surface
Before your next herb harvest, check what materials you have on hand for this reuse-friendly DIY. Embroidery hoops, doilies or plastic nets, and twine or string are the essentials. If you're not a cross-stitch enthusiast who has embroidery hoops to spare, check out local Facebook groups, your neighborhood library, or a community makers group where people may be offering them for free (the same goes for doilies). While hoop styles vary, the basic kind with two bare wooden rings will do.
The DIY is a pretty quick one. The hoops stretch the netting or doilies out and hold them in place, and the twine is what makes it hang in the air for maximum drying action. Either use a knotting technique or another method, such as staples or a hot glue gun, to attach the twine to the edges of the hoops. Next, add the fabric. If you're reusing netting bags, cut them so they're flat and ready to put into the hoops. Unscrew the outer hoop, lay the netting or doily over the inner hoop, and then screw the outer ring back on, making sure the fabric is evenly stretched as you secure it.
When the main DIY is done, you might want to try a creative lampshade upcycle to shield the herbs from bugs. This can be accomplished by taking the metal frame of a lampshade, draping some tulle or another breathable fabric onto it, and sewing on a piece of fabric at the base.
Different materials and approaches for your herb drying rack
Herbs mostly just need good ventilation in a low-humidity area to dry properly. Therefore, there are plenty of other ways to make a drying rack if you don't have all the specific materials or just have a different idea in mind. A tea towel, muslin, or cheesecloth can be sandwiched between the rings of a simple embroidery hoop — just like you would with plastic netting or a doily.
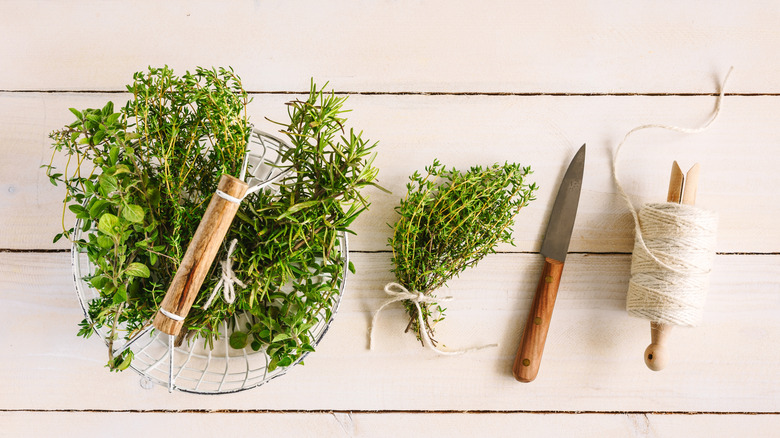
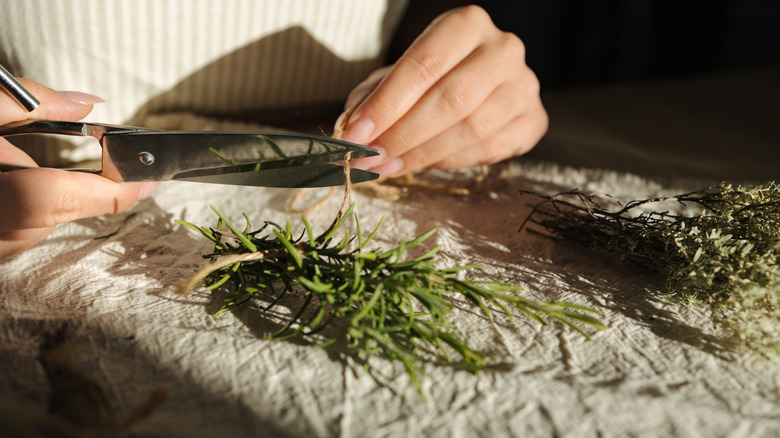
There's also a variation of an herb drying rack without fabric at all, which is good for hanging larger bundles of herbs or if you like a more bare-bones look. Taking equal lengths of string or twine and tying them across the empty hoop in an "X" shape allows you to pick up the ends and use them to hang the piece. Then, simply secure the bundles of herbs to the sides of the hoop with clothespins or extra bits of twine. Remember to hang this new creation in a space where it won't get too humid. And set yourself up for success by drying sturdy herbs like rosemary, thyme, and sage, which are some of the easiest to dry indoors.