9 Care Tips That Will Help Your Cast Iron Plant Flourish
We may receive a commission on purchases made from links.
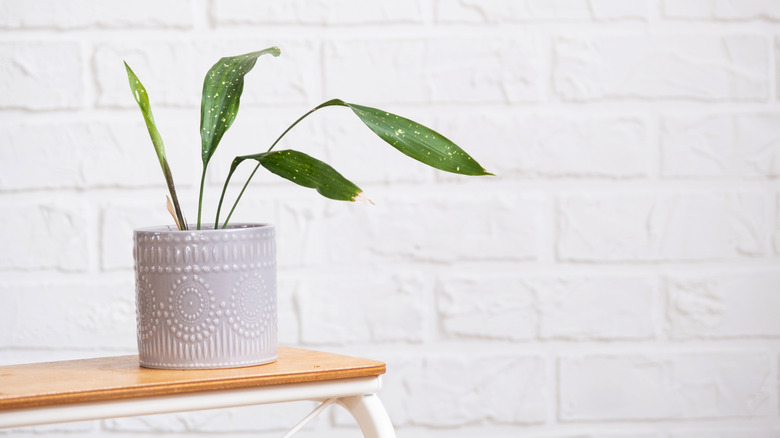
We just love the cast iron plant (Aspidistra elatior), because it's such a tank that can truly be a lifelong plant that's hard to kill, with some living for over 50 years and still looking lush. Cast iron plants are known for being nearly indestructible — hence their name — thanks to their resiliency and preference for thriving on neglect. But even the toughest plants have their limits, and giving them the right care can transform A. elatior from sad to flourishing faster than you might think. Luckily, all it takes is a few simple tweaks to your typical care routine to make them look their best.
So, let's break down nine of those tweaks that will ensure your cast iron plant outlives us all. We'll talk about how each tip benefits a cast iron plant specifically and give you a few tips for making sure you're doing it right. If you've been looking for a houseplant that can handle whatever chaos life throws at it (and you), you're about to meet your new green best friend.
Don't put your cast iron plant in the wrong lighting

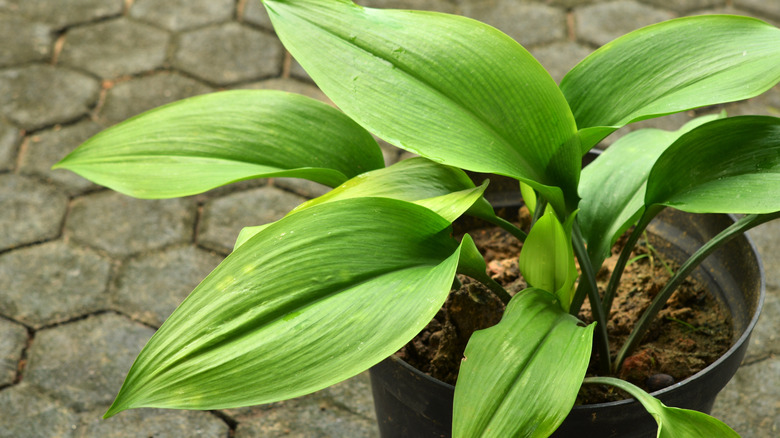
Cast iron plants are hardy survivors, but even they have a breaking point — and that's typically when it's in a spot with too much sun. Its dark, leathery leaves make it well-adapted to low light conditions, thanks to an abundance of chlorophyll, helping it to photosynthesize even in low light conditions. Consequently, bright spots in your home are like too much of a good thing and it can cause those gorgeous leaves to bleach, turn yellow, develop spots, or even burn. Not only does that make it look sad, but those damaged leaves can't photosynthesize as effectively anymore, weakening the whole plant over time.
So, to keep your cast iron plant happy and healthy, put it somewhere that has low light, or at least very indirect light. Bathrooms make great places to grow cast iron plants, too. If your space is full of windows, put it near a north-facing window or, at least, as far away from a south-facing window as possible, since they get the most sunlight. The key is to provide enough light for it to be able to photosynthesize, but not so much that it overwhelms the plant. Respect its preference for shade and you'll be rewarded with a vibrant, deep green plant that stands the test of time.
Keep its soil evenly moist, but don't oversaturate it
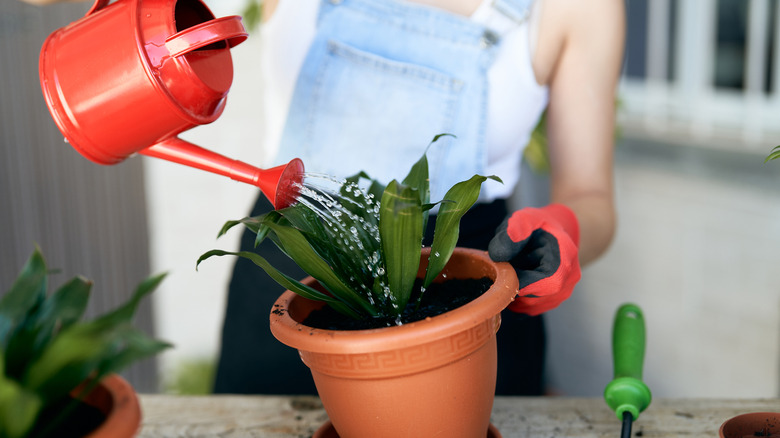
Some plant parents get anxious at the thought of neglecting their plants and so will end up helicopter parenting their cast iron plant to death with just one problem: overwatering. A. elatiors are really good at surviving droughts, so too much water — like light — becomes too much of a good thing. The roots will drown in excessively moist soil because they can't get oxygen, eventually causing root rot to set in. If you notice its foliage beginning to wilt and turn yellow, that's probably a sign that you're overwatering and your plant needs help getting rid of excess water ASAP.
To prevent overwatering, you'll need to leave the plant alone. We know that sometimes it's easier to keep a water routine schedule instead of doing it like piece meal, but you need to only water your cast iron plant when its soil has dried out. If you have a collection with multiple plants, try grouping them based on how often they need watering; this ensures every plant gets the right amount. But how do you know when the soil is truly dried out? It's easy: Stick a finger 2 to 3 inches into the soil. If it feels dry, it's time to water; if not, leave it be. Also, make sure you're using well-draining soil and removing any leftover water from its drip tray.
Cut back on watering it during the winter
Cast iron plants may not look like they're doing much, but they have a growing period and a dormancy period. During the colder, darker months of winter, the plant will become dormant and conserve its resources while it waits for the next growing cycle in spring. Since it's hibernating, it needs even less care from you, so give it less water in winter. If you water it during its dormancy the same way you'd water it in the spring, you'll have an even higher chance of overwatering.
This is the perfect time to test your ability to judge moisture via the finger test, as it will be even more willing to tolerate a few missed waterings than it would in its growth phases. Check the drainage holes in the pot to make sure they're not clogged. Pay attention to its lighting during the winter, too, to make sure it's not accidentally getting more sun than it needs. Once you get the hang of it, you may be shocked at how easy it is to care for dormant plants like a cast iron in the winter. Just remember to pick things back up once the seasons change.
Keep its temperature cooler than you would a tropical houseplant
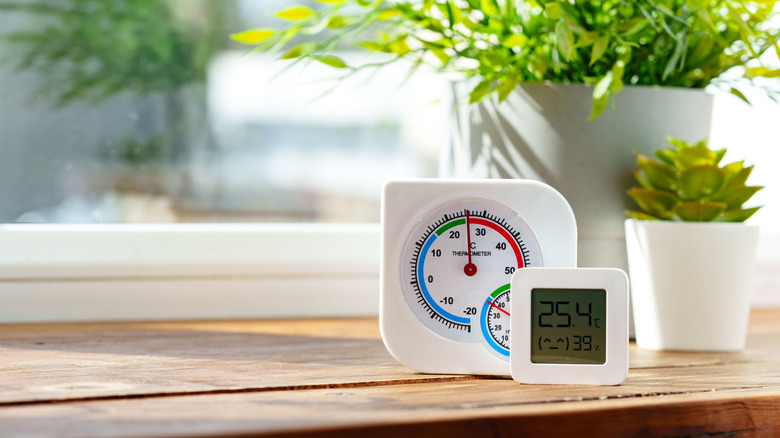
Cast iron plants are native to woody understories in Asia, so they come from a different climate than your more tropical rainforest houseplants, like monsteras and pothos. Consequently, they're not fans of hot, muggy conditions and prefer things to be a little cooler in order to look their best. Shoot for keeping the temperature around it near 72 degrees Fahrenheit and you'll keep it happy.
If you're curious, tropical plants typically do better when temperatures get as high as 90 to 95 degrees Fahrenheit (which isn't something you'd logically have indoors), though they can tolerate temperatures as low as the upper 60s. However, your plants would all be happier if they're living in spots that keep temperatures steady and humidity levels just right, so it's probably best to separate your cast iron from your tropicals and adjust their living conditions accordingly, so they all get the things they need.
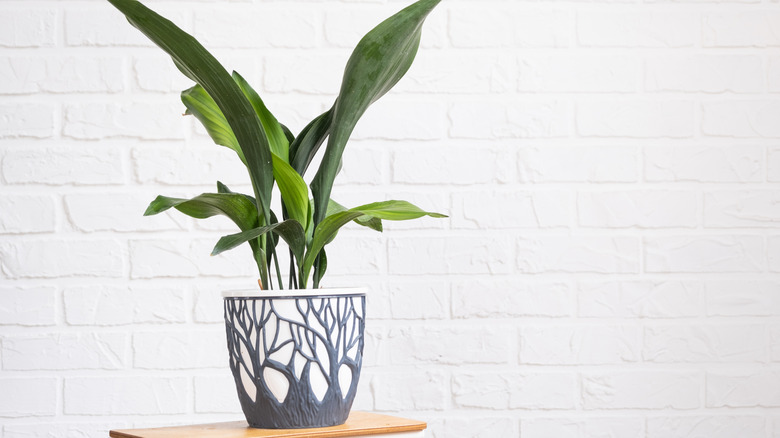
Give it a container it can live in for years
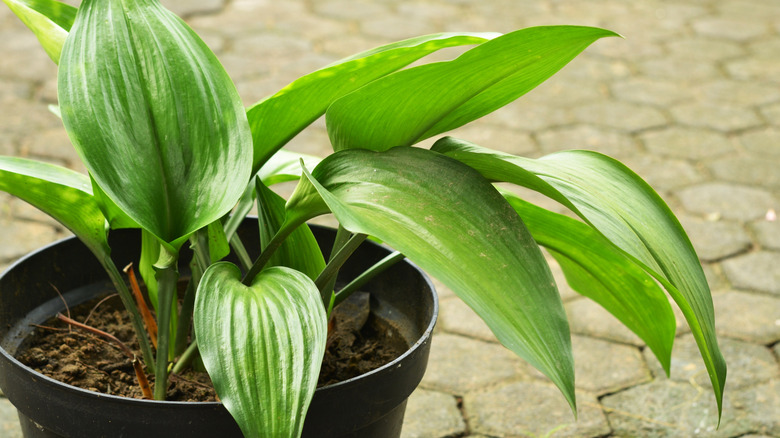
Since cast iron plants are slow growers that are in it for the long haul, they like to stay put, so it's a good idea to plant it in a container that it can live in for years. A cast iron plant is a long-term relationship and it can become a large, heavy plant that's difficult to repot regularly. Some experts recommend looking for a pot that's between 8 to 12 inches, but we recommend instead shooting for a container that's relative to its current size and just a little bit bigger.
Remember not to get too overzealous with the pot size, as too much soil can make it difficult to maintain the water — or lack of water — it wants. If it gets too big for its pot, you may want to consider simply dividing it instead of potting up. That way, your original plant stays in its old home and you've doubled your number of cast iron plants for free.
Wait until spring to repot
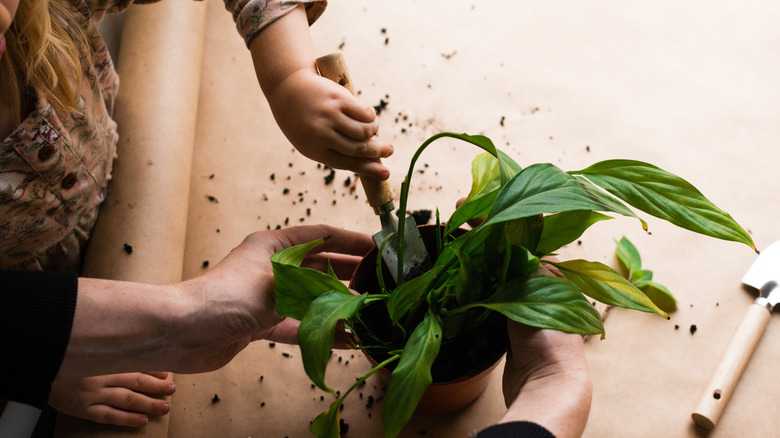
Cast iron plants prefer to be left alone during their winter dormancy period, but you may get a little antsy on its pot size every few years and want to give it a refresh. On the rare times it's ready for a repot, wait until spring during its active growing season to give it the best chance of recovering quickly. While you can technically repot it whenever you want, doing so during dormancy can stress the plant, and more stress means a weaker plant that's less resilient to pests, diseases, or transplant shock.
Again, we recommend dividing your cast iron plant instead of completely repotting, as they're so stubborn in their ways and hate to be moved. To divide a cast iron plant, gently remove it from its pot and loosen its root ball. Clean off as much soil from the roots as you can and look at the base of the plant. You want to find the natural division spot where it looks like two separate stalks have accidentally tangled their roots together. Then, take a gardening saw or serrated knife and cut the root ball so that each division has its own set of roots. Put one back in its original pot with fresh soil and the offshoot in its own pot, also with fresh soil.
That said, sometimes plant pots just need to be changed or switched out, so here are a few repotting tips. To repot the plant in spring, carefully remove it from its old pot and, like with division, loosen the root ball. The plant has probably wrapped its roots around itself if it's been cramped in the pot for a while, so you want to help it stretch out a little. Add some fresh, well-draining soil into the new pot, then put the plant in. Add more soil until the plant feels semi-secure, then tamp the plant down on a table or the floor a few times. This helps anchor the plant without compacting the soil the way pressing down with your hands might. If it's been a while, you can give it a little water, but it's not as necessary as it is with less drought-tolerant plants.
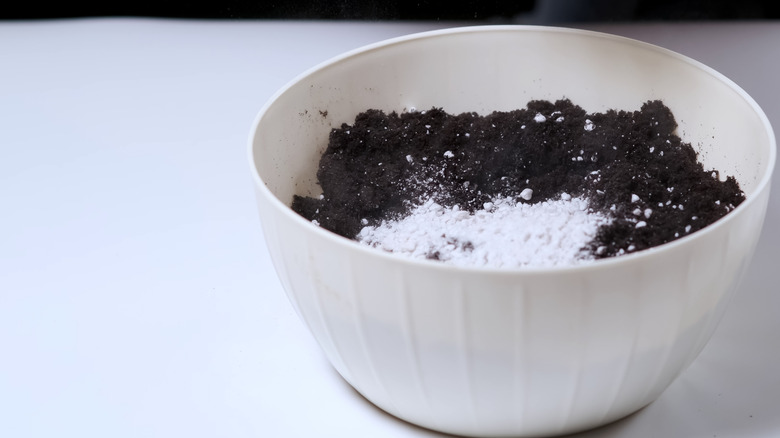
Use a balanced, slow-release fertilizer during the spring and summer
Plants utilize the nutrients in their soil and will typically need a re-up when the soil's macronutrients are depleted, especially when they're living in pots. Your goal should be to fertilize your cast iron plant based on its growing conditions. It won't need fertilizer during dormancy and needs a slow-release fertilizer because it's a slow-growing plant. Both Osmocote Smart-Release Plant Food Plus and Espoma Organic Plant-Tone 5-3-3 are recommended for cast iron plants, as their granular texture takes longer to break down than a liquid fertilizer would.
Granular fertilizer needs to be put into the soil instead of diluted in a watering can. In the spring and summer, fertilize your plant by putting a small, loose ring around the plant's base of fertilizer, then lightly water the soil. Remember, cast iron plants are sensitive to overwatering, so pour carefully. Always follow the directions on the product label and avoid over-fertilizing, as this can cause fertilizer burn and damage the plant's roots.
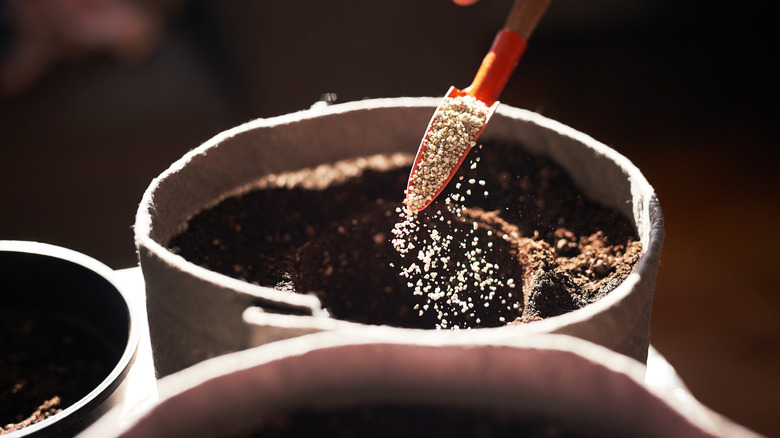
Make sure its soil is well-draining
Proper soil drainage is important for all houseplants, but the cast iron plant is really a diva in this regard. A. elatoir can thrive in a variety of soil types, including sandy, loamy, or clay, but it absolutely hates when its roots stay wet, so keep it happy by giving it a chunky soil mix. Oh, and add a little slow-release fertilizer in there, too, just for good measure. Cast iron plants can tolerate poor soil quality, but why not give it some food when it's getting fresh new accommodations?
Well-draining soil mixes can typically be bought ready-made at most retail garden centers, but you may want to grab a bag of perlite or peat moss, too — just in case — and mix some into the soil before putting it in your plant's pot. The key is to ensure the soil is loose enough that excess water can move away from the roots quickly, so that root rot doesn't set in.
Give it a serious pruning every few years to rejuvenate its leaves
Now, this may feel like you're testing the bounds of its resiliency, but cast iron plants can take a good prune job. Over time its leaves can accumulate dust, turn yellow, get brown tips, or just look a bit unkempt. Giving it a serious pruning every few years will not only help rejuvenate it by removing old, damaged leaves, but also makes room for new leaves to grow. Your cast iron plant will be looking its best, instead of being a leggy, scraggly mess.
Wait until spring to prune, right at the beginning of its growing season to ensure it has enough energy to bounce back and produce new foliage. Sterilize your pruning shears first to prevent any bacteria or fungi from entering the fresh wounds. Then, you can either remove all the old foliage at once or trim off any damage or yellowing leaves; don't worry, your cast iron plant can lose nearly everything and still survive.