Transform An Empty Tin Can Into An Adorable Home For Your Houseplants
We may receive a commission on purchases made from links.
Whether you're an arts and crafts enthusiast, or passionate about the environment, turning your trash into treasure with a planter décor DIY will be right up your alley. Save your tin soup cans next time you empty them in the kitchen and reuse them to create an adorable home for your houseplants. Run to the store to grab some paint, decorative napkins, decoupage glue (Mod Podge is a popular brand), and the appropriate brushes. Anti-corrosion spray, hot glue, its respective gun, and beads will also come in handy for an added tweak, but are not mandatory. All in all, this DIY planter project shouldn't cost you more than $25, and you'll be left with new plant pots that are as functional as they are gorgeous.
This hack is a really creative way to use decoupage in your home, especially because it's fit for beginners. Although it can become somewhat time consuming if you take a few extra steps that increase the longevity of the final result, in general, this tin soup can planter doesn't require a superior level of skill to make. If you're just looking for a pastime for your friend group's next crafty get-together, it can be as simple as a layer of paint, a layer of glue, the napkin, and some more glue.
Prepping your tin soup can for decoupage
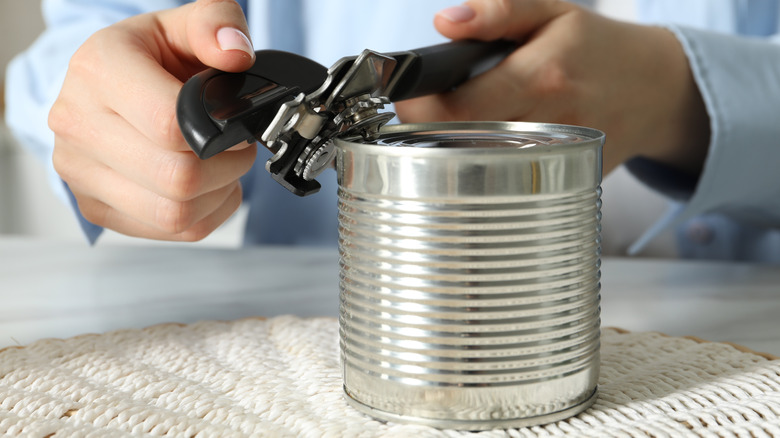
Start by thoroughly washing your soup cans, using warm water and soap. To remove the glue from the food labels using only organic substances, try cooking oils such as olive or coconut. Make sure the cans are completely dry before continuing. Tin cans that are designed for storing food are already corrosion-resistant, but if you want to give these upcycled plant pots an even better chance at standing the test of time and frequent waterings, you can always use a non-toxic corrosion inhibitor spray on the inside of the container.
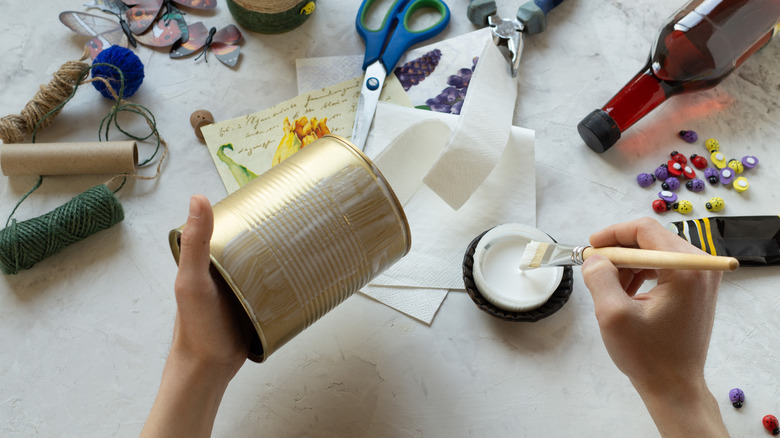
You don't need to make drainage holes if you're thinking of using this DIY as a vase, but if you're planning to use it as a pot, go ahead and pierce the bottom of the can, safely using a nail and a hammer. Use spray paint or acrylic paint on the outside of the can, applying the latter with a foam brush. Lighter colors will make the patterns on your napkin stand out more. Now it's time for the fun part!
Using decoupage to decorate tin can plant pots
To decoupage a tin soup can, you'll work with the very top layer of your decorative napkin. To neatly peel away the others, use a piece of scotch tape. Delineate the napkin area you'll need for this project with a wet brush for precise ripping, or by creasing it to create a guide for cutting it with scissors. The wet brush trick is equally great for getting rid of excess napkin at any point during the decoupage process.
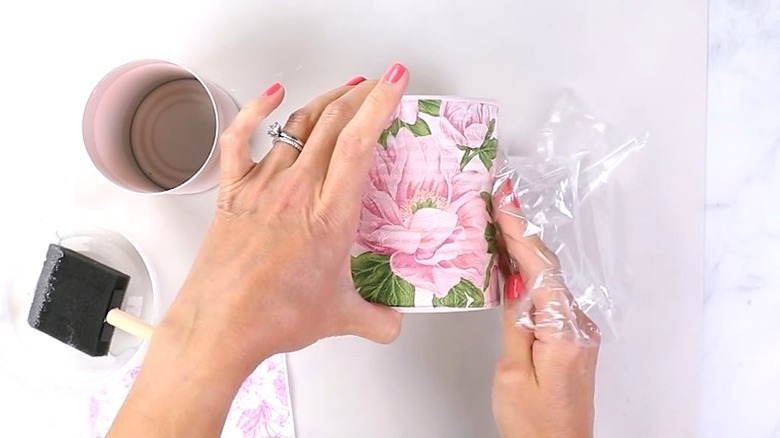
One of the mistakes you need to avoid to guarantee a flawless decoupage is applying glue all over your can. Instead, apply it in patches, as you gradually attach the napkin. You can smooth it out using your fingers or a plastic wrap. Let it dry before applying the top coat of decoupage glue. If using the pot outdoors, go in with at least one more layer of glue for extra strong sealing. You may even want to invest in glue specifically made for exteriors. Once that's done, use hot glue to attach four large beads on the bottom of the pot, which will keep it propped up, optimizing drainage. After everything has dried, carefully pot your plant, and enjoy these little upcycled gems.