A Budget-Friendly DIY Will Kickstart Growing Mushrooms In No Time
Carrying your brimming plastic laundry basket to the machine, you hear a dreaded crack and feel the weight shift. There goes one of the handles. Its days of toting bundles of clothes may be over, but it can live on with a new purpose. You can give a second life to an old laundry basket by creatively using it in your garden. If you're a gourmet mushroom fan, your broken basket can be the key to growing your own mushrooms at home. No broken basket to rescue? A cheap one from a discount store (or even set out at someone's curb, if you're daring) will stand in just fine as a mushroom garden.
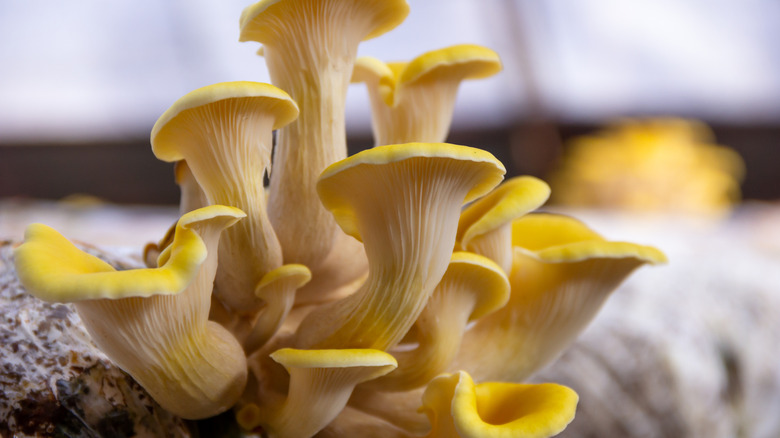
Along with some straw (wheat or oat) and mushroom spawn, good eats could be coming your way soon. The trend of raising mushroom crops in laundry baskets at home — either indoors or out — is gaining momentum on socials. The ventilation that a laundry basket's perforated sides provide is just the trick for giving mushroom spawn both air flow and spots for the fruit to poke out and grow. The mushrooms are easy to harvest from the top and the sides, and the mess stays mostly contained. In most cases, people are growing oyster mushrooms, but there are fungiphiles who raise other types, as well; this could be a fun opportunity to experiment with different mushroom varieties you can grow at home, too.
How to prepare the straw for growing mushrooms
To get your mushroom basket growing, first you have to pasteurize the straw to kill off any competing microorganisms by soaking it in water mixed with hydrated lime. There are several types of hydrated lime, but the type you want for preparing the straw contains 5% magnesium or less. It's often sold as "builders' lime." Also, be sure to wear safety goggles, gloves, and a mask.
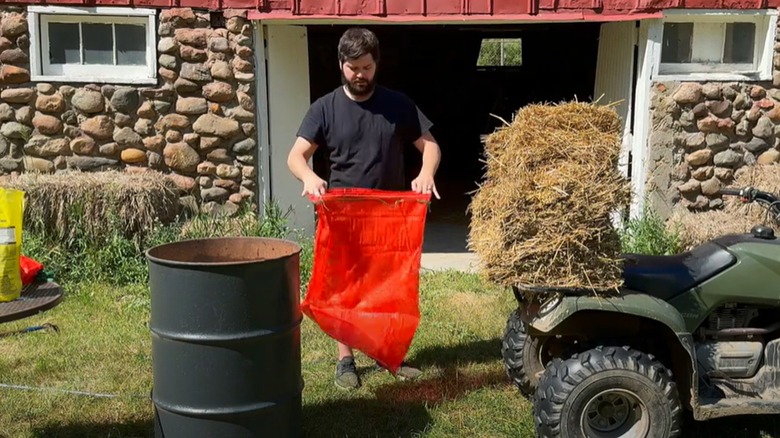
This process will be simplest with cold water from a garden hose. Head outdoors with a generous amount of straw (enough to fill the basket), a bag of hydrated lime, a large plastic or metal tub, and a mesh bag that can accommodate all of the straw you'll be using. You'll also need something to weigh down the bag of straw as it soaks, since it will naturally float to the surface of the water. A large log or cut of wood will work as long as it fits inside the tub.
Fill the tub a little more than two-thirds full with cold water; it's smart to measure it out by liters or gallons to make it easier to add the right proportions of builders' lime. You'll need about 2 grams of lime for every liter. Stuff the straw into the mesh bag, and soak it in the water with a weight on it for 16 to 20 hours. Let the water drain away until the straw is damp enough that you can squeeze out a few drops of water with light pressure.
Layer up your mushroom ingredients
Before adding any straw and spawn, clean the surfaces of the basket with an alcohol wipe. One of the mistakes everyone makes when growing mushrooms at home is not sterilizing their growing container; don't undo all the work you did preparing the straw just so other contaminants can threaten your spawn.
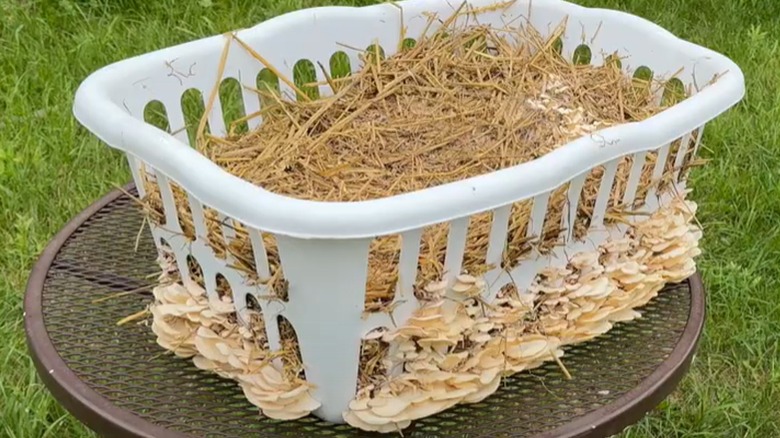
Start with a layer of straw about 2 to 3 inches thick. Sprinkle a generous handful of grain spawn evenly over the straw, and repeat this process until the basket is full or until you've used up all of your spawn. Push down the material as you go, and make sure the topmost layer of spawn is also covered with straw.
If you're planning on growing your mushrooms indoors, place the basket in a room with a drain, since you'll need to add moisture to encourage the mushrooms to grow. For outdoor growing, place the basket under a tree or somewhere shaded. Monitor the straw's moisture level frequently. To moisten it, spray a light mist over the entire basket every few days or whenever it's needed. Watch for mushrooms — they could be ready for pizza, pasta, or burgers in as little as a week!