Use Dollar Tree Wooden Serving Trays To DIY A Stunning Fall Centerpiece
Determined DIYers have been known to use all kinds of items to create imaginative bases for their fall centerpieces. Take those cute little wooden serving trays you can find at the Dollar Tree. Instead of using those sweet things to serve cheddar wheels, smart crafters slide them under their centerpieces when they're in need of a base to build the fall table arrangement on.
The Crafters Square wooden mini trays from Dollar Tree measure roughly 7.6 inches by 5.9 inches and come in a package of three. You'll need all three of them to build this budget fall centerpiece. As is, the trays are plain wood, so you'll want to add a little color to them with some wood stain. Some FFchuanhe 6-inch foam circles for crafts, plus some faux seasonal flora, give your centerpiece that cozy fall vibe. Usually, you can find seasonal floral items at Dollar Tree, which include faux silk leaves, flowers, and dried decorative grasses. Nice-to-have items include mini pumpkins, dried orange and lemon slices, and miniature cattails. (These aren't necessarily found at Dollar Tree but rather at craft or even second-hand stores.)
This centerpiece also calls for an artificial velvet-textured pumpkin, two glass vases, like hurricane vases, and some candles in fall colors. You should be able to find the velvet pumpkins in suitable autumn hues, like orange and brown, though you're not limited to those if you want to create a funkier, more colorful piece. Finally, a foam brush, a metal ruler or long knife, and a glue gun, plus a clean work surface, are the primary tools you'll need to put this autumn arrangement together.
Building the Dollar Tree serving tray centerpiece

To make this gorgeous fall centerpiece, you need to glue the ends of the three serving trays together. Basically, instead of having three separate serving trays, you essentially create one very long serving tray with three individual compartments by gluing all of them together. Once they're dry, give them a coat of Varathane premium fast-dry, dark walnut wood stain (or another stain color of your choice). Or as an alternative, if you're into more rustic or shabby chic decor, you may want to paint the trays instead.
Next, trim down the craft foam if it's too big to fit inside the trays. Each tray will get its own piece of Styrofoam, which you'll glue to the bottom of the tray with your glue gun. Following that, glue a hurricane glass vase from Dollar Tree onto the middle of the foam in the first and third trays. (Skip this step for tray No. 2.) Inside those go your candles of choice.
Once all of these elements have been added to the trays, start building flower arrangements around the bases of the two vases. You'll decorate the center Styrofoam circle last. Use faux flora as well as items like pine cones or acorns, and if you have them, decorative pencil cattails, like these from the Glicrili Store. When you're ready to decorate the final circle of foam, only place items around the edges, not in the center. You'll need that center space for the Woration artificial velvet-textured pumpkin that goes in the center of the arrangement. Finish the centerpiece by putting the pumpkin in the middle.
Other ways to personalize the arrangement
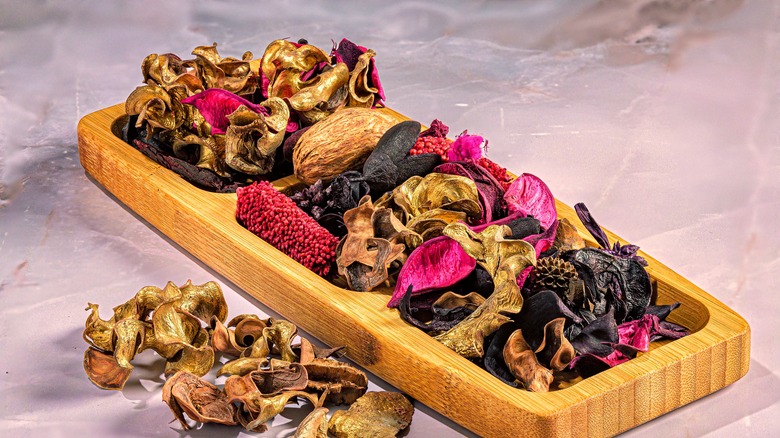
If you'd like to add scents to the arrangement, you can either get scented candles or some fall-scented potpourri with dried flowers, such as these from the Qingbei Rina Store. If you do the latter, swap out the scented candles. Replace them with two of Dollar Tree's tapered LED light candles, and then pour the potpourri into the hurricane vase around the candle. The more you fill the jar with the potpourri, the better the candle stays in place.
Additionally, you're not limited to the candle setup as it's described here. For example, you could forgo the hurricane glasses and the candles, opting instead for an all-in-one piece, like Dollar Tree's vanilla-scented candles in a jar. If you go that route, then glue some Velcro tape (also called hook and loop tape) to the bottom of the jar and to the Styrofoam instead of gluing down the candle. You'll attach the candles to the foam by sticking the pieces of Velcro tape together, which will keep the candles in place in lieu of the glue.
If you go this route, you can change out the candles once they burn down by simply pulling the two pieces of hook and loop tape apart and replacing them. You'd just need to put new pieces of tape on the bottom of the jar and on the Styrofoam circle to keep them in place. Or if you like the glass cups the candles are in, just put new candles in the jars after the old ones burn down.