Upcycle Thrifted Lighting Into These Adorable DIY Ghosts
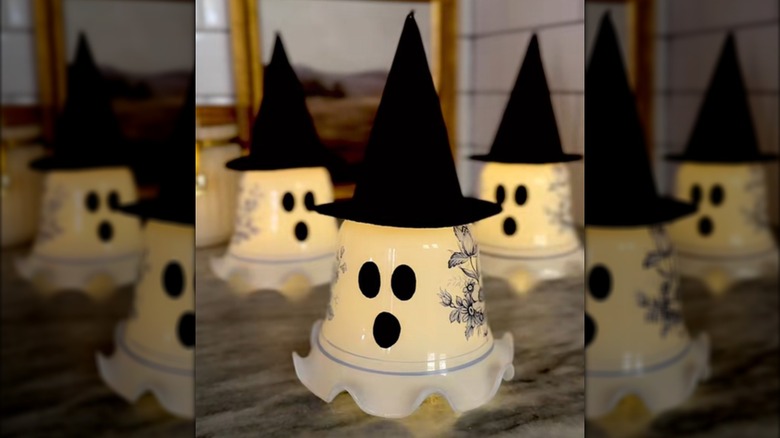
It takes a special eye to see promise in fluted glass lampshades from a dated light fixture. Even if they sport '90s-era country floral adornment, these types of domed-conical forms have just the right curve to their lip and ruffle to their edges to morph into a ghost shape. Spend a few bucks on an old fixture and make light-up ghosts for a cheap and easy Halloween decoration you can DIY in a small chunk of time. Snip up a witch's hat, two eyes, and a mouth and from black felt to cover the attachment end to complete the transformation.
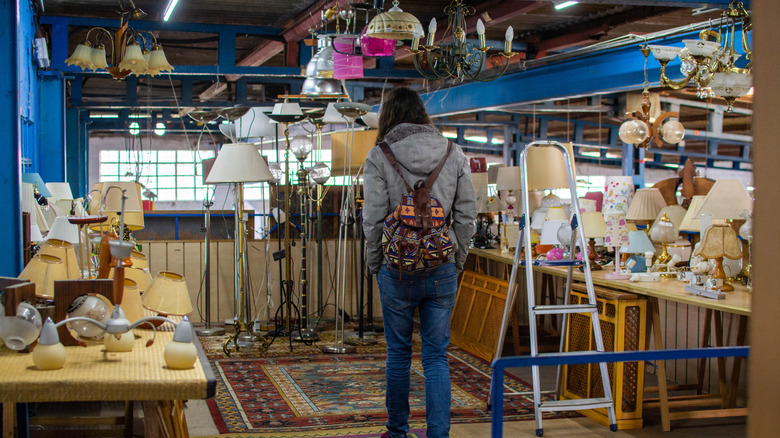
Lights like these are being removed from homes in droves, so hit the local thrift to see if one's waiting for you there. As glorious a thrifted find can be, however, you can't guarantee what you'll encounter on the Goodwill shelves. To find your own ugly yet upcyclable glass shades, you can also check places like your nearest Habitat ReStore or Facebook Marketplace. You may even find a fixture someone's willing to part with for free. Include old ceiling fans in your search, since these types of glass shades are common on older models.
Ghostify those glass monstrosities with a bit of black felt, craft glue, scissors, a piece of light-colored chalk, and LED tea light candles. Since most of these lighting elements hold more than one shade, put together a spooky trio or more of these glowing ghosts. Once you've found the shades, this project is an ultra-simple budget-friendly Halloween decor craft.
Snip and glue some glowing ghosts
Two felt circles with a bit of strategic snipping come together with glue for a hat for your ghost to wear. You'll need two circular shaped items to trace as well as light colored chalk to make a visible mark on the black fabric. You can also use a compass or make a simple one with string and a paper clip. It's also wise to mock up the two pieces with paper before committing scissors to felt. One circle should be a little narrower than the widest point of the lampshade; this will be the brim of the hat.
To make the cone, trace and cut a felt circle that's about twice as wide as you'd like the height of the hat to be. Cut the circle in half, and curl it into a cone with a base a bit wider than the top opening of the shade. Glue the overlapping edges of the half circle, and glue the cone's base to the hat brim. Place the cutout over the shade's top opening, trace the shape of the edge onto the circle, and cut it out. You can also simplify the task by making two small perpendicular cuts at the center of the circle and sliding it over the opening.
If your hat-making endeavor didn't go as planned, scrap the hat, and combine this lampshade upgrade with this way to make adorable outdoor landscaping lights with a haunted touch. Attach two small ovals with glue for eyes and another for a mouth if you'd like. Place it over a flickering LED candle and check out the effect!

