Turn Your Cardboard Boxes Into The Cutest DIY Centerpiece For Any Season
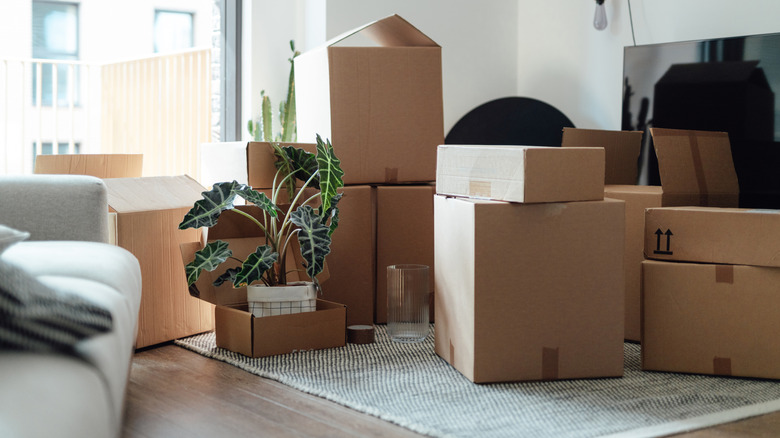
If you're a fan of home decor, you know how exciting it can be to swap out pieces for new features each season or holiday. However, this could come with a big price tag if you're browsing for the perfect centerpieces to put on display at every get-together you host. One solution to this is to get creative and DIY your own centerpieces, using old cardboard boxes from previous purchases that seem to pile up otherwise. This project involves covering a cardboard box with decorative wraps and embellishments and creating an arrangement for the interior to make your table a stunning focal point.
Whether you're using extra boxes from deliveries or need practical ways to repurpose cardboard moving boxes, having the necessary tools on hand for a DIY centerpiece project will simplify the process. The exact materials will vary depending on the theme, but there are some general tools you should grab before starting. For example, a hot glue gun is an ideal way to secure the fabric and add-ons to the outside of the box, while a variety of seasonal flowers (whether real or fake) and potpourri can fill out the interior. One of the biggest advantages of a DIY centerpiece is that you are in complete control of the design and final look of the piece, allowing you to truly showcase your creativity.
How to DIY centerpieces from old cardboard boxes
There are two basic steps to making a DIY centerpiece from a cardboard box. First, you'll need to design the box itself, and second, you will need to decide what elements to put on display. Measure the box's perimeter and height, and cut your chosen covering slightly larger than the outside area so there will be some excess running over the box's top edge when applied. Apply hot glue or spray glue, like 3M Super Multi-Surface Spray Adhesive, to the outside of the box, and adhere the fabric to it, running it around the exterior and pulling it for a tight fit. Apply adhesive to the inside of the box, and tuck the excess fabric running over the top into it. If needed, use tape or clips to hold the fabric in place while the glue dries. This is also a good time to add any extra embellishments. Let the glue dry completely before moving on to styling.
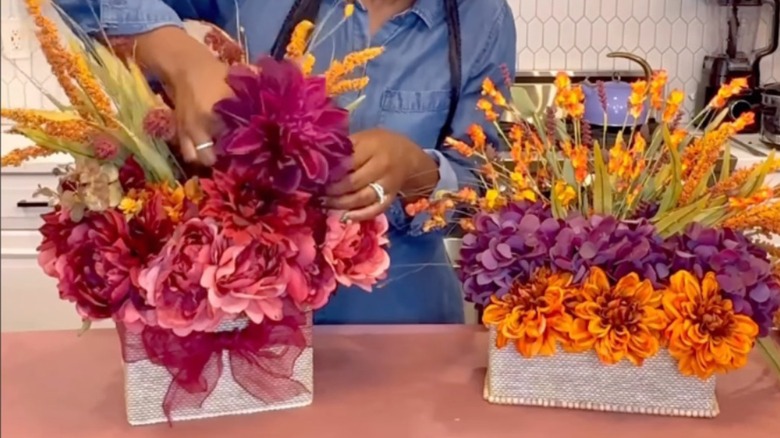
Once the glue is dry, it's time to use your chosen method of display. Following a DIY from Instagram creator @onehandymomma, one idea is to use chicken wire as a base for faux flowers to sit, allowing you to arrange each piece in a way that suits your creative vision. If you don't want to go through the trouble of making a complex arrangement, you can simply put small jars into the box and pop some flowers in for a simple presentation. This method also allows you to use real seasonal flowers in the centerpiece. Looking for something with no upkeep? Make your own DIY artificial mum flower centerpiece decor to add some fall colors to your table without having to take care of real blooms.
Simple steps to customize your cardboard box decor
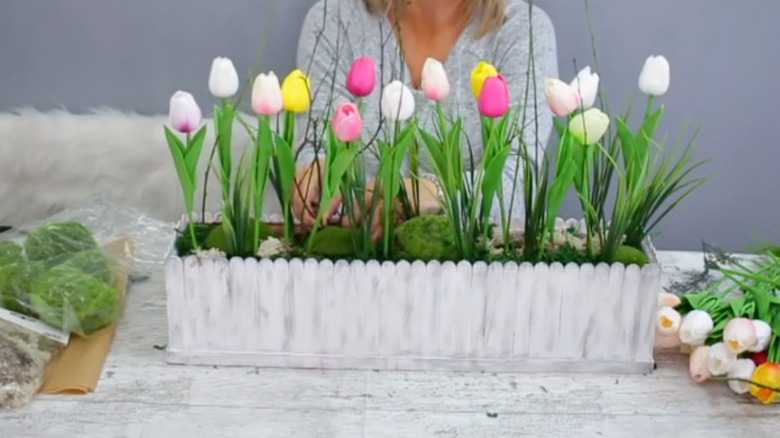
While it might seem challenging to find ways to customize a DIY centerpiece from season to season, the way you approach the initial project can make all the difference. For example, creating a neutral base will allow you to change up the interior without having to build an entirely new centerpiece every few months. Instead of covering the exterior of the box with fabric, use popsicle sticks as decorative wood pickets or run horizontal pieces of rulers or paint stirrers around the box to make it look like a wood crate. Now, you have a stylish and versatile base for charming seasonal centerpieces.
Another way to customize your DIY centerpiece is to use greenery to complement the flowers. There are countless genius ways to decorate with greenery that will completely switch up the look of your space, including bringing it to this bit of DIY tabletop decor. Try swapping out some flowers for a small succulent plant as a way to add an outside-the-box element to a traditional centerpiece, or consider candles, pinecones, pumpkins, and other seasonal elements to create a cohesive theme.