Ditch That Dated Popcorn Ceiling: 10 DIY Tile Ideas That Instantly Refresh Any Room
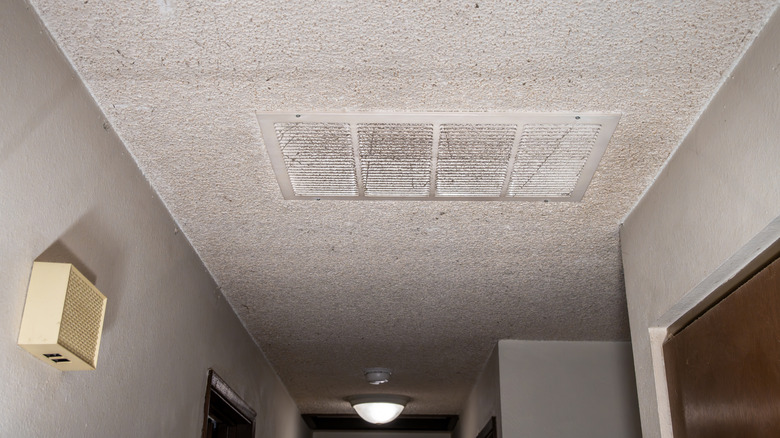
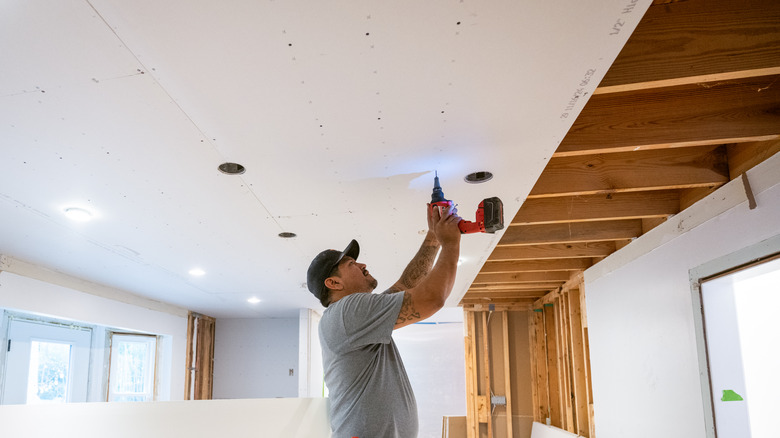
Popcorn ceilings were a design staple in the 1970s, used as an inexpensive way to add texture, hide imperfections, and muffle sound. Today, they're still present in old homes and used in some new builds, but they're hopelessly outdated. If you can't stand looking at your popcorn ceilings but you're not ready to take on a hefty removal project, you can opt to cover them up. There are several unique ceiling design choices you can use to cover your dated popcorn ceilings. Ceiling tiles are easy to install and, with so many colors and materials, adaptable to any style. From faux tin tiles with vintage vibes to minimalist and modern shiplap, there's an easy fix for any homeowner to ditch their dated popcorn ceilings without removing them.
Keep in mind that while you can install tiles right over your existing popcorn ceiling, you may need to smooth out excess bumpiness to ensure proper adhesion. Until 1973, it was legal and common to use asbestos, a highly toxic substance, in popcorn ceilings. If your home was built before 1973, it's important to test for asbestos before starting any project on your popcorn ceilings. At-home test kits are easy, generally inexpensive, and, most importantly, worth it for your safety and peace of mind. If you discover your ceilings contain asbestos, contact a professional for safe removal.
Styrofoam ceiling tiles
Believe it or not, the same material used for cups and packaging can create a high-end ceiling. Styrofoam ceiling tiles often come with embossed designs and can be painted for a custom look. To install them, begin by cleaning and priming the existing popcorn ceiling to ensure good adhesion. Then, apply strong construction adhesive to the back of each styrofoam tile and press it firmly onto the ceiling. Cut tiles as needed to fit edges and corners. This method is quick, reduces noise, and adds modern texture without heavy renovation.
Peel-and-stick ceiling tiles
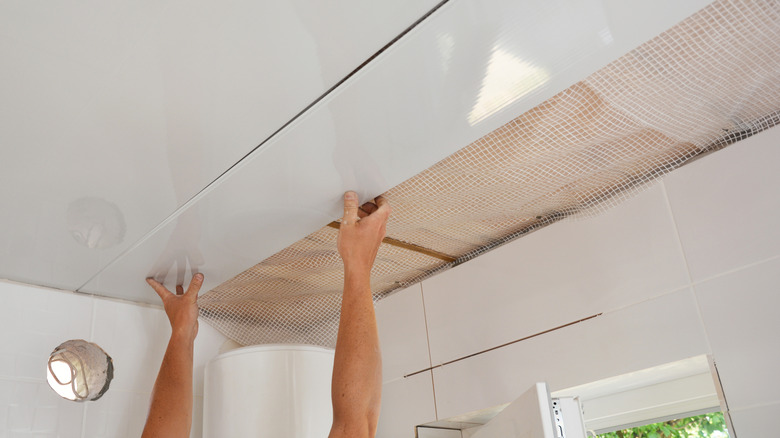
Peel-and-stick ceiling tiles are made to be user-friendly for a foolproof DIY project. Start by thoroughly cleaning and priming the popcorn texture to create a smooth surface. Then, simply peel the backing off each tile and press it firmly onto the ceiling, cutting tiles to fit edges as needed. This method requires minimal tools and mess, making it perfect for renters or quick makeovers. Peel-and-stick tiles come in various patterns and finishes, instantly giving your ceiling a fresh, modern look.
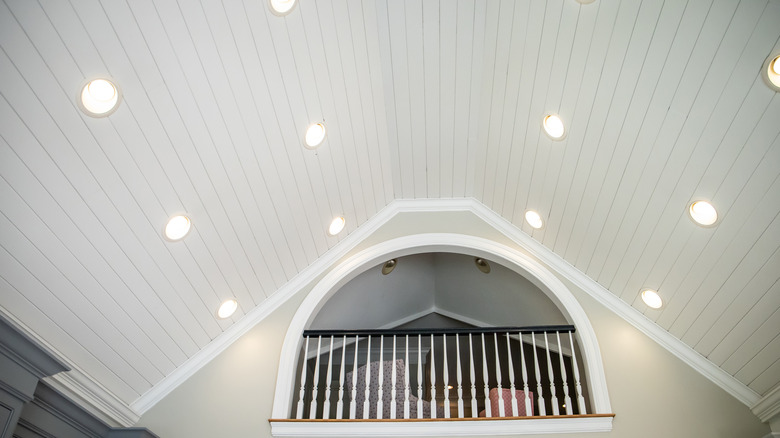
Wood planks or shiplap
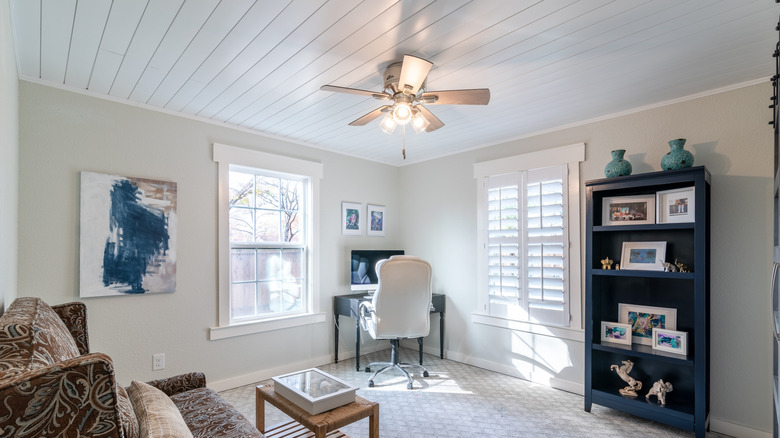
Wood planks and shiplap ceilings add rustic charm to any room. Seal or smooth out any excessive popcorn texture before installing a wood plank or shiplap ceiling. Then, cut wood planks or shiplap boards to the desired length. You can paint or stain them beforehand to achieve your desired look. Attach the boards directly to ceiling joists or furring strips with nails or screws, making sure the seams are tight for a clean appearance. Shiplap ceilings can be easily customized and updated with different wood finishes and plank widths.
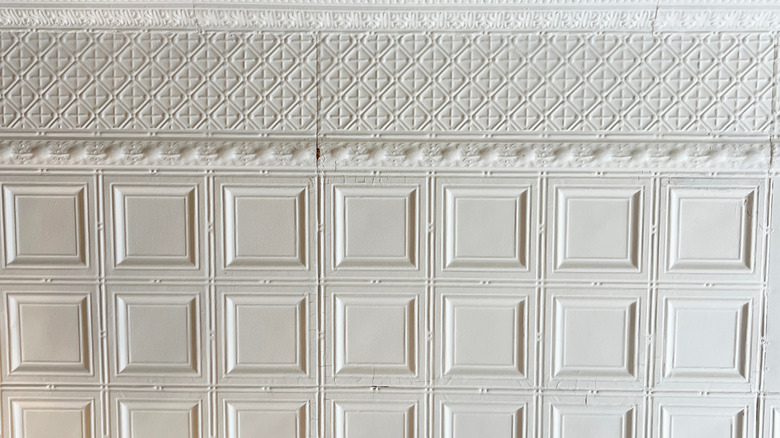
Faux tin ceiling tiles

A faux tin ceiling is an affordable way to achieve the elegant, vintage look of real tin without the weight or cost. These lightweight panels are typically made from PVC or polystyrene and feature embossed metallic finishes. Prepare your ceiling by cleaning and sealing any popcorn texture. Then, apply adhesive to the back of each panel and press them firmly in place, cutting tiles as needed to fit edges. Finish by caulking between the tiles for a seamless, high-end appearance that adds character and charm.
Beadboard
A beadboard ceiling adds charm and texture with its narrow, vertical panels and evenly spaced grooves. After sealing and smoothing excess popcorn texture, measure and cut beadboard panels or tongue-and-groove planks to fit. Attach them directly to ceiling joists or furring strips using nails or adhesive. Finish by filling nail holes and painting the panels for a polished look. Beadboard ceilings work great in kitchens, bathrooms, or cottages, giving a cozy, timeless feel while covering texture with ease.
Plywood
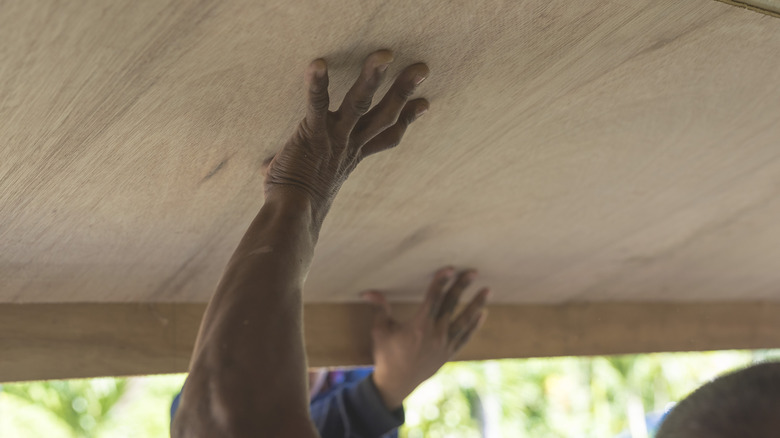
Similar to wood planks and shiplap, a plywood ceiling feels warm and rustic. However, these ceilings often feature wider planks or square boards. To install plywood ceiling, start by cutting sheets or panels to size, then sand and prime them for a smooth finish. You should paint or stain the plywood before installation if desired. Attach the panels over a sealed popcorn ceiling using nails or screws. Adding trims or battens between panels can create a coffered effect.
Acoustic ceiling tiles
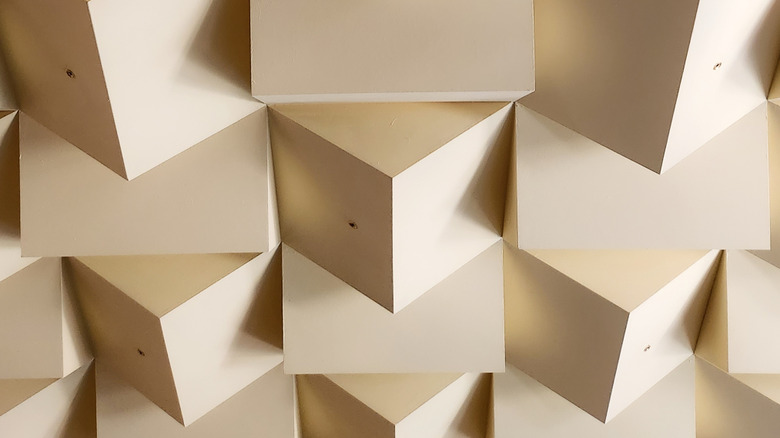
Acoustic ceiling tiles are perfect for reducing noise while upgrading a space's look, keeping the original function of your old popcorn ceiling. These tiles are made from sound-absorbing materials like fiberglass or mineral fiber and are ideal for basements, home theaters, and offices. They often come in stylish geometric patterns and can be installed in a drop ceiling grid or with adhesive. To install them, set up a suspended grid system, then cut and place the tiles into each section. For glue-up tiles, you can use adhesive to attach them directly to a flat or sealed popcorn ceiling.
Metal or aluminum ceiling tiles
Metal or aluminum tiles add a vintage or industrial look to a room. These tiles, often made of real tin or lightweight aluminum, can be installed over popcorn ceilings by nailing them onto a plywood base or by using adhesive. Finish your new ceiling with crown molding or trim for a polished look. These tiles are durable, easy to clean, and instantly elevate a room's style with shine and texture.
Drop ceiling with tiles
Creating a drop ceiling is a little more involved, but if you can pull it off, it's worth the result. This project involves installing a suspended grid system to hold lightweight ceiling tiles. First, attach a metal perimeter track around the room. Then, hang the main runners and cross tees to form a grid, suspended from joists with wire. Finally, drop in decorative ceiling tiles made from PVC, mineral fiber, or foam. Choose from classic white tiles, stylish faux tin, or coffered designs.
Wood slat ceiling
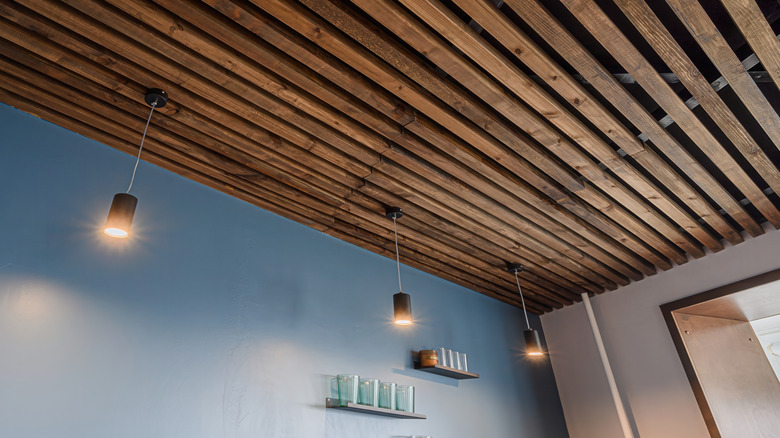
In a wood-slat ceiling, thin wooden strips are evenly spaced to add texture and visual interest. To install, first locate ceiling joists, then cut and paint or stain your slats. You can attach them directly to the ceiling joists or add battens first. This design works well over primed popcorn ceilings and creates a high-end, custom look, perfect for modern, minimalist, or Scandinavian-style spaces.