How To Paint Walls Using A Technique That Makes It Look Professional
We may receive a commission on purchases made from links.
It's time to tackle the project you've been putting off; that dingy room isn't going to paint itself! Once the drop cloth is down and the paint's been poured into the pan, make that day absolutely worth it by doing the highest quality work you're able to do yourself. The thought of painting your home like a professional might make you burst out in doubtful laughter. But there are some tips that make it look like the pros truly did the job, and they also save you time and pain. It boils down to a nifty combo of smart brushwork and tape handling.
Once you've given your walls a wipe-down to remove dust, start painting at corners and edges of the walls. If you haven't heard of "cutting in," this trouble-saving task refers to brush-painting spots that are too tight to hit with a roller. Places that typically benefit from cutting in are ceiling corners and edges along window and door frames. Plus, you could even do this without taping the ceiling edges if you're willing to take a risk! Doing an extra-thick layer of paint while cutting in can eliminate the need for a second coat in those spots.
Now, this next tape tip should be a no-brainer, but it isn't. Anyone who's waited until after the paint has dried to peel off painter's tape from edges knows this frustration: The dried paint often sticks to the tape and comes off with it. Don't wait. As soon as you've finished with a section surrounding a bit of tape, take it off while the paint is still wet to avoid this dilemma.
The right tools and tips for professional painting results
A few must-have paint tools will make cutting in the walls easier. A high-quality angled brush is ideal for this step. One that's also wide and firm, like the Wooster 3-Inch Gold Edge Angle Brush, will hold lots of paint, cutting the time needed to get the job done. Also, since cutting in doesn't involve a roller, skip the paint tray at this point in favor of a hand-held container, such as the Handy Paint Pail and Liner Combo, to make toting and dipping from a lightweight paint supply a breeze. As you're cutting in the areas that need it, hold the brush as if you were holding a pencil. This gives you extra control over the tool and, ultimately, where the paint ends up. Cut in by starting a few inches down the wall and brushing up to meet the corner. For extra assurance around awkward corners, lay painter's tape along the unpainted surface.
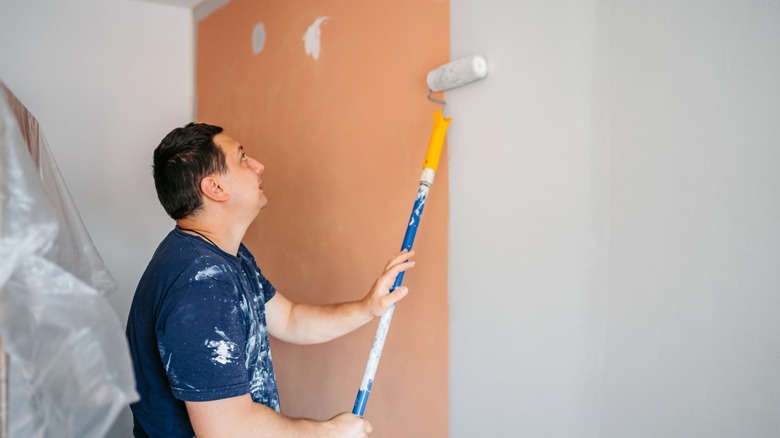
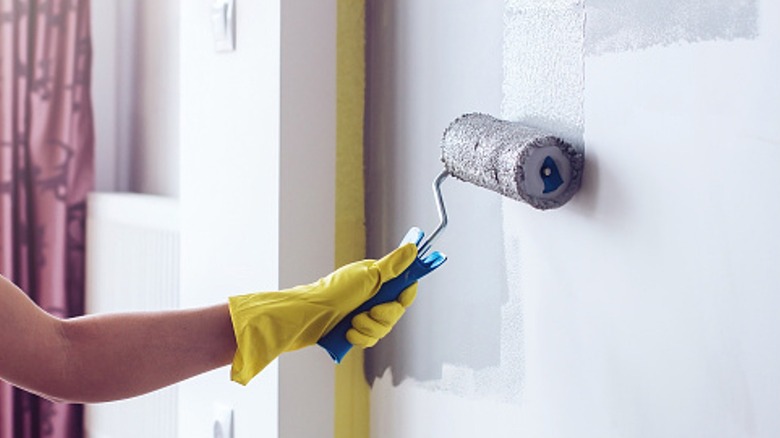
Once all of the edges are painted and the tape is peeled away, set up your roller for some fast painting that doesn't leave streaks. The best way to paint a wall with a roller starts with coating the roller pad evenly with paint and rolling the color onto the wall in a W pattern. Be sure to press lightly as you roll to avoid creating lines and drips. After each coat, do what's called striking off the paint; without adding more tint to the roller, run it over the coat of paint in vertical lines. Start from the top and roll all the way to the bottom of the surface to take out unwanted lines for a professional finish.