12 Tips & Tricks Every DIYer Needs To Know About Painting Ikea Furniture

We may receive a commission on purchases made from links.
Ikea furniture can be a wonderful option for affordable yet durable pieces, but they're not always the prettiest. With mostly white or black tones, Ikea furniture doesn't always match your space and doesn't always look very unique. Luckily, you can totally alter the appearance of your laminate furniture with a little paint.
Painting is a simple way to upscale any Ikea cabinet or dresser to make it look more high-end. It can totally transform any piece, whether it's brand new or has been in your home for a while. With a bit of creativity, primer, and paint, you can create custom furniture that perfectly matches the look of your home.
The one catch is that painting Ikea furniture often requires a little extra prep and know-how to ensure the paint job lasts and doesn't chip. Ikea furniture is not typically made of solid wood, but rather fiberboard or particleboard coated in laminate, which is nonporous. Because of this, it's crucial to take the time to clean and prepare your furniture before applying any paint. Otherwise, the paint may not adhere to the surface correctly, leaving you with ruined furniture after lots of work. To ensure your painted Ikea furniture holds up well, the first step is to check that the materials you're using work well on laminate surfaces. Besides this you also have to be diligent with disassembling, sanding, priming, letting coats dry, and more. But if you follow the tips below, you're already halfway there to a custom painted piece that people will be shocked to learn comes from Ikea.
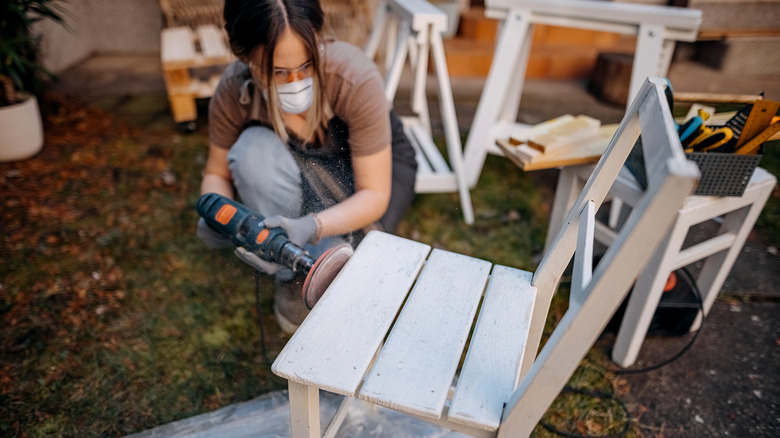
Sand your furniture before priming or painting to avoid chipping
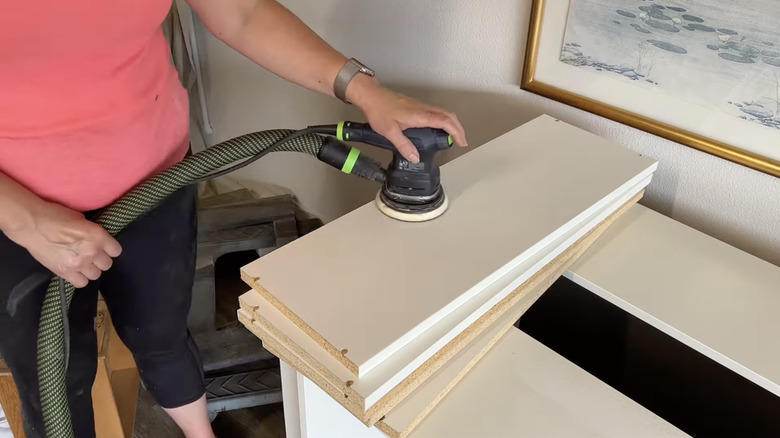
Because of the slick and shiny laminate surface that's common with Ikea pieces, it's crucial to sand your furniture before priming or painting. If you decide to bypass this step to save a little time, you could end up paying for it later. Laminate gives the furniture a harder surface, but it also makes it more difficult for paint to stick to it. Without sanding before priming, the paint could pull away from the material, eventually starting to peel and chip away. Sanding roughens the laminate and dulls the glossiness, letting your primer and paint coat your Ikea furniture properly.
Since laminate is somewhat thin, your furniture piece should only need a light sanding. You could use sandpaper between 150 and 220 grit, or you might choose a sanding sponge or an electric sander to scratch up the shiny surface. Sanding should be done before applying your primer, but you can also slightly scuff your furniture in between coats of primer. If you're concerned about the paint adhering properly, sanding after primer and before your first coat of paint gives your piece a smooth finish. After sanding, use a vacuum cleaner to clean up the dust in no time.
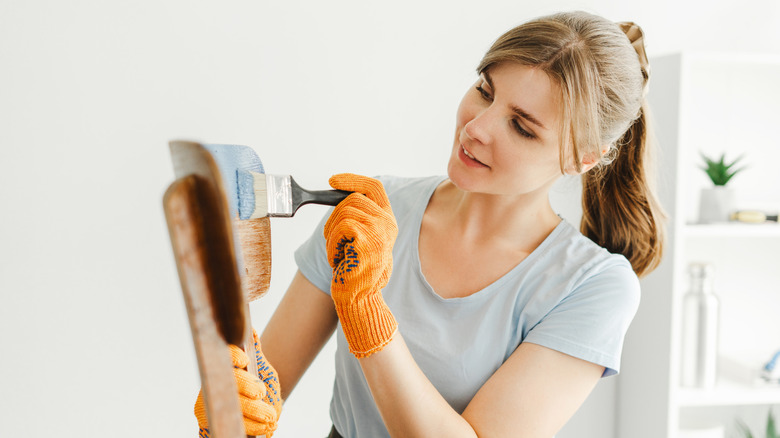
Don't skip the primer when painting Ikea furniture
It may be tempting to just start painting your Ikea furniture, forgoing steps such as priming to get the project done faster, but this could destroy your piece. While it seems harmless, paint may not stick to your laminate furniture correctly without a good primer, leaving the surface looking scratched up and ruined in a short amount of time. Since laminate is nonporous and glossy, the paint could bead up without a primer, exposing the original color and creating ugly patches. When the paint doesn't adhere correctly, it's also more likely to peel. Taking the time to apply a quality primer designed to cover laminate is truly the trick to painting Ikea furniture's difficult surfaces.
While priming your Ikea piece is a crucial step before painting, it's also important to use the right kind of primer for this finicky surface, such as a bonding primer. Shellac primers can work well for laminate furniture because they really stick to it, despite how smooth Ikea furniture is. These primers dry harder, leaving your furniture protected against chipping. Zissner's B-I-N shellac bonding primer is often recommended for DIYing Ikea furniture. One coat of primer is likely enough for your piece. If you're concerned, try applying two layers and sanding a little in between.
Clean your furniture and remove the hardware first
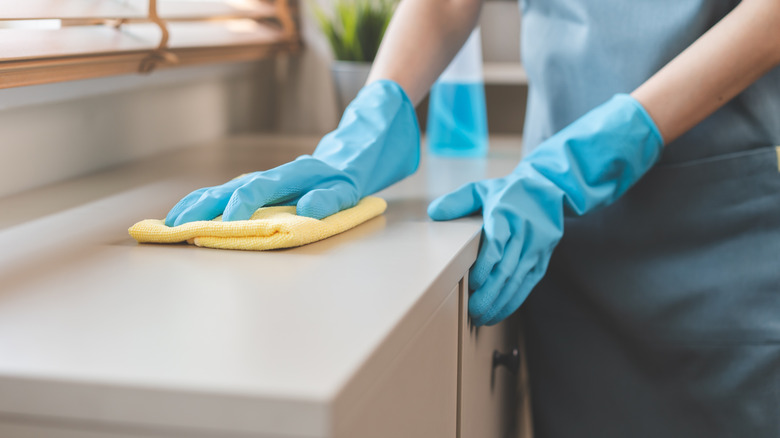
Painting is a quick and affordable way to personalize basic Ikea furniture, but it's important not to skip the cleaning step if you want your project to turn out nice. Cleaning is an essential part of preparation before painting any furniture since it gets rid of any dirt as well as grease. Additionally, when sanding your piece, you make a lot of dust from scraping the surface; cleaning afterwards can be helpful.
While your vacuum can help remove a lot of the debris, you should still wipe your piece with a damp cloth to ensure tiny pieces of dirt or debris don't get stuck under your paint coats. After wiping your piece with a wet rag, you can also use a dusting spray or some compressed air, which is helpful if you cleaned before sanding. Removing all debris (no matter how tiny) keeps the surface of your furniture smooth and beautiful. Before priming or painting, you should also unscrew and take out any hardware on your furniture, such as hinges or knobs, to keep them safe from stray droplets of paint. This makes the painting process easier since you don't have to work around the hardware.
Use a deglosser to help your primer and paint adhere to your piece
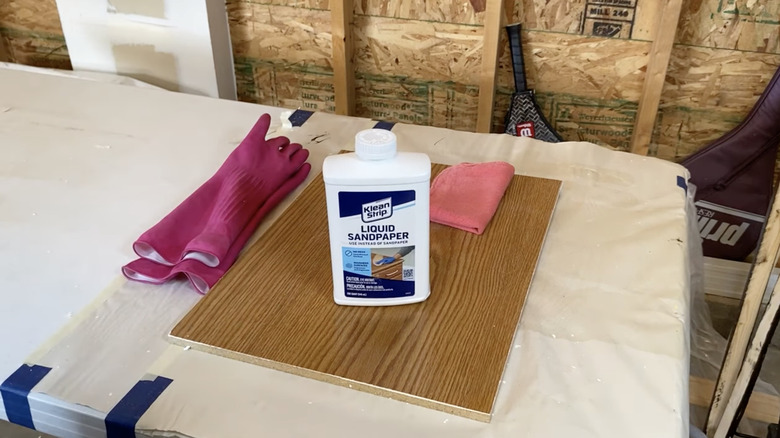
If you're concerned your paint may have trouble adhering to your Ikea dresser or table despite sanding, using a deglosser helps prepare your laminate furniture for primer and paint by dulling the surface. Deglossing products are also known as liquid sandpaper and prep your furniture by stripping the top layer of the surface. Laminate is a hard, smooth surface that may not be able to be fully prepped with deglosser alone, but using these products in tandem with regular sanding can help prevent your paint from chipping.
Some deglossers clean your furniture in addition to taking off the glossy sheen, making them beneficial when working with greasy, used Ikea pieces. When working with liquid sandpaper, wear gloves to keep it from getting on your skin while applying. After cleaning your furniture, dampen a rag with deglosser and wipe it over your piece before leaving it to dry for approximately 15 minutes. Once it's fully dried, you can sand and prime your piece. While deglossers are totally optional and not mandatory for painting your laminate furniture, using one is an easy way to ensure your surface is ready for primer and paint.
Fill the extra holes on adjustable shelves with spackle for a more seamless look
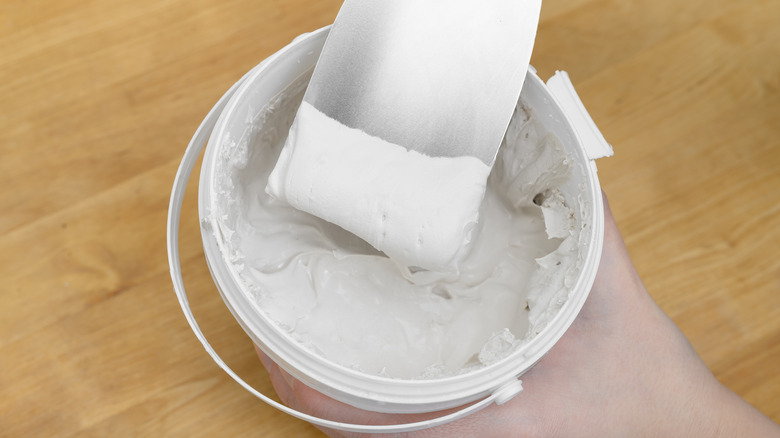
Painting your Ikea piece is sure to transform it, but if you want a truly seamless look, try filling in any extra holes in your piece. Many Ikea bookcases and shelving units have columns of holes for inserting shelf pegs, which may look a bit unfinished after painting. Though filling in the holes will prevent you from easily changing the position of the shelves, it gives your affordable furniture a higher-quality appearance. You might also fill in any cracks along the seams of your furniture or holes from drilling.
Spackle is probably the simplest way to fill those unsightly shelf holes in Ikea bookcases, though wood filler also gets the job done. Carefully wipe your spackle into the holes of your furniture, quickly removing any excess. If there is some extra spackle, or if you choose wood filler, you can sand it down during the rest of your painting prep. Caulking the joints of your furniture also improves the aesthetics and creates a seamless look. While you can find temporary Ikea cabinet plugs, they don't always work with the bookshelves. Plus, these plugs aren't easily removable after painting over them.
Let your primer and paint fully dry or cure after each coat if you plan on sanding
Painting your furniture can be exciting and it might be tempting to rush through your coats of primer and paint. However, not giving the coats enough time to totally dry or cure is an important mistake to avoid when painting Ikea furniture. If the primer or paint isn't completely dry when you apply the next coat, you risk it peeling. Different primers and paints have varying recommended drying times, so it's important to read the container and check the instructions for what you're using. Because laminate does not absorb paint in the same way as wood furniture, it's crucial to let your Ikea furniture dry properly.
In many cases with paint and primer, it's a good idea to let it sit for a full day before adding your next coat. And if you're planning on sanding between coats allowing enough time for the paint to harden is especially important. If you aren't sanding, you may only need to wait about four hours between coats, but it depends on the paint. Additionally, once you've put on your final coat and your piece is finished, give it extra time to cure completely before putting it together and using your furniture.
Paint your Ikea piece before assembling
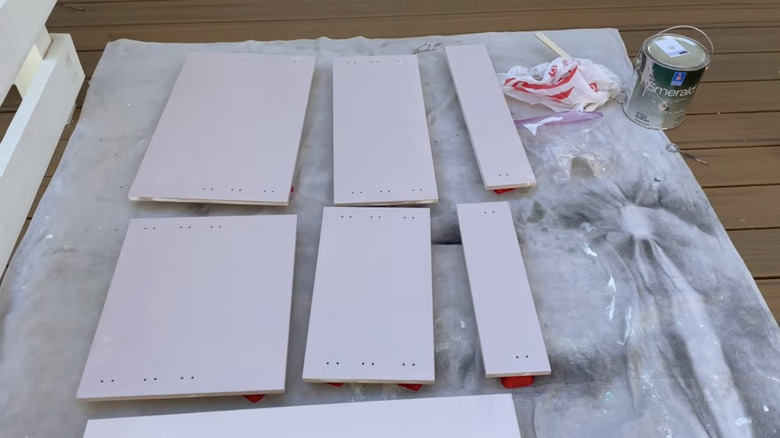
If you're planning to enhance a brand new piece of Ikea furniture, it's typically simplest to prep and paint it before assembling. This makes it easier to paint all of the sides and can help the process go a little quicker. That said, if your piece is already in place, and you've turned into a DIY built-in, don't feel like you need to take your construction down.
If you prefer to leave the piece assembled, it's not the end of the world. In some cases, it may even be too difficult to deconstruct your furniture without harming it and you have to paint it while it's assembled. Taking out as much as you can, such as drawers and shelves, helps you get better coverage when your Ikea furniture can't be taken apart and reassembled.
Choose the right paint for the surface of Ikea furniture
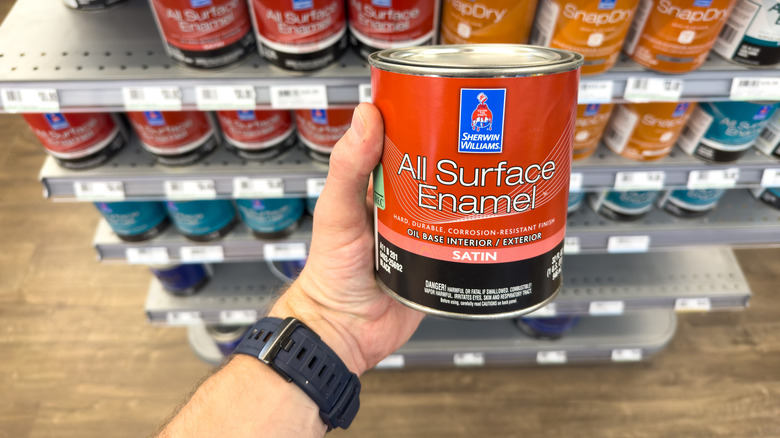
Because laminate surfaces are so smooth, it's important to choose a paint that adheres well to your Ikea furniture. Both latex and enamel paints are compatible with laminate and make your furniture more durable. For pieces that get a lot of daily use, such as tables or dressers, it's important that your paint holds up against all that contact. While options such as chalk paint might be enticing to try, they aren't as durable and might not last on your Ikea furniture. Spray paint also isn't the best choice since you could go through a lot of cans and it still might not look even.
Enamel paints are extremely durable and a great option for laminate, but they tend to have a shinier finish. If you want your project to have a matte appearance, traditional latex wall paint is a fantastic way to achieve this look, but is probably better for things like bookshelves that don't see a ton of contact (as opposed to surfaces like side tables). For those that don't mind a little satiny gloss, and need to coat a high-traffic surface the Sherwin-Williams all surface latex enamel paint is a great choice for darker colors while the brand's ProClassic interior acrylic enamel paint is better suited for light hues. If you want to make painting a little easier and faster than it is with a brush, latex paints can be used in a sprayer for convenience.
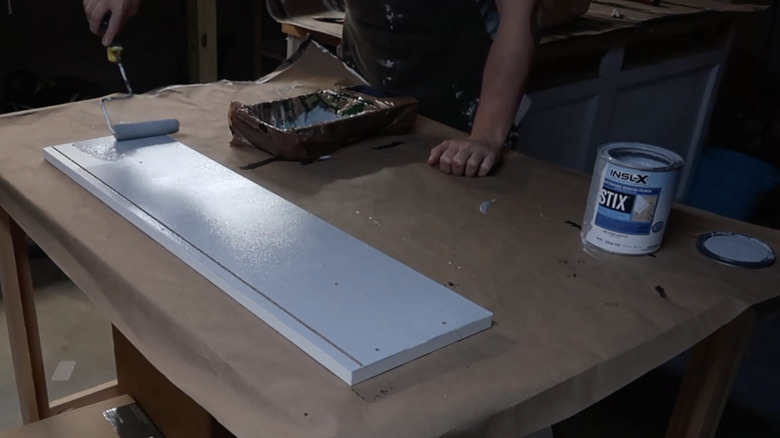
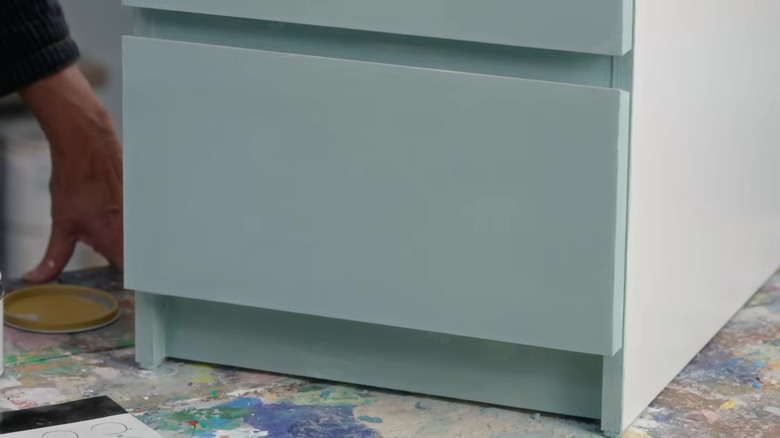
Painting with a roller instead of a brush can help you avoid visible brushstrokes
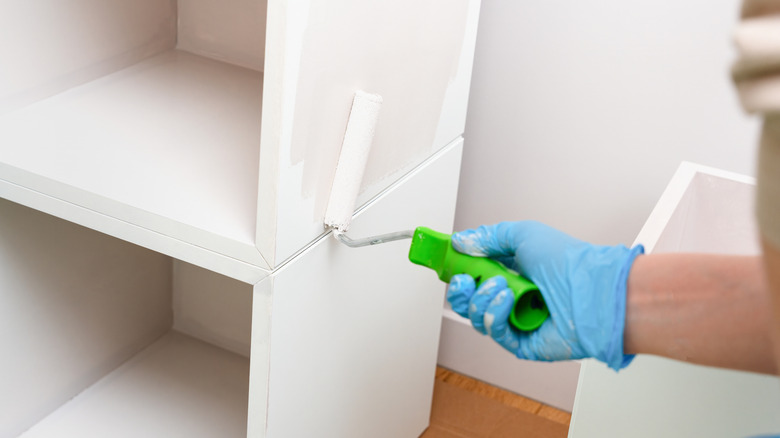
Spending tons of hours preparing and painting a piece of furniture only for it to be covered in unsightly brushstrokes can be devastating. Luckily, paint rollers provide a super simple solution to this problem. Though paintbrushes are likely necessary for certain areas of your project, using a roller for the bigger flat sections totally eliminates brushstrokes from your DIY Ikea furniture.
Foam rollers, especially the high-density kind, are particularly good for painting laminate furniture and help prevent a streaky finish. Since your roller can't fit into smaller nooks and crannies and intricate detailing, it's best to use a high-quality synthetic paintbrush for these spots. Lower-quality brushes could end up leaving bristles stuck to your freshly painted furniture. Start with your paintbrush, getting into all the corners and covering the edges, before completing larger sections with your roller. As you're working, check for any paint drips running down your piece and smooth them out before they start to dry.
Use two coats of paint on laminate furniture for good coverage
Whether you're looking to give your plain Ikea furniture a chic rustic makeover or make it look more high-end, ensure you're using enough coats of paint to provide proper coverage and get a smooth finish. If you want your furniture to look its best and be more durable, it's better to use (at least) two thin coats of paint rather than glopping on a thicker first coat. While the first coat covers your piece, the second ensures your furniture doesn't look patchy and has a nice, sleek finish.
With quality paint that's good for laminate furniture, two coats is generally enough for Ikea pieces, but sometimes you need another coat to get the best coverage. After completing the second coat, take a look at your project to see if there's enough paint or if it needs to be touched up. As you're painting thin layers onto your furniture, try not to go over places where hardware, such as hinges and knobs, attaches.
Sanding in between coats of paint is optional but could make your finish smoother
Sanding at the start of your project is vital. Though it's not necessary to sand between coats of paint, it could benefit your furniture. When your first coat comes out very even, you might not need to sand before your second coat. But, if it's not very smooth, a quick sanding helps you get a better finish in the end. This additional step can ensure the paint adheres well and your up-scaled Ikea furniture has a gorgeous finish.
After your first coat of paint has completely dried, very lightly sand your project again. This can be done by gently rubbing the sandpaper over the surface of your furniture. Once it feels smooth, you've sanded enough. Make sure to clean up all the dust from sanding before applying your next coat to prevent debris from getting trapped under the paint. Though this extra step takes a little more time and effort, it helps ensure your paint looks lovely on your Ikea piece.
Sealing your painted Ikea furniture could help it last longer but might change the color
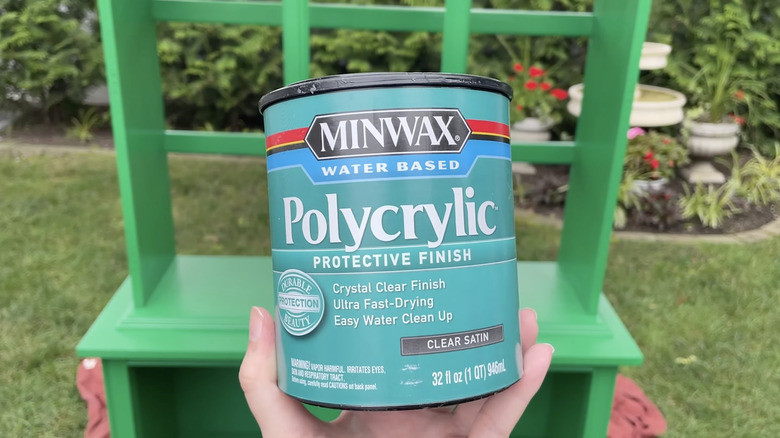
In many cases, you don't need to seal your project if you use good quality paint. However, if you're working on a piece that gets a lot of use, such as a dresser, it's often recommended. This is great for ensuring your Ikea DIY lasts longer by keeping your furniture from getting scratched or damaged. Additionally, if the paint you used isn't glossy enough for your taste, a clear top coat could help you achieve a shinier appearance. Though sealers add a durable and glossy finish, they may also change the way your paint color looks on your piece.
Because of the possibility of the color changing with a clear coat, test your sealer in a less noticeable area before applying it over your entire piece of furniture. Three coats of a sealer compatible with your paint should be used if your furniture gets harsh daily use, such as a nightstand. Otherwise, one or two coats should be enough to help protect your project. You might also consider sanding in between your coats of sealer to ensure it's smooth. Once you've finished applying your top coat, wait for it to cure completely before assembling and using your painted Ikea furniture.