16 Gardening Mistakes That Are Ruining Your Perennials
We may receive a commission on purchases made from links.
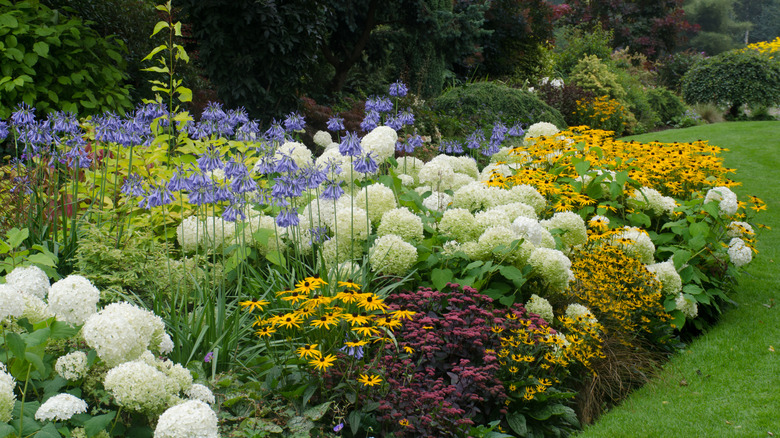
We like to think of perennials as the backbone of a thriving garden. They act as reliable performers that come back every year with amazing colors and scents. However, they have a limit to their hardiness. All too often, gardeners find out the hard way that simple mistakes affect the way their plants behave. If you've noticed your tough-as-nails perennial plants are having trouble establishing themselves or failing to thrive, it could be a sign you need to shift your gardening habits.
Don't worry; it's not as overwhelming as you think. We've broken down 16 of the most common mistakes we've seen gardeners of every experience level make with their perennials. We'll also tell you how that mistake is affecting your plants, and the simple switch that can drastically reverse the problem to ensure your garden thrives for years to come. So, grab your favorite trowel, and let's dive in.
Not checking your soil before planting
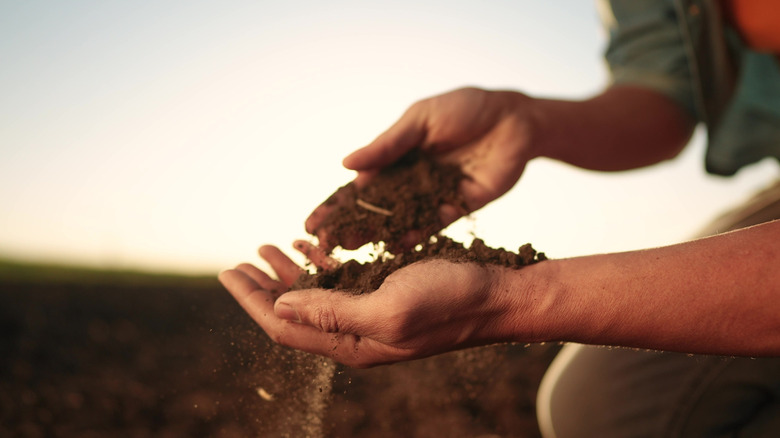
One of the biggest reasons perennials struggle or fail is because they've been planted in the wrong type of soil. Soil pH and nutrient levels are the foundation of good plant health, yet many gardeners don't know what they're dealing with before planting and just hope for the best. If your soil is too acidic, too alkaline, or lacking nutrients, your perennials can struggle to establish strong root systems, affecting their water intake, bloom schedules, and overall growth.
Most perennials thrive in soil with a pH level between 6 and 7, good drainage, and a mix of nitrogen, phosphorous, and potassium, but always check the tag that came with the plant — it should list any special soil requirements you need to have. As for soil tests, there are home-based soil testing options out there, but we recommend sending a sample to your local cooperative extension. It's typically a small fee (around $20), but they measure your soil pH and nutrient levels with pro-level lab tests that can save you from wasting money on a plant that cannot live in your garden.
Overwatering newly planted perennials
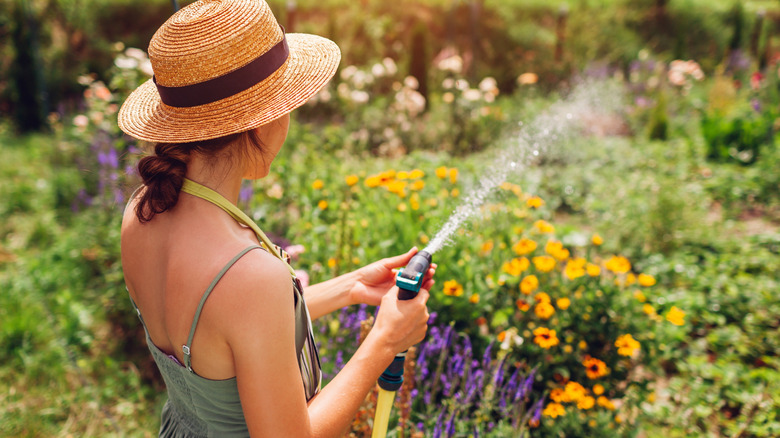
New perennials need consistent moisture to their roots, but this can get tricky — it's a fine line between moist and waterlogged. When soil stays saturated, it displaces air pockets that roots need to both spread and absorb oxygen. Oxygen-starved roots decay, inviting pathogens that lead to root rot and eventually killing the plant. If your perennials have begun to wilt, yellow, or seem that they're failing to establish, and have soil that's moist to the touch, it could be they're overwatered.
The best way to ensure your plants get the water they need without overwatering is to water them deeply every few days instead of a shallow once-over with the hose every day. However, if you've already gone overboard with the watering, there's a chance you can still save your overwatered plant. Start by gently lifting the plant from its spot — don't tug — and cut off any rot or dead foliage. Then, amend the soil with drainage materials, such as sand or perlite, and let the planting area dry out for a day before replanting the perennial. Monitor it over the next few weeks and only give it water once the top 1 inch of soil is dry.
Underwatering or shallow watering newly planted perennials

While overwatering is dangerous, underwatering or shallow watering is equally problematic. Underwatering leaves roots parched and unable to establish, causing wilting, yellowing, and stunted growth. Shallow watering, like a quick shower from the hose, only moistens the top 1 inch of soil, leaving deeper roots bone dry. Plants respond by developing shallow, weak root systems that become dependent on frequent watering. Plants can also struggle to establish, topple over easily, and wilt dramatically at the first sign of dry weather.
Even drought-resistant plants need consistent supplemental watering during their first two years while they establish deep root systems. Check soil moisture by inserting your finger about 2 inches down; if it's dry, it's time to water. The goal is 1 inch of water per week for every square foot of garden. We know that's a bit hard to calculate, so try to water until moisture penetrates 6 to 8 inches into the soil. This encourages roots to grow downward instead of laterally, creating a strong foundation.
Not giving your perennials the right amount of space
When you're standing in the garden with a handful of tiny starter pots, it's tempting to plant them close together since the gaps between them look huge and you can't quite imagine them filling out. But perennials grow, sometimes dramatically. If they're too crowded, then air can't flow between them, which creates the perfect warm, humid environment for fungal diseases, such as powdery mildew, to thrive. Crowded plants also compete for water, nutrients, and light, weakening all of them and reducing blooms.
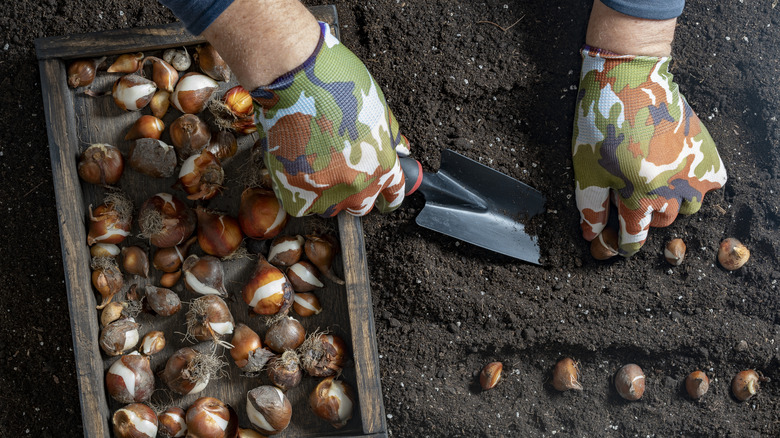
Before you plant, read the plant tag and look for the mature size or recommended planting space. This way, you can design your garden with that full-grown size in mind, not the tiny starter plant in front of you. Space plants according to their mature width, even if it means bare soil between them for the first year or two. If it looks too barren to your liking, you can use mulch or plant some fast-growing flower bulbs to fill those gaps temporarily while you wait for perennials to reach their full size.
Pruning at the wrong time of year

One of the most frustrating mysteries of a garden is that one healthy shrub or perennial that simply refuses to bloom. Turns out, the culprit is often an overeager gardener with a pair of pruners. The timing of your pruning is critical because different plants set their flower buds at different times. Spring-flowering shrubs, such as lilacs and rhododendrons, form their flower buds during the previous summer and fall; if you prune them in winter or early spring, you're just cutting off its future flowers before they ever have a chance to open.
The general rule of thumb for pruning is simple: Start snipping immediately after the plant has finished blooming. For spring bloomers, that means getting out there in late spring or early summer as soon as the flowers fade. For summer and fall bloomers, which typically set buds on new growth in the spring, you can prune them in late winter or early spring while they are still dormant. Hydrangeas are a little trickier because you need to know whether you've got "old wood" or "new wood" species. When in doubt, put the pruners down and wait until you see the flowers fade; it's the safest way to ensure you aren't accidentally removing next year's show.
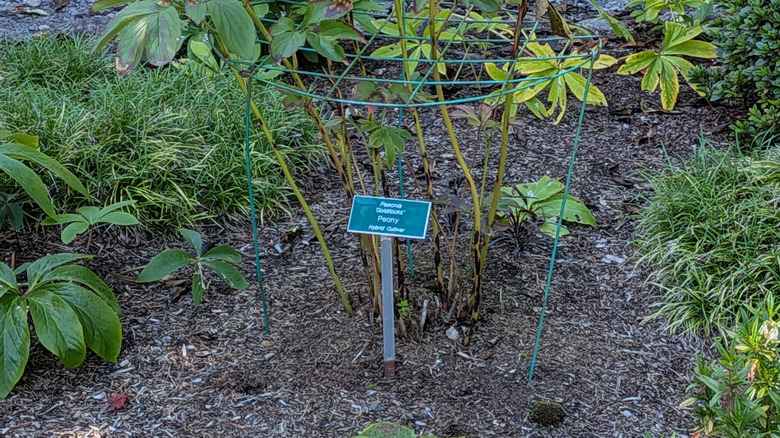
Not giving your perennials enough support
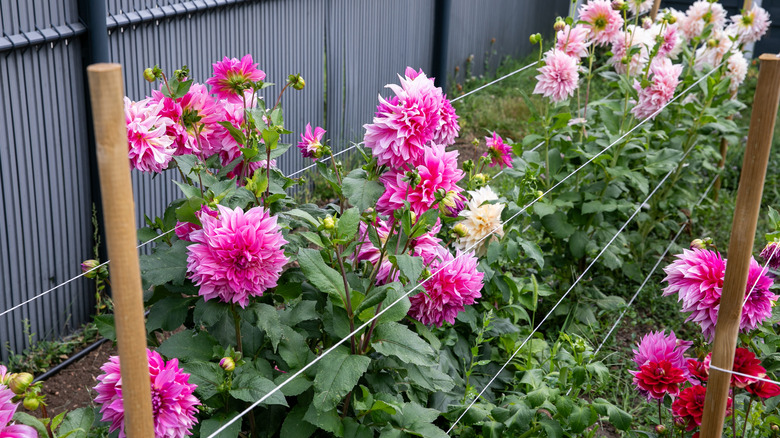
We often plant perennials while envisioning their final, glorious form, but we sometimes forget that many of the taller types need a little physical help to stay upright. Tall, top-heavy bloomers, such as delphiniums and hollyhocks, are prone to flopping over or snapping under the weight of their own flowers, especially after a heavy rain or on a windy day. Once a stem has bent or broken, there's no un-breaking it; the damage is done and the display is ruined for the season.
However, the mistake isn't just failing to stake, but waiting too long to do it. Trying to wrangle a fully grown, flopping peony into a support cage is a recipe for snapped stems and frustration. The fix is to install your supports early in the spring, right as the new growth is emerging. Whether you use grow-through grids, such as MJZ's Peony Cages and Supports, or single-stem supports, such as Kingsyard's 16-Inch Plant Support Stakes, getting them in place early lets the foliage grow up, through, and around the support, effectively hiding it while still getting the structure they need.
Playing fast and loose with pesticides
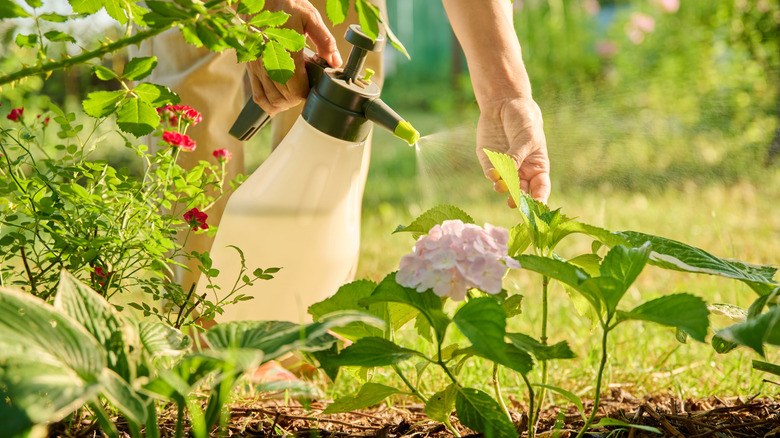
Using pesticides all loosey goosey is like bringing a sledgehammer to a delicate repair job; you might solve one problem, but you likely cause five others in the process. Many gardeners see a bug, instantly panic, and spray the entire plant with a broad-spectrum insecticide, not realizing they're killing the beneficial insects that are garden friends, such as ladybugs, lacewings, and bees. Plus, applying pesticides when plants are drought-stressed or when temperatures are high can burn foliage, leaving your perennials looking worse than the creepy crawlies ever did.
The biggest mistake, however, is simply using the wrong product because you didn't read the label. What works for aphids might do absolutely nothing for beetles, meaning you've sprayed toxic chemicals for no reason. Before you spray, take the time to figure out which bug you're dealing with to make sure it's actually a problem. If you must treat, start with the least toxic option, such as a strong blast of water or insecticidal soap, and always read the label to ensure it's safe for your specific plant and the current weather conditions.
Mounding mulch around the crown
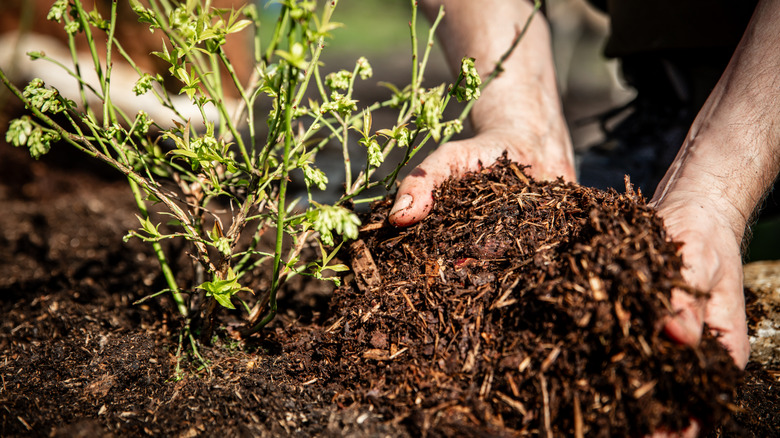
Mulching is one of the best things you can do for your garden, but how you apply it matters just as much as doing it at all. A common mistake is piling mulch high against the base of the plant, creating what landscapers call a "mulch volcano." When mulch is piled directly against the stems or crown of a perennial, it traps excess moisture against the plant tissues, encouraging rot and fungal diseases that can kill the plant from the ground up. Beyond rot, thick mounds of mulch provide a cozy, protected winter home for rodents, including voles, which happily gnaw on your plant's stems and roots under the cover of your "protective" layer.
The correct way to mulch is the "donut" method: Spread a 2- to 3-inch layer of mulch around the plant, but pull it back a few inches from the center, leaving the crown and stems exposed to the air. This creates a breathing ring that prevents rot while still suppressing weeds and retaining soil moisture where the roots need it most.
Overfertilizing can do more harm than good
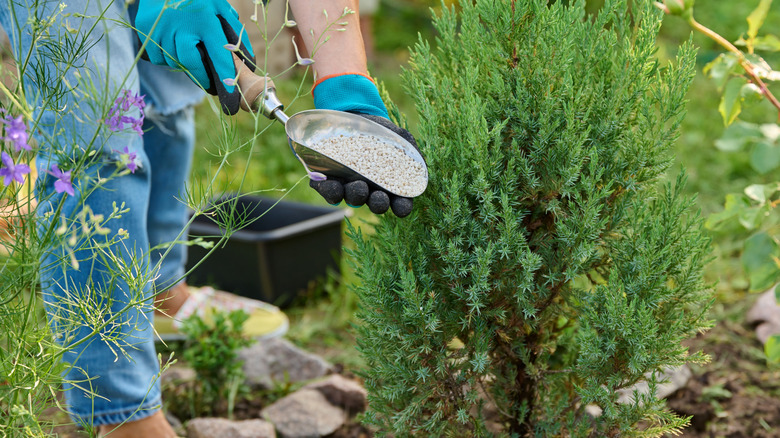
We get the idea that feeding your perennials more fertilizer results in bigger, better blooms, but it can do more harm than good. Most perennials are relatively low-nutrient plants and don't actually need much fertilizer to thrive. When you overfertilize, especially with high-nitrogen, low-phosphorous formulas, the plant responds by producing excessive soft, leafy growth instead of flowers. You end up with a big, lush plant that produces almost no blooms. This might look nice enough, but we know you're here for the blooms, so don't set yourself up to be disappointed.
Before you fertilize, do a soil test to see what your soil actually lacks. Most perennials thrive with a balanced, low-analysis fertilizer, such as Jack's Classic All-Purpose 20-20-20 Water-Soluble Fertilizer, applied sparingly once in early spring. If your soil test shows you don't need fertilizer, it's okay to just skip it since many perennials are perfectly happy in moderately fertile soil without supplemental feeding. Resist the urge to feed and remember that sometimes less is more when it comes to perennial health.
Not giving perennials the right amount of light
Light requirements can be tricky because they vary so much, and plant labels don't always tell the whole story. A plant that needs "full sun" might actually struggle in the intense afternoon heat of your climate, while a "full shade" plant still needs enough light to photosynthesize. Plants that don't get enough light lean toward the nearest light source and become stunted, yellow, and drop leaves. Plants getting too much intense light can scorch and wilt.
The key is to pay attention to your plants throughout the season and move them if they're struggling. If a plant looks stressed, whether it's from too much heat or not enough light, try relocating it to a different spot. You can also try adjusting the light in its spot by pruning taller trees around it or using something like Zozijiu's Garden Shade Mesh Netting to shield it from the harsh afternoon rays.
Not protecting perennials from winter weather
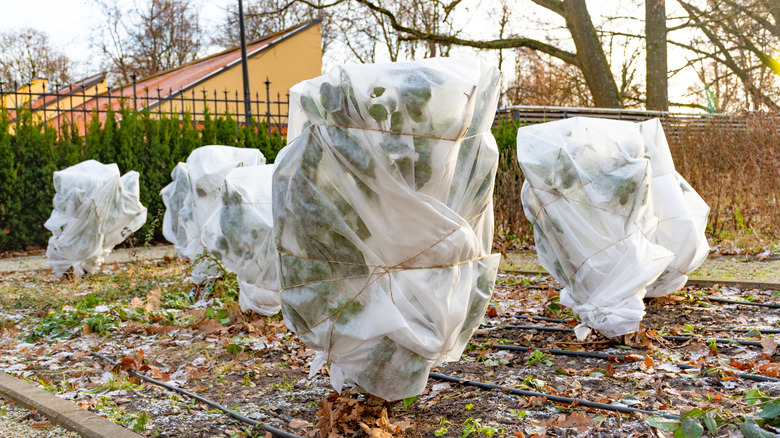
Winter can be brutal on perennials, especially newly planted ones. Many gardeners don't realize how vulnerable their plants are until spring reveals the damage. Freeze damage can occur when temperatures drop below 30 degrees Fahrenheit, causing leaves to turn white or brown and collapse. But the bigger culprit is "frost heaving," which happens when temperatures swing wildly between freezing and thawing. As water in the soil expands and contracts, it pushes plants out of the ground, exposing their roots and crowns to cold temperatures and drying winds. Perennials planted within the last year are most vulnerable because their root systems haven't had time to establish.
The fix is to apply a protective 2- to 3-inch mulch layer in late fall, after the ground has frozen. This also protects newly planted perennials from heaving out of the ground. For extra-tender perennials or newly planted stock, you can also use burlap or evergreen boughs to shield them from harsh winter winds.
Not knowing which perennials need to be divided

Perennials aren't "plant it and forget it;" over time, many vigorous growers, such as daylilies, hostas, and irises, outgrow their space. As these plants expand, their centers often die out or become woody, leading to fewer blooms and a scraggly, crown-shaped appearance. Underneath the surface, the crowded roots struggle to find nutrients and water, causing the entire plant to lose vigor and flower production to drop off significantly.
The solution is regular division, typically every three to five years depending on the plant. Start by digging up the entire clump in early spring or fall, then gently pull or cut the root ball into smaller sections, ensuring each new division has healthy roots and several shoots. Replant the best sections based on their mature sizes and compost the woody center or give extras to friends. This rejuvenates the plant, stimulates new growth, and gives you free plants to expand your garden or share.
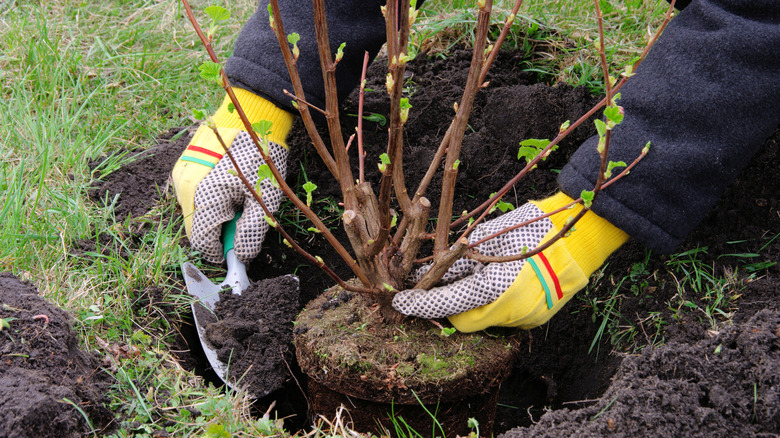
Not planting new perennials at the right depth
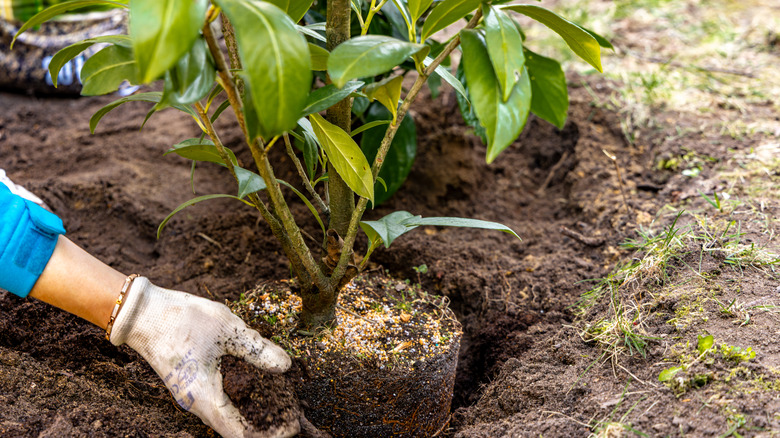
Planting depth might seem like a minor detail, but it's critical for the longterm health of your perennial. It's also one of the hardest mistakes to fix once the plant is established. If you plant too deep, you risk burying the crown of the plant below soil level, which traps moisture against the stems and promotes rot and disease. Meanwhile, planting too shallow leaves the crown exposed and vulnerable to frost heave and root damage during winter.
The correct depth varies by species, so check the plant tag or hit up Google before you dig. If you mess up, the only way to gradually correct a too-deep planting is to lift the plants, but you risk damaging the taproot or causing transplant shock. A too-shallow plant is a little easier to handle, such as by topdressing or mulching, but the lesson here is to get it right the first time and plant with the crown at soil level.
Not removing dead leaves or spent blooms
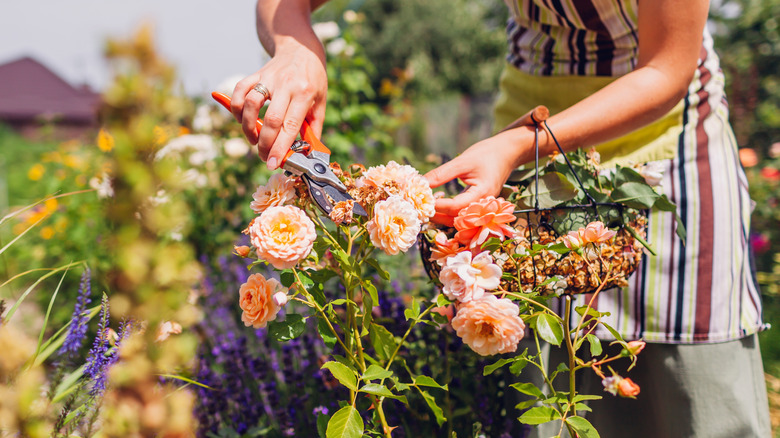
While there's a growing trend to "leave the leaves" for winter interest and wildlife habitat, ignoring dead plant material during the active growing season is a different story. Leaving spent blooms and decaying foliage on your perennials during spring and summer lets debris sit on the soil surface or cling to the plant, becoming a breeding ground for fungal spores and pests. Beyond hygiene, failing to deadhead signals to many perennials that their job is done for the year. Once a plant sets seed, its energy shifts from flower production to seed maturation, causing blooming to stop. Plus, removing old flowers may trick the plant into thinking it hasn't flowered and trigger a second flush of blooms. Always prune with sharp, sterilized shears to prevent fungal growth. Regular grooming keeps the plant's energy focused on vigorous growth and flowering rather than sustaining tired, disease-prone tissue. Think of it as housekeeping: A clean plant is a healthy plant.
Planting perennials too early
We know it's hard to resist the urge to plant when the first warm weekend hits, but acting on that impulse is often a mistake. Just because the air feels warm doesn't mean the soil is ready; soil temperatures lag significantly behind air temperatures, and cold, wet soil creates a hostile environment for new roots. Planting before the soil has warmed to at least 50 degrees Fahrenheit can cause root rot, stunted growth, or transplant shock that sets the plant back for the entire season.
The best strategy is to know your specific frost-free date and check current soil temperatures before you dig. If you simply can't wait, plant bare-root perennials while they are still dormant since they can handle the cold soil better than actively growing potted plants. Patience really is a virtue here; waiting two weeks for warmer soil can let a plant catch up to, or even surpass, one planted too early.
Not remembering what you've planted
Picture this: Spring arrives, you look at your garden bed and see bare soil, so you decide to dig. But, while digging, you notice — oops — a dormant tuber or root of a peony, hosta, or daylily that's been sitting quietly underground the entire time. Accidentally digging up or damaging these underground structures can seriously stunt or kill the plant, setting it back years or causing it to fail to bloom.
The fix is simple, but requires a tiny bit of planning: Label your plants with stakes or tags when you plant them or, better yet, create a simple garden map or journal that shows what's planted where. You can also take a photo of your garden in fall, before everything dies back. It feels tedious, but labeling or mapping is one of the easiest ways to protect your investment and avoid accidentally destroying plants you've worked hard to establish.