The Clever DIY That Gives Your Bathroom Mirror An Affordable Makeover
We may receive a commission on purchases made from links.
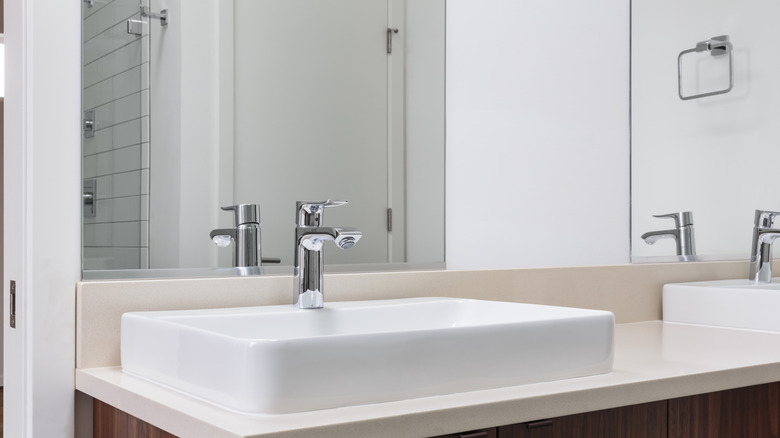
If you've been thinking that your bathroom needs a makeover, something simple that stands out and makes it look nicer, we've found an easy DIY mirror project that will add some class to the room. This project works well for mirrors that sit flush against the wall, rather medicine cabinets, and that it is square or rectangular. Adding a frame around your mirror will take it from boring to elegant, let you add another small pop of color to the bathroom, and is an upgrade that doesn't take much time, money, or skill. We love this DIY bathroom mirror frame project because it won't break the bank.
While mirror frame kits are available, they can cost over $100. If you want to shoot for a more affordable upgrade, some DIY home improvement enthusiasts have found that the trim you can pick up at the hardware store works just as well. Trim often runs about $1 per foot for some of your cheapest options, so a mirror that is 3 feet across and 2 feet long would require about 10 feet, which is much more affordable than one of those frame kits. There are plenty of trim color and shape options, so you can pick something that matches your bathroom. For something truly unique, you also can paint the trim you chose. Consider a stylish bathroom paint color that you'll love. To make your frame, you will need enough trim in your desired color and style, something to cut the edges with, and some glue to attach them to the wall.
Creating a frame for your bathroom mirror
Typically, you'll need a miter saw to make a clean 45-degree cut on your trim pieces, edge them, and ensure they fit together like a frame. You want a clean cut with a blade that won't shred your trim. For those who don't have a miter saw, the most affordable option is a handsaw and a miter box — this lets you get the right angle of cut, but it will take a little more elbow grease. If you have a miter fence or a jig, almost any saw will work in a pinch. Once your trim is cut to the proper lengths to fit your mirror, with those 45-degree angles, you can attach it to your mirror.
You will want to use a glue that quickly adheres your trim to the wall, such as the Heavy Duty Construction Adhesive from Amazon, which works on concrete, tile, wood, stone, and more. It's waterproof, which is essential for bathroom use, where shower steam can cause adhesion issues and mold growth. If you want extra security, you can screw or nail the trim frame to the wall as well. Once the pieces are attached to the wall, fill the gaps where you connected the angles with waterproof caulk to smooth the joints and prevent mold growth. Be sure you don't make any mistakes when caulking your frame, like cutting the caulk tip too wide and making a mess.