A Clever DIY Solution For Storing Your Tape Measures
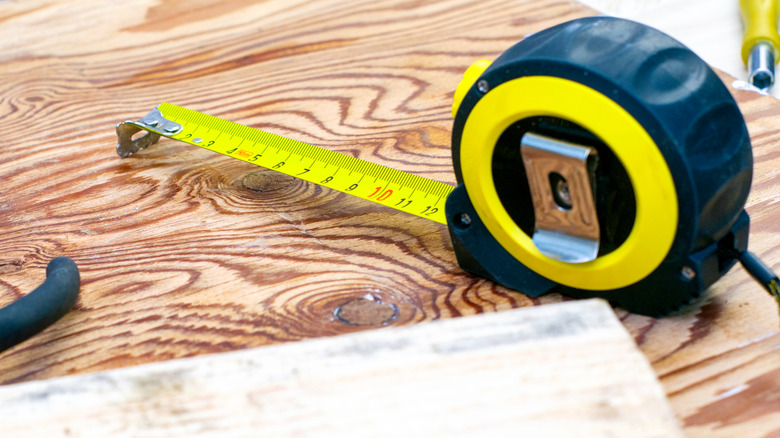
Whether your garage workshop is large with ample storage or so small that your devices seem to scramble for space, tape measures are always finicky to store. These devices have a habit of disappearing the moment you need one. And their small size doesn't help things either; put them in a toolbox drawer or stash them in a storage bin, and they quickly get buried under all the other tools. One practical solution is to hang your tape measures on a DIY wall-mounted rack. This is an easy garage storage idea that feels similar to store-bought wall brackets for holding tiny tools, but much longer, so it can carry several tape measures at a time.
This DIY solution is easy to put together as it can be assembled using only simple hand tools. It's also a great opportunity to repurpose items in your workshop, such as scrap wood pieces and old hacksaw blades, making it one of the many budget-friendly ways to organize your garage. By positioning this tape measure hanger on a wall, you can easily locate them whenever you need one without having to rummage through drawers.
How to assemble a DIY tape measure hanger
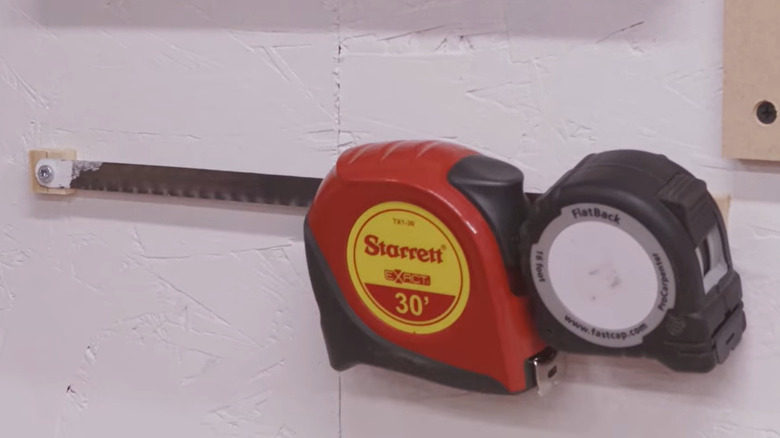
To get started with this hanging tool storage DIY, you will need a few items you likely already have in your workshop. Instead of throwing away that old hacksaw blade that's reached the end of its lifespan, unscrew it from the frame, and if you like, refresh it by cleaning off worn paint and applying a new spray-painted finish. Two wooden spacers will form the base of the rack and create clearance from the wall, allowing tape measure hooks to slide freely over the blade. To make the spacers, use scrap wood pieces that are around 5/16-inch thick. Mark out 3/4-inch squares, drill a centered hole sized for your screws, then cut out the two spacers.
With all your parts ready, it's time to put everything together and install your tape measure hanger. Choose a mounting spot on the wall, ideally above your workstation, for easy access while working. Now, pass one screw through one end of the hacksaw blade and through one of the wood spacers, then screw it in position on the wall. Repeat the process on the other end of the blade, making sure it is level. Once installed, the rack is ready for use. Simply slide the tape measures on the blade by their hooks, and you're good to go.