Turn Leftover Trim Into A Cute Vintage-Inspired Storage Solution With This Clever DIY
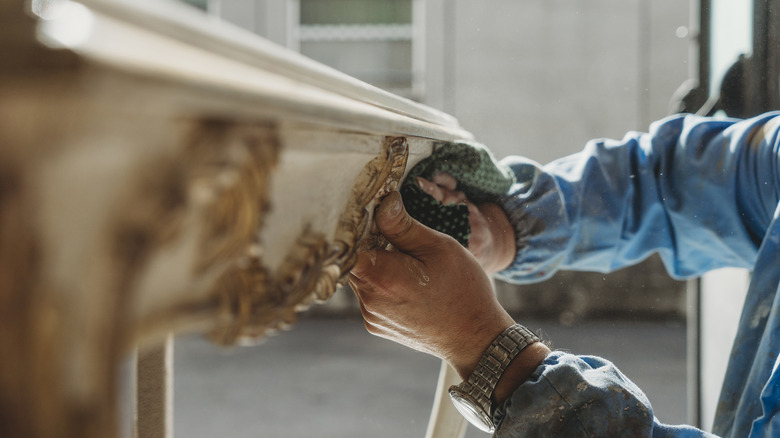
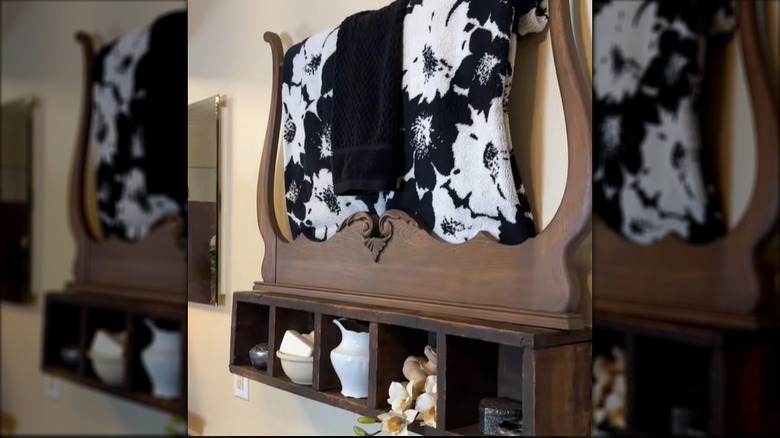
There's no shortage of ways to reuse wood salvage, especially when it's both pretty and functional. Heavy ornamentation on antique furniture is often the first thing to come loose. If you find yourself in possession of such a piece while repurposing your old furniture, don't get rid of it! Added to a simple board, it helps an otherwise blah shelf turn beautiful. Vintage upcycler Sandy, the TikToker behind @whimsybarn, had a carved wooden towel rack from an antique washstand cabinet that was too pretty to go to waste. Sandy also had a long, rectangular box divided into cubbies that matched the length of the trim piece, ideal for topping with the trim and hanging as a cubby-shelf. If you don't have such a lucky find, a plain board will stand in. Once it's showing off the trim, it'll be far from boring.
For the shelf, you might want something as narrow as a piece of a 1-inch by 6-inch board to display collectibles or up to a 1-inch by 12-inch board to hold books. To make your own salvage-trim shelf, you'll need your salvaged trim and a board or other material (like Sandy's cubby) you'll use as a horizontal surface. Also, gather up wood glue, sandpaper, a nail gun or finishing nails, a nail punch, a hammer, stain, and a foam brush. If the wood isn't in great condition, consider painting it; a 2026 shelf design trend calls for coating shelves in bold colors that complement a room. To hang the shelf, set aside a level, a drill, and wood screws. If you have a stud finder, grab that as well.
Create a salvaged furniture trim shelf
Begin by assembling the parts of your shelf. Check through your pieces of scrap wood you have lying around. If there's a 1-inch-by-2-inch board or a piece of plywood, you can use it as a backing to screw the shelf to the wall. Glue and nail what will be the back edge of the shelf to the long, narrow edge of the 1-by-2. A couple of small metal corner brackets attached with short wood screws to the underside of the shelf will reinforce the two pieces.
A pair of wooden brackets could also be a good solution for hanging the trimmed shelf. Before attaching the brackets, locate and mark the studs in your wall. Measure this space on the shelf board, and attach your brackets here with glue and nails to line up the brackets with the studs. Nail the trim to what will be the back edge of the board at several points. Give the combo a rubdown with sandpaper, and stain or paint it a uniform color. If your board components are too new-looking, transform your wooden surfaces to vintage chic in minutes before staining them.
Hang the brackets on wood screws driven into studs. If you're not using brackets to hang the shelf, find and mark studs in the wall, and use a level to find and mark a level hanging position. Send two screws through the 1-inch-by-2-inch backing into the studs, one near each end of the unit. Style the shelf with objects like books or plants that enhance rather than detract from the trim's features.