How To Install A Wall-Mounted Dish Rack So That It's Totally Secure
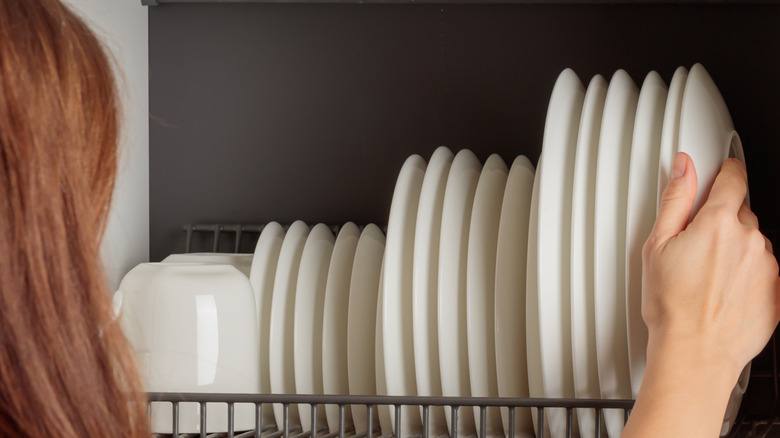
Whether you want to put your favorite dishes on display or make up for a lack of cabinet storage space in your kitchen, a wall-mounted dish rack is a handy solution. These racks can consist of wood, stainless steel, and other materials. They deliver a stylistic accent and a sensible solution for drying dishes if they can hang over a sink. Having owned and remodeled several older homes, I know there are plenty of vintage home features that are charming. However, even though some people find a small kitchen part of that charm, they can also be impractical, leaving you with limited storage space and design options. I've used wall-mounted dish racks as one way to solve this problem in a small kitchen.
Before mounting the dish rack, select a unit that fits the space you have available. Determine whether you have drywall and wood studs underneath or a brick wall. Although you can secure a heavy dish rack to a brick wall, it can be more challenging and will require some extra time compared to working with drywall and wood studs. As an additional bit of advice, test the dish rack after securely mounting it with some heavy (but unbreakable) items. You want to be absolutely certain it will hold your dishes securely. If the rack falls off the wall with the test items on it, at least you won't have broken your dishes. (However, an even better option is to be careful about securing it properly the first time!)
Securely mounting a dish rack to wood studs behind drywall
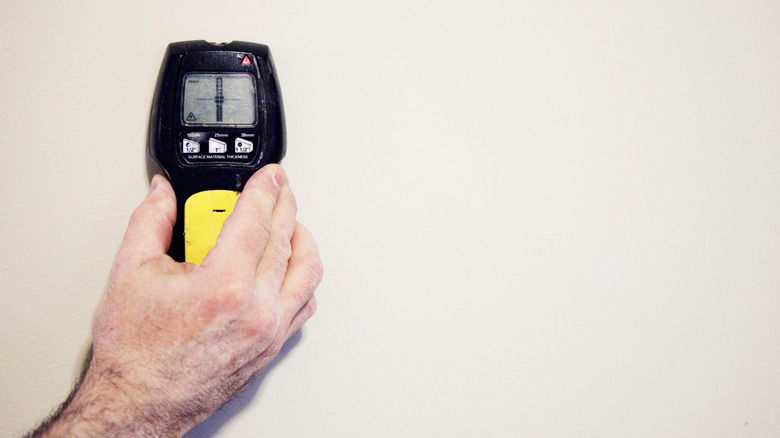
I like to start a project like this by making sure I have all the tools I need. A stud finder, level, and cordless drill are must-haves. Calculate the weight of the rack and the dishes it will hold. A typical dinner plate weighs 1 to 2 pounds. Although you could use toggle bolt drywall anchors to support up to 100 pounds without going into wood studs, I would never recommend trying this when supporting a rack that will hold fragile items like dishes. For maximum security, it's important to screw directly into wall studs behind the drywall.
Use the stud finder to locate the wood studs behind the drywall. If you don't quite trust the results, try using the "knock test" to lightly rap on the drywall and listen for a solid sound that indicates a stud. If you'll be supporting less than 100 pounds, wood screws should do the job. I'd recommend lag bolts to secure heavier racks. You'll want no more than 1 to 1 ½ inches of the screw or bolt in the stud to avoid potentially damaging plumbing or wiring. Include the thickness of the rack and drywall in your calculation for the proper length of screws or bolts to use. Screw the rack to at least two wood studs to properly secure it. If the rack is too narrow to span across two studs, secure it in two places vertically on one stud. However, it might struggle to hold a lot of weight when fastened this way.
If you're trying to drill through a tile backsplash to hang the dish rack, you'll need to go slow to avoid cracking the tile by applying light pressure. You also might struggle to make the stud finder work when you have thicker tiles on the wall. Use a carbide-tipped drill bit on ceramic tiles and a diamond-tipped bit on porcelain or glass tiles.
How to secure a wall-mounted dish rack to a brick wall
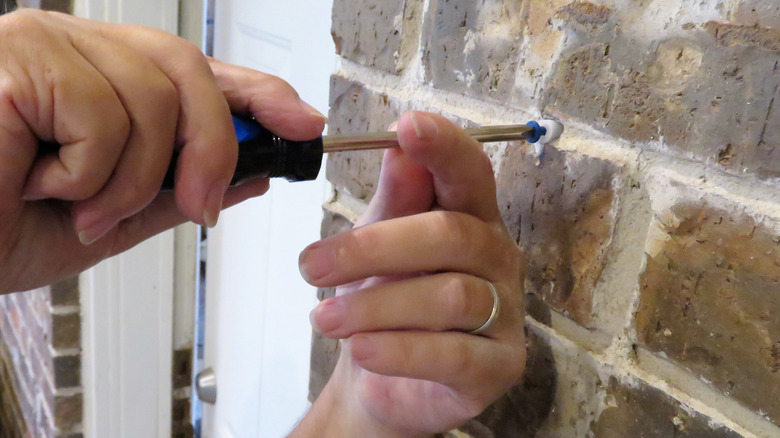
If you have a brick wall in your kitchen, you can attach a wall-mounted dish rack, but it will require following a few different steps. (If you have brick veneer instead of a solid brick wall, attach the rack to the wood studs behind the veneer.) I would suggest using concrete bolts or masonry screws. Don't expect the brick to hold as much weight as the wood studs without the right bolts or screws. Additionally, if you have an older home with brick that's close to 100 years old, it probably is too soft to hold your wall-mounted dish rack securely without careful work. Drilling into crumbling brick could crack it. You may need to use anchoring cement to secure the bolts and shore up the bricks.
When drilling into the brick to create a pilot hole, I'd suggest using a masonry drill bit. These bits are made specifically for brick and similar materials. Drill the pilot hole with a drill bit that's about 1/16 inch smaller in diameter than the bolt or screw you're attaching. Drill slowly and don't go too deep, or you'll risk cracking the material. If you apply too much force, you could get the bit stuck. Don't go any deeper than you need to for the length of the bolt or screw. Include the thickness of the rack in determining how deep you should go. Use masking tape on the bit to indicate the depth you want to use, and drill the pilot hole until the tape on the bit touches the wall. After drilling the holes, attach the rack with the screws or bolts. Again, insert them slowly to avoid damaging the brick. Attach the rack in at least two places to the brick wall.