Don't Throw Away Extra Tiles, Use Them To Upgrade Your Boring Bookshelf
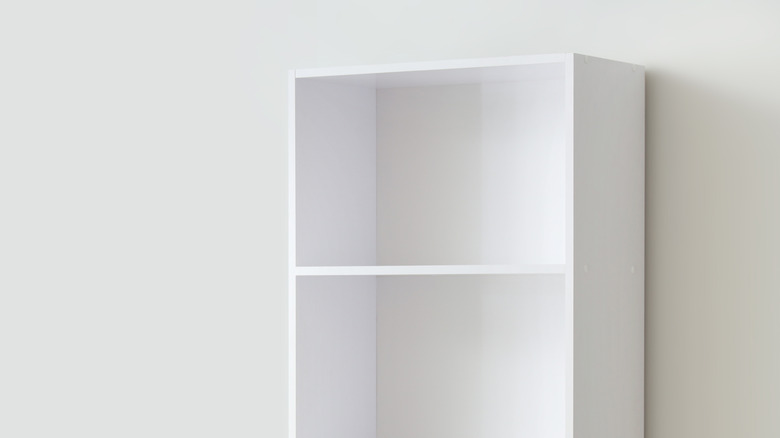
Why is it that bookshelves nail the job of holding books so well, but many of them do very little in the way of adding style or decor to a space? If you've ever found yourself staring at a plain bookshelf and feeling underwhelmed, you're not alone. The best furniture pieces are those that serve a dual purpose of functional utility and aesthetic appeal. So, when it comes to your boring bookshelf, we've got just the solution you might need. Simply upgrade this piece of furniture you already have for a new look using tiles. Turn that plain canvas that is the back of the bookshelf into an eye-catching focal point, similar to how a backsplash stands out in your kitchen.
The best part about this DIY project is that you don't have to dip into your pocket to buy a new set of tiles, because this is another genius way to use the leftover tiles you stashed away in your garage after your last big kitchen or bathroom reno project. And as for the bookshelf, the one you already have is what you'll revamp. However, we recommend you go for a shorter bookshelf to avoid the risk of it toppling over from the weight of the tiles. If all you have is a tall one, attach it to the wall after installation to keep it stable and secure.
How to jazz up your bookshelf with leftover tiles
If you want the entire piece of furniture to look as good as new once you're done with this redo, start by polishing up your bookshelf before adding the tiles. Sand the surface and apply a fresh coat of paint. Once the paint is fully dry, lay the bookshelf flat on its back on a level surface. Arrange your tile pieces and spacers to plan the placement and see how the pattern you're envisioning will come together. For any gaps on the edges, measure the space and cut a few tiles to size using a tile saw. If you don't have one, don't panic, just mark your tiles and take them to the nearest home improvement store, where they can cut them for you.
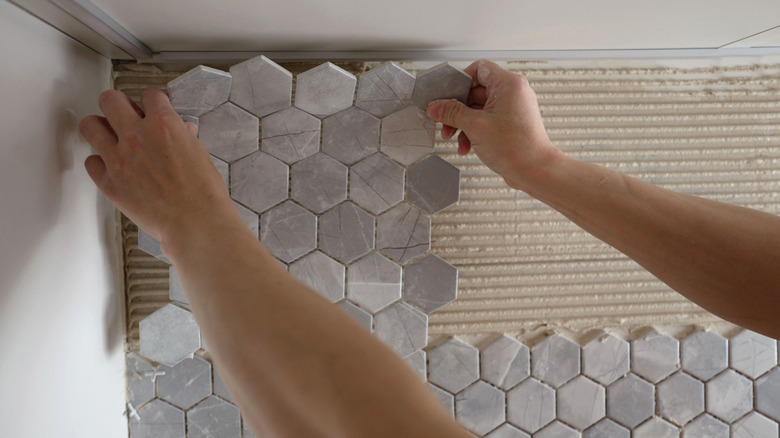
Once you're satisfied with the look, put the tiles aside so you can begin the actual installation. Start by applying a layer of tile adhesive using a trowel. Stick the tiles in position one by one with the spacers in between. Now let the adhesive dry completely. This can take a few hours or overnight, depending on the manufacturer's instructions. Next, remove the tile spacers and properly grout your tiles using a grout float. Allow the grout to set according to the manufacturer's instructions, then wipe away excess grout with a damp sponge. Repeat this process for all the shelf openings, and you're all done.
Besides revamping the back of the shelves, another strategic place you can install these extra tiles on your bookshelf is flat on the base of each of the shelves. As a final touch, if you're not happy with the color of the tiles, just spray paint them after installation.