Why This Popular Tile Pattern Is Considered One Of The Hardest To Install
Installing your own tiles can be a challenging home DIY project at the best of times. You need to prep the space, cut them to the right size, and make sure they all line up in the room. However, some tile patterns add another layer of difficulty to the process. One of these patterns is herringbone. Although it is an incredibly stylish and popular option, you may want to think twice before installing them yourself.
Herringbone patterns are difficult to install because of the angles and alignment needed to ensure that the finished result is neat and even. You will often need to cut tiles at various angles when laying a herringbone pattern, which requires a lot of skill and concentration. One of the things many of us love about herringbone patterns is the geometric precision of the design. The tiles fit perfectly together to create a beautiful rhythmic flow across the floor. This means that one slightly off tile can ruin the whole herringbone effect and create a tile eyesore in the space. So what do you need to know before installing these tiles in your home, and how can you do a perfect tile installation in the herringbone pattern?
Tips for installing herringbone tiles
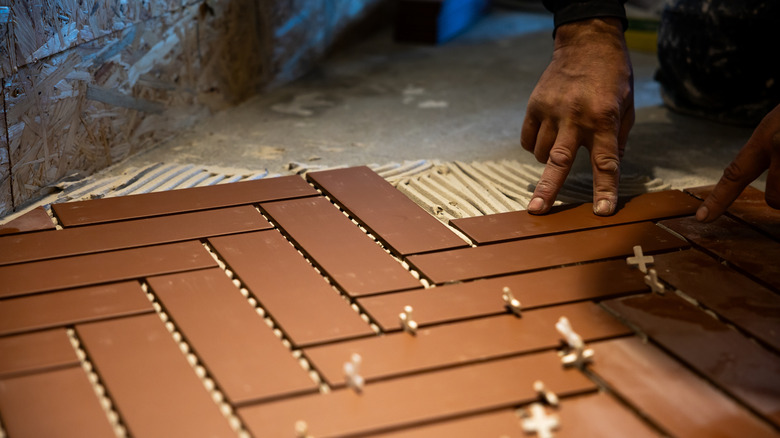
If you have your heart set on herringbone tiles, you can still install them yourself. You just need to take your time and be precise when prepping and placing the tiles. To set yourself up for success, measure the space carefully and lay out the herringbone pattern before installation. Once you have placed out the herringbone pattern, find the central line of the pattern and mark it out. This will make it easier to apply the tiles. Double and triple check all your measurements to make sure that all numbers are correct, and do a dry layout if you are installing a herringbone tile floor, so you can visualize placement. As alignment is one of the reasons why herringbone patterns are so hard to install, these steps can help you avoid making a mistake when tiling.
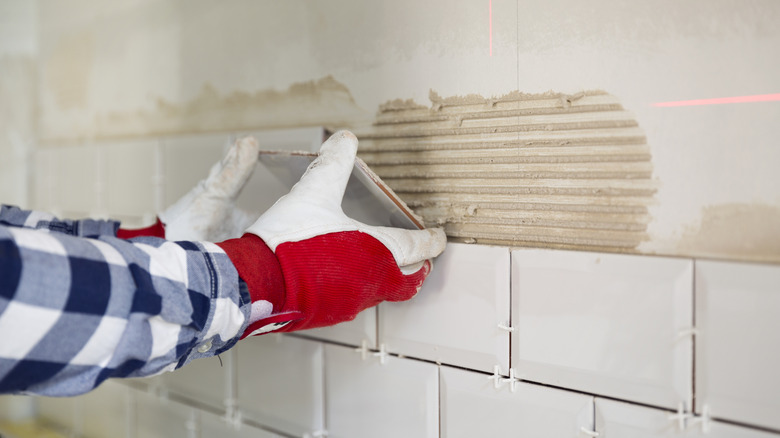
Before applying tile, locate the center point of the wall or floor and mark it with intersecting lines. Place the first V-shaped section at that point, matching the central line of the pattern with the central line of the wall or floor. Use tile spacers to keep grout lines consistent as you place each tile. As you place the tiles, it is helpful to use a speed square to ensure that all tiles are at the correct angle. When cutting tiles for corners, edges, or obstacles, measure and mark out the tiles before using a tile cutter or wet saw.
By prioritizing precision, preparation, and frequent checks, installing herringbone tiles at home becomes more manageable. Although these are one of the most difficult tile patterns to install, the finished result is always beautiful and well worth the effort.