16 Benefits Of Growing Mushrooms And How To Get Started In Your Own Garden
Mushrooms are ridiculously easy to grow in your own garden, and they're incredibly beneficial, too. Most people don't realize just how important fungi are in terms of garden health, nutrient cycling, and as decomposers that break down tough organic matter. If you choose the right ones, growing mushrooms also gives you easy, free, fresh produce. And, they're useful crops as they grow in shady and damp conditions where many other food crops won't.
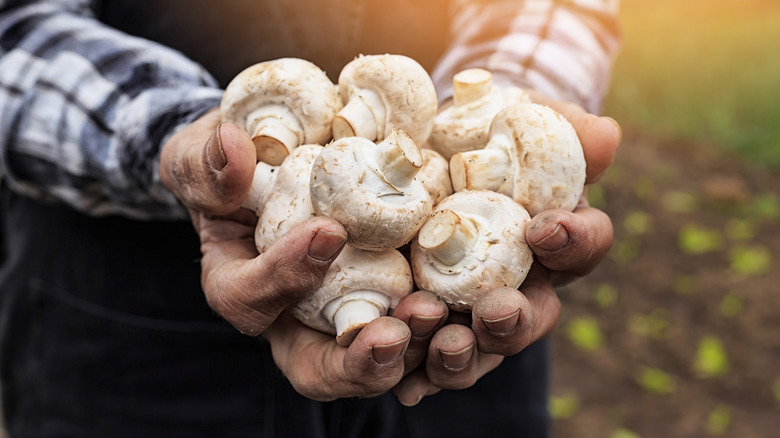
I'm a master gardener, and I actively encourage fungi. I also grow lots of edible mushrooms because they fill otherwise barren areas. It's true that many fungi just spring up in the garden, turning garden waste and mulch into rich, organic matter. But you can't necessarily eat those species. So if you want to grow mushroom in your yard to eat as well as to build naturally healthy soil, start with a safe, commercial mushroom starter unless you're an expert at fungi identification.
Mushrooms can turn wood chips and pruning waste into rich, organic matter
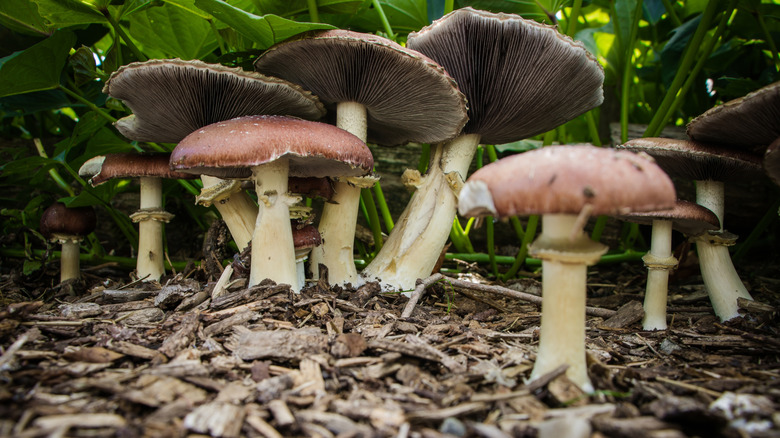
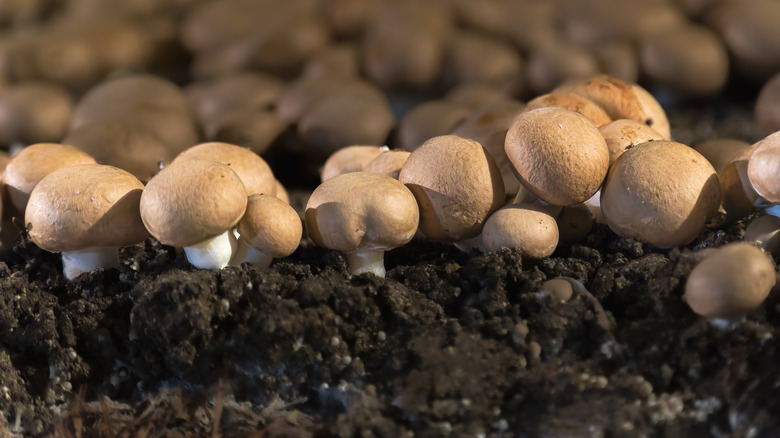
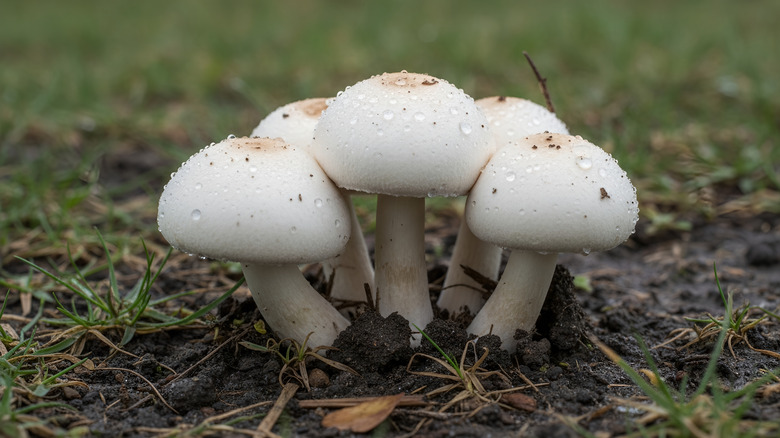
Some species, like lovely, tasty wine caps, are particularly good at turning wood chips and pruning waste into beautifully rich and nutritious organic matter. This particular edible species does best in deep beds of wood chips and straw. You'll find them popping up along paths and around perennials that are mulched with wood chips. Big, beefy wine caps (Stropharia rugosoannulata), sometimes called garden giants or Godzilla mushrooms, are easy to grow from a commercial starter and are one of the best mushroom options to grow at home as they're very recognizable.
These are decomposers, so, as the mycelium spreads, it feeds on the tough organic matter and breaks it down into dark, rich, crumbly soil that's brilliant for your plants. And, if you deliberately inoculate the beds with wine cap spores or a similar safe, edible species, you'll also get regular flushes of chunky, tasty caps to pick and cook. There are lots of edible and inedible species that will quickly colonize and decompose all of your pruning waste and wood chip mulch. For this to be most effective, keep your beds or mulch at least four inches deep.
Mushrooms help support healthier root systems through underground fungal networks
Mushrooms are fantastic for helping maintain root health. I encourage fungi in my garden, especially anywhere that I'm actively trying to improve the soil. Mycelium networks below the soil surface are extensive and can improve airflow and soil structure. They reduce compaction, improve drainage, and create air pockets.
Some plants also team up with the mycelium webs. This is known as a mycorrhizal relationship. The plant's roots tap into the fine fungal hair-like threads. These threads can reach much further than the plant's roots. The plant exchanges some of its sugars with the fungal network in exchange for extra water and nutrients that the mycelium web has managed to extract from deep in the soil. This is especially useful for trace mineral and phosphorus uptake, which are normally difficult to access for many plants, especially if the soil around their roots is depleted of nutrients.
Mushrooms can turn shady, awkward corners into productive patches
One of the reasons I love mushrooms is that they'll grow where most other things won't. So growing edible mushrooms gives me an extra crop in what would otherwise be wasted space, such as under my apple trees. And in a weird, damp, shady patch around the side of the house where nothing much else will grow. Because they're so forgiving, you can grow mushrooms along fences, by underplanting trees and big shrubs, or other problem areas that are cool and moist with low light.
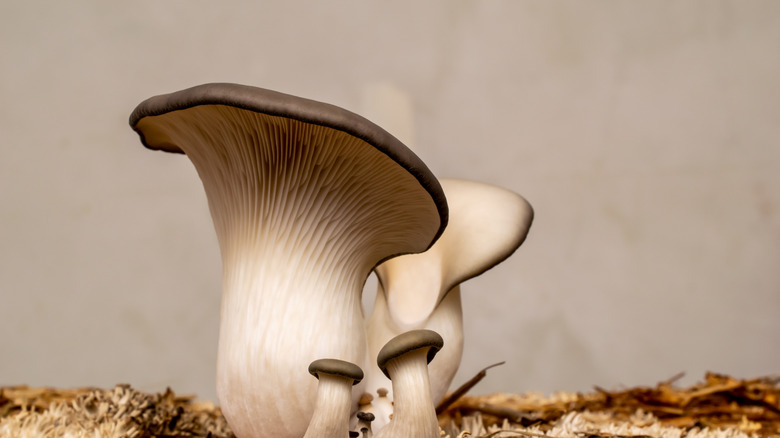
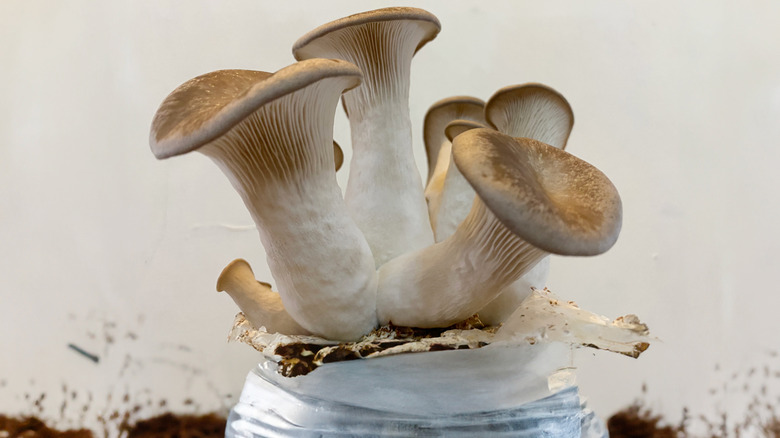
Go with decomposer species that colonize easily, like wine caps and oyster mushrooms (Pleurotus ostreatus), and that cope with shady, damp conditions. Then give them plenty of substrates that they like to grow on. For example, with wine caps, I'd layer cardboard, compost, straw, and wood chips. You can even install raised beds specifically for mushrooms. And I'd purchase some inoculated or spore-filled grain or wood starter to colonize the beds. Just don't try it in areas that stay waterlogged, as you'll kill off the spores before they can colonize.
Mushrooms help build richer, more resilient soil life
Just as mushrooms help plants directly, they also help indirectly by improving soil health. Which is why I am always so pleased to see mushrooms, even if they're not edible, because I know under those fruiting bodies is a huge web of invaluable mycelium helping to build my soil with no extra effort from me. As fungi digest tough organic matter, they break it down into stable organic compounds and rich humus. This process releases nutrients and creates air pockets and drainage channels and improves the overall structure of the soil.
You can help the fungi do its work by not letting the area become overly saturated with water for long periods and providing plenty of organic mulches, like wood chips and shredded leaves. It's a slow process, though, so leave mulches and pruning waste in place for several years. You can speed up the process by inoculating the area with fungal spawn or let nature do its thing over time.
Growing gourmet mushrooms at home gives you fresher flavor than store-bought
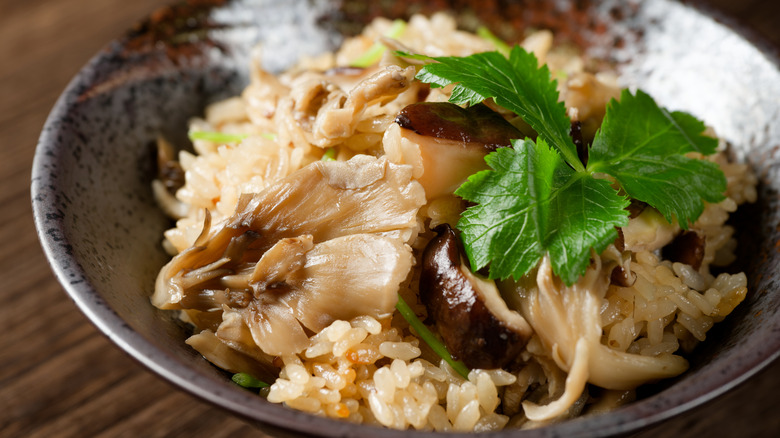
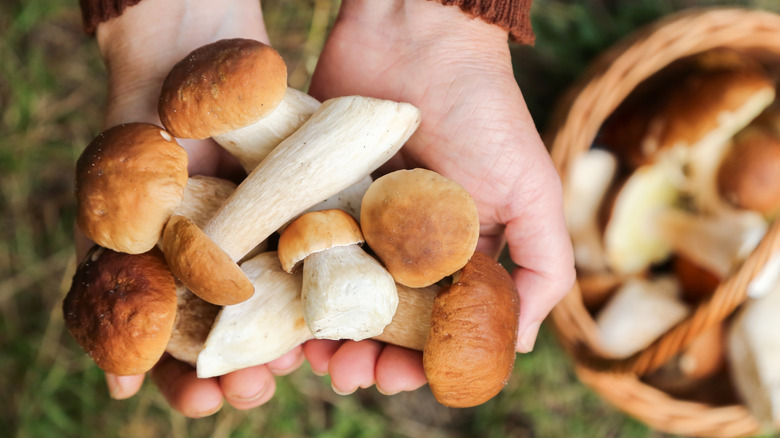
The fruiting bodies of the right mushrooms are edible. From the grocery store, specialty mushrooms lose flavor quickly, are already bruised, or are past their best. They're often grown in forced conditions to get the fruiting bodies to reach optimal size as quicky as possible, which results in a bigger mushroom but dilutes the flavor.
So why not grow your own? Depending on where you live, you can grow a surprising number of different gourmet mushroom species, including oyster mushrooms, chanterelle (Cantharellus cibarius), and lion's mane (Hericium erinaceus), among many others. Growing them yourself gives you firmer mushrooms, better texture, fresher, stronger flavor and aroma, and lets you pick them at peak size. And, if you don't want to use them all at once, you can store them in the fridge for a few days or preserve them for later use.
Homegrown mushrooms can cut the cost of gourmet meals
If you enjoy gourmet mushrooms you know that they are often shockingly pricey. And, for all the reasons above, including lack of flavor, they really aren't worth the cost. It's not just monetary cost, either. Consider the environmental cost in terms of the carbon footprint associated with inferior growing practices, packaging, and cross-country or even international shipping.
Once you establish an indoor kit or a mushroom bed outdoors, it will keep producing flushes of fruiting bodies for you to pick and cook. That will save you considerable money over time, make a disused area of your garden productive, and reduce your household's carbon footprint a little bit. Outdoor setups are particularly cost-saving, as once a bed is inoculated with spawn, it'll mostly take care of itself and will just keep growing and producing.
Sticking to beginner-friendly species keeps mushroom growing safer and less stressful
If you're new to mushroom growing, please stay safe and start with a mushroom growing kit or inoculated grain or sawdust from a reputable brand. I cannot stress enough how dangerous it is to just wing it or rely on social media armchair experts when it comes to mushroom knowledge. Many fungi species are potentially lethal. So this isn't something to experiment with. Many safe mushrooms also have deadly look-a-likes. This is why I strongly recommend starting with a kit or spawn from a reputable supplier.
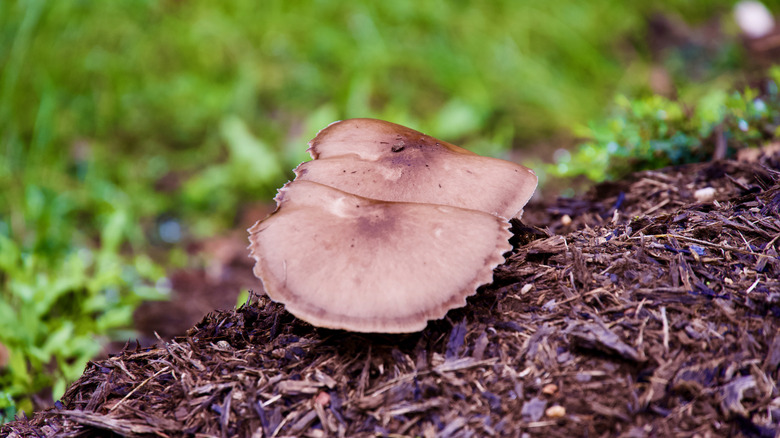
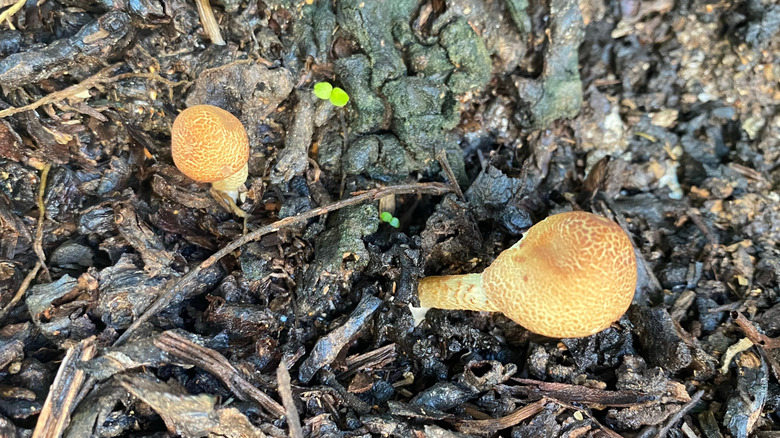
Stick with well-known easy-to-cultivate species, like wine caps, chanterelle, oysters, lion's mane, and shitake (Lentinula edodes). These are also all easy to identify once the fruiting bodies appear. Instead of worrying about what type of mushroom might be safe, you can then focus on learning about basic care needs for whatever species you've settled on. And lastly, if a mushroom pops up in the bed you're cultivating but it doesn't look like the variety you're growing, treat it as inedible and get rid of it.
Choosing between kits and outdoor beds lets you match mushroom growing to your space
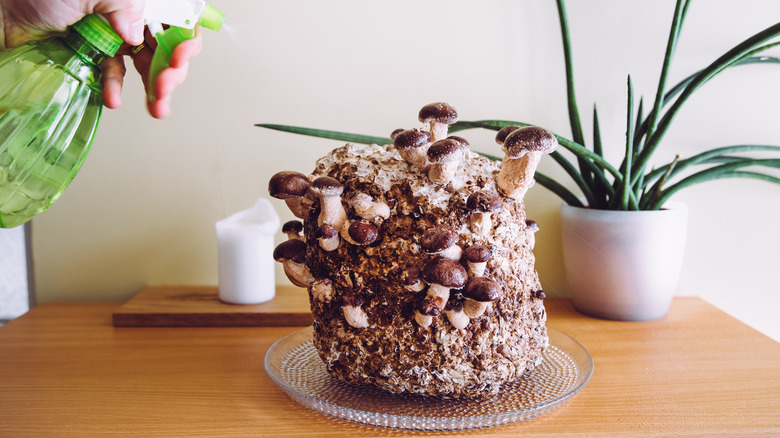
While I prefer growing mushrooms outdoors in beds under my more challenging garden areas, you don't have to. If you want to start small, you can get indoor mushroom kits that will happily thrive in the kitchen, or purchase spawn and learn how to grow mushrooms in a glass jar. This is a great choice if you're an apartment-dweller or a renter who has limited access to outdoor space.
Outdoors in beds, mushrooms can really help with soil and other plants as well as being productive crops. A happy medium is mushroom buckets. They are kits with appropriate inoculated substrate, with holes around the edges where the mushroom fruiting bodies will appear. One thing to note is that kits, because they're confined, exhaust themselves in a year or two. Outdoor beds may take longer to start fruiting, but they last for many years.
Matching each mushroom to its ideal substrate boosts yields and reduces problems
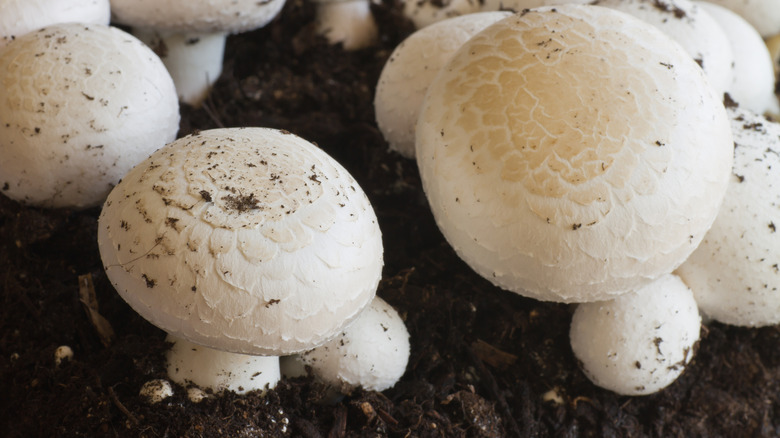
Just like plants, different mushrooms like different growing conditions. To get the most from your mushrooms, you want to make sure that you match the species to the substrate. Wine caps, for example, do best with deep layers of hardwood wood chips (which tends to be the best type of wood mulch for growing most mushrooms), perhaps mixed with some straw or sawdust. Shitake and lion's mane, on the other hand, require hardwood (preferably oak) logs or dense hardwood sawdust and bran blocks. Button mushrooms (Agaricus bisporus) will grow well in a well-mulched bed of soil or compost.
Matching the substrate to the fungi means your mushrooms will colonize faster and more completely, and they'll produce fruiting bodies for you to harvest more quickly. Some high-value, gourmet, or indoor crops also require pasteurized substrates, which is why prepared kits are useful for beginners.
Tucking mushroom beds into shady, moist spots keeps them happy and reduces maintenance
I've told you how good mushrooms are because they grow in places most things won't, but they actually prefer those conditions. Most edible mushrooms you're likely to grow need dappled or low light, minimal midday sun exposure, and steady moisture. That obviously doesn't mean they want waterlogging and no airflow, but rather they are happiest growing under trees, at the base of hedges, and in the shade of a fence or wall.
You'll struggle to get a good crop of mushrooms from a bed in direct light or that needs constant watering. Think about where you see fungi in the wild. It tends to be in the damp and shady spots, in woodland, and on trees (there are lots of common mushrooms that will grow on trees in your yard). As well as aboveground conditions, you also need to think about life under the ground, too. Remember, the mushrooms you see are just the fruiting bodies. Beneath the soil, the mycelium grows in an impressive and extensive web. And it doesn't like being disturbed too much, so don't place mushroom beds where there's a lot of digging or heavy foot traffic.
Simple wine cap beds let you grow mushrooms right in your paths and borders
If you want an easy to grow outdoor mushroom that acts as a decomposer and gives you a lot of tasty mushrooms, start with wine caps. These big chunky mushrooms are very easy to grow and identify. They're also forgiving of newbie mistakes when growing mushrooms at home. Wine caps are vigorous growers and, once established, will give you regular flushes of very large mushrooms. They can take a little while to start producing, though. Depending on climate and conditions, wine caps can take around 8 months to start fruiting.
I recommend beginners start with these for their outdoor mushrooms because they aren't too fussy about substrate. They like wood chips, so you can grow them in the mulch layer under trees if you don't want to start with a whole bed. You can also start them in mulched borders and beds full of deciduous shrubs if you want. Once the spawn is established, it doesn't need much care. Try not to disturb the area often, and just keep it topped up with fresh wood chips every couple of years.
Investing in good-quality spawn pays off in stronger, more reliable crops
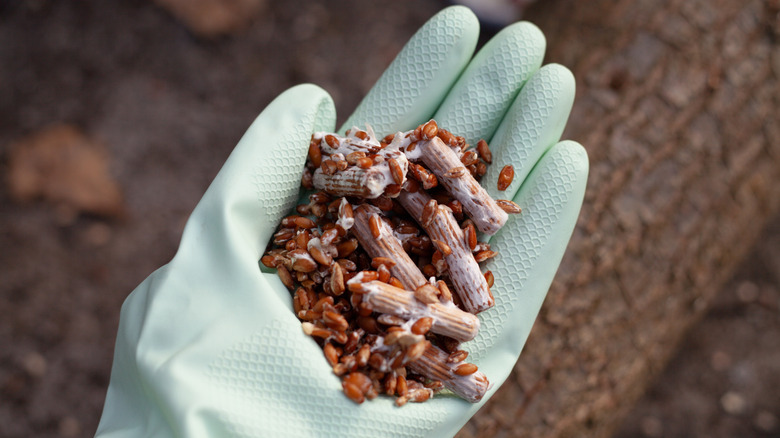
I don't bother with trying to create my own spawn from colonized agar or from wild mushrooms. It's risky if you don't know what you're doing, and it also doesn't always work well. Instead, if I ever want to try a new variety or establish a new bed, I use a reputable brand known for their freshness and spawn quality. Cheap, old, or poorly stored spawn can have contaminants that are potentially dangerous. Plus, it may not be able to outcompete any other contaminants. Even if it does colonize, it'll likely be patchy, slow, and produce fewer, weaker fruiting bodies.
Healthy spawn colonizes quickly. It also outcompetes most contaminants, and it'll give you bigger, better fruiting bodies faster and for longer. Signs of good suppliers include clear and full species labeling, storage information, advice on substrate choice, and who have their fresh spawn production dates listed. If you're trying out a new vendor, start with a small test order and take note of how it performs before ordering more.
Managing temperature and humidity makes mushroom harvests more consistent
While mushrooms aren't overly fussy, they don't really like extremes. You won't get as much or any fruit in very hot or very cold conditions. And, if the soil is left to dry out completely, the mycelium network will die off and you'll have to start the bed all over again. The same applies if the bed is left soaking wet for long periods. In this case, the mycelium web will suffocate and die off. This applies whether you're growing indoors or out.
As well as avoiding extreme conditions, it's also a good idea to get to know the ideal conditions for whatever species you're growing. Do your research and find out what the best temperature range for fast, reliable colonization is, and what conditions will give you the biggest, most predictable flushes of fruit. For indoor kits, it's pretty easy to manage humidity and temperature, but outdoors, you may have to get a little more creative and rig up extra shade. A long, slow, deep watering with a soaker hose may also be of value if you need to increase humidity and moisture.
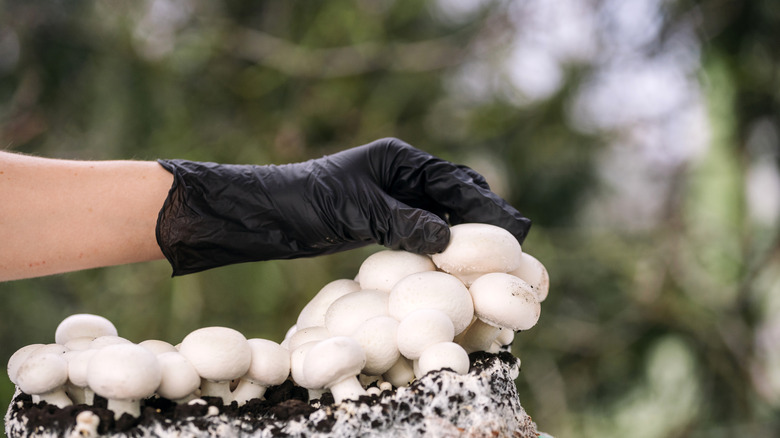
Clean, careful setup reduces contamination problems

Contaminants like other fungi, molds, and some bacteria all love the same stuff as your cultivated mushrooms. These unwanted organisms thrive in the same rich, moist conditions as your fungi. So cleanliness is important, especially for fussier gourmet mushrooms, those that are slow to colonize, and those that have potentially harmful look-a-likes. Basic hygiene like washing your hands, tools, and containers all help to lower the risk.
Outdoor beds obviously don't need the same level of hygiene, but I still recommend practicing basic care and cleanliness to reduce the risk of contamination. With outdoor beds, for example, I tend not to put them too close to the compost heap or a rotting manure pile, as these will likely harbor competing organisms. I also use mushroom compost in my garden, so I never put a new mushroom bed near where the mushroom compost is rotting down, because it will almost certainly end up infecting the bed with spawn that I don't necessarily want.
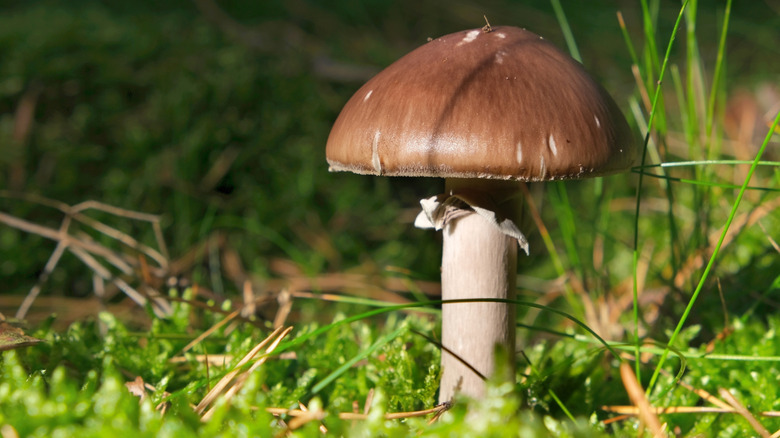
Harvesting at the right time gives better flavor and more repeat flushes
You need to know when to harvest your mushrooms. Yes, it seems like it should be obvious. But one of the biggest pain points I hear from people who've tried to grow mushrooms is that they didn't like the flavor or their mushrooms were tough and leathery or watery and tasteless. And that is most often caused by mis-timed harvesting.
You want to pick them when the caps are firm and only just opened. Bigger is not necessarily better when it comes to mushrooms. If you wait until they're massive and mature, most species will be tough unless you cook them to mush. Or they'll get so big that they drop their spores, go beyond the tough stage, and get weirdly spongy and watery. When you cook them in this state, they lose their flavor and have an unpleasant texture.
Recycling spent beds and blocks back into the garden feeds the soil long after harvest
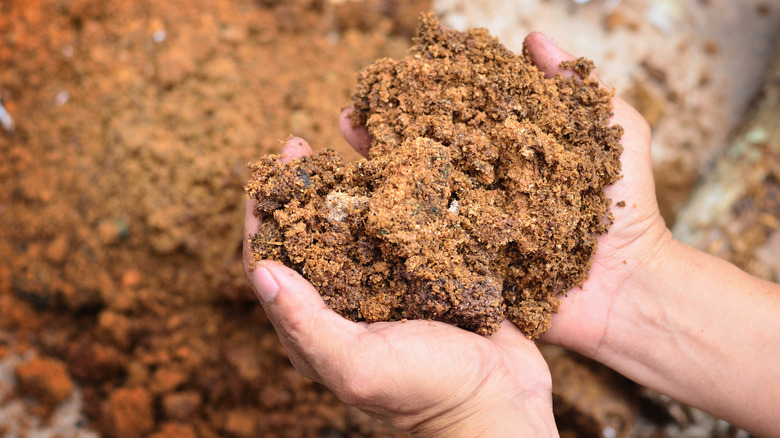
As already noted, I regularly use mushroom compost. I buy it cheap from a local mushroom farm, but I also recycle my own. Once a bed, kit, or bucket of mushroom substrate is spent, it may not produce many mushrooms, but it's still incredibly valuable. Mushroom substrate is full of nutrients and microbial life.
If you're just topping up mulch, then you can just crumble it right around the base of plants or as a top dressing of wood mulch, and it'll simply break down into the soil over the next few months. If you want to use it to enrich a new bed or to plant directly in to, you have to let it rot down a bit first and turn into proper compost. Fresh mushroom substrate tends to be dry, fairly pale, and crumbly. You can see the mycelium webs running through it. But if you leave it covered in a compost bin or in a pile covered with a tarp for a few months, you'll see it turn into dark brown, rich, moist compost. That's the point at which I add mine to my garden beds.