Turn An Old Shoe Rack Into Useful Outdoor Shed Storage
We may receive a commission on purchases made from links.
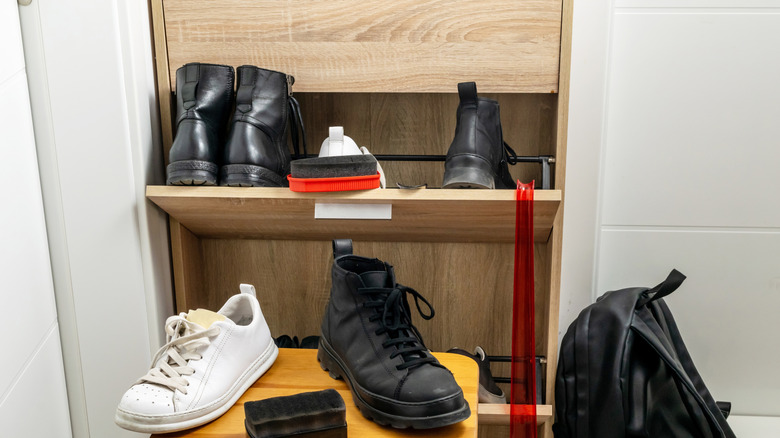
When subject to daily wear and tear, flip-out drawer shoe cabinets sometimes don't last as long as you think they would. These nifty storage units typically consist of two or more bottom-hinged drawers that hold a remarkable number of shoes. Their storage capability isn't limited to footwear, though. If your entryway or mudroom shoe cabinet is showing signs of burnout, don't discard it — give it a new career as a garden shed or garage storage unit.
There are lots of smart ways to repurpose an old shoe rack, but this one sets itself apart for a couple of reasons. Most of these cabinets are made from laminated engineered wood, which is not very durable. Once the laminate is dented or scratched, you can't repair it easily. Fortunately, when you mount the old shoe compartments to the wall by their former fronts, they become independent catch-all pockets or shelves, strengthened by the dismantled frame of the cabinet.
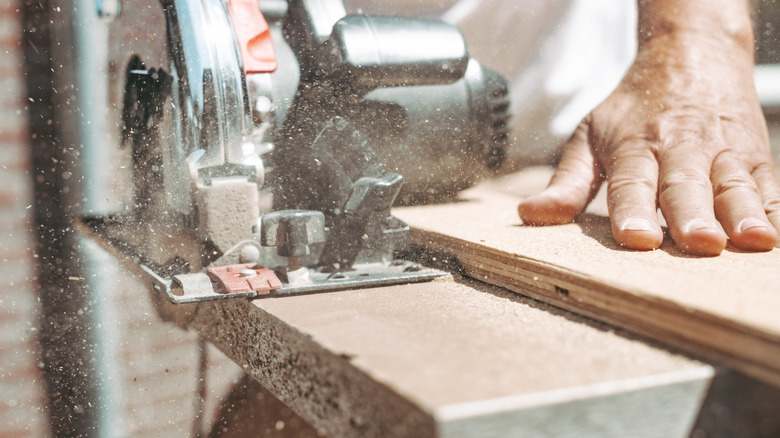
You don't need a lot of extra materials to pull off this budget-friendly idea to organize your shed. First, check the condition of the shoe rack. Do the flip-out drawers still open with ease? Is the cabinet's structure in decent shape? If everything's working decently well, gather your tools: a drill with a screwdriver bit, a level, a saw, and self-tapping wood screws that are more than twice the thickness of the cabinet walls.
Turn shoe cabinet drawers into vertical garden shed shelves
You could, of course, simply set the cabinet in one corner. However, going vertical with a repurposed shoe rack is a smart and inexpensive way to declutter your garden shed and maximize space. To get started, remove the flip-out drawers from the cabinet, take off the handles (if there are any), and disassemble the frame. Some flip-out drawers have dividers inside. If you plan on storing larger items on a shelf, try to remove them; otherwise, leave them in to help improve in-drawer organization.
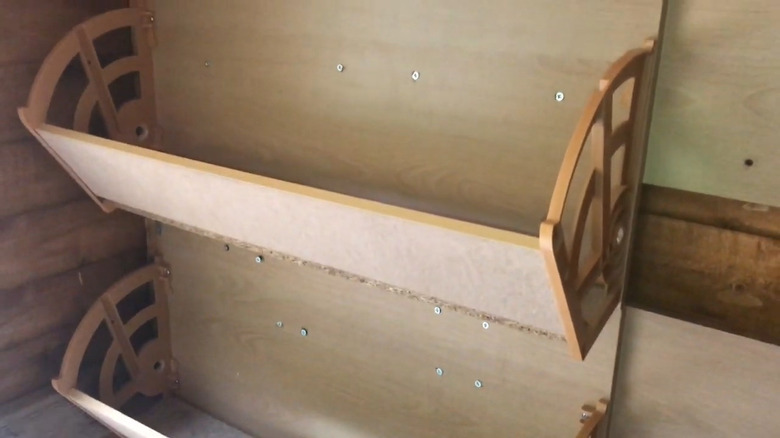
First, screw the parts of the dismantled cabinet frame — the top, bottom, and side boards — onto the wall of your shed. Use a level to make sure they're straight. Ideally, mount them to the wall studs for extra stability. You need one board per flip-out drawer; cut them shorter to fit the width of the drawers if needed. Then, reverse the flip-out drawers and attach them, one by one, to the wall-mounted boards using screws. It may be awkward holding the drawer and drilling into it at the same time, so a friend or a few clamps could come in handy for this step. Once everything is securely fitted to the wall, stock your new storage system with tools, safety gear, and other supplies for backyard chores.
Improve and expand your new shelves' function
There's probably lots of wall space left in that shed of yours. Instead of sawing off any excess from the boards you're using as backing, keep them intact as a spot to store tools. Plain hooks are always handy, but you can also take advantage of an extra flat surface to hang small hand tools with something like this Triton Products DuraHook Multi-Prong Tool/Wrench Holder. If you don't have a lot of extra space on the board, you probably still have enough room to suspend a long-handled tool with a hook akin to this Everbilt Vinyl-Coated Steel Screw-In Tool Hook.
There is one potentially problematic design flaw with using flip-drawers as wall-mounted shelves: The brackets that hold the two boards together typically aren't made of a solid material. The holes they leave on each side of the shelves might allow items to slip through and get lost. You could cut a piece of the shoe rack's frame and secure it in these spots with a reliable wood glue. But a fast and effective way to bridge these gaps is to cut pieces of thick fabric to staple over the openings. Denim is a strong choice and is yet another clever way to repurpose old jeans.