8 Tips To Help You Prepare A Room Before Slathering On A Coat Of Paint
We may receive a commission on purchases made from links.
Painting a room is one of the fastest ways to change the appearance and feel of a space. With a new coat of paint, you can make a dark, drab room look bright and optimistic, or you can change a juvenile-looking bedroom into a more mature space for your teenager. Applying a new coat of paint to a room is also incredibly gratifying, offering quick results, and it's not too expensive, either, in the grand scheme of home projects. For all of its obvious perks, however, painting a room is a serious home improvement task that requires the right knowledge, tools, and time to pull off successfully.
If you're getting excited to revolutionize a space by slathering on a coat of paint, there are some preparatory steps that you should be sure to take. These steps include moving furniture away, cleaning your dirty walls, removing items that are hung on the wall, and repairing damaged portions of your walls. Rather than slowing you down, taking a little extra time to properly prep your space for painting means that you can move swiftly and without the frustration of a poorly executed painting job.
Move furniture away from walls
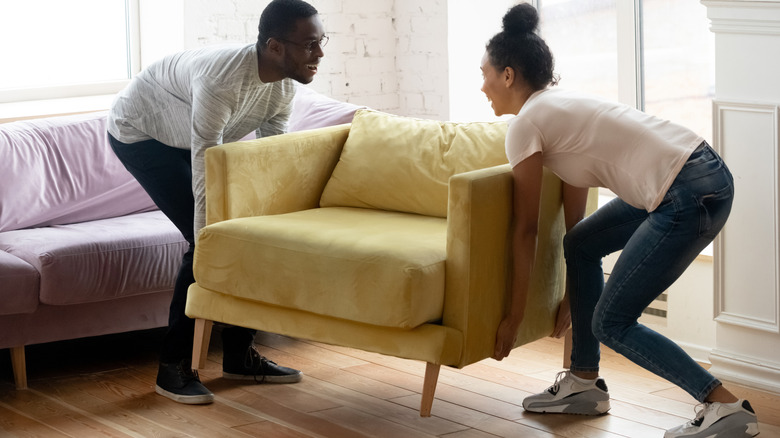
The last thing you want when painting a room is for the paint to drip on your carefully curated collection of furniture. As such, a good first step to take is to move all of your furniture well away from the walls and into the middle of the room. This will provide you with sufficient space to walk around and access the walls without fearing damaging your finer pieces. If you already have enough space to walk behind your furniture to paint the walls, you can just cover them with drop cloths or plastic sheeting instead.
Wipe down dirty walls
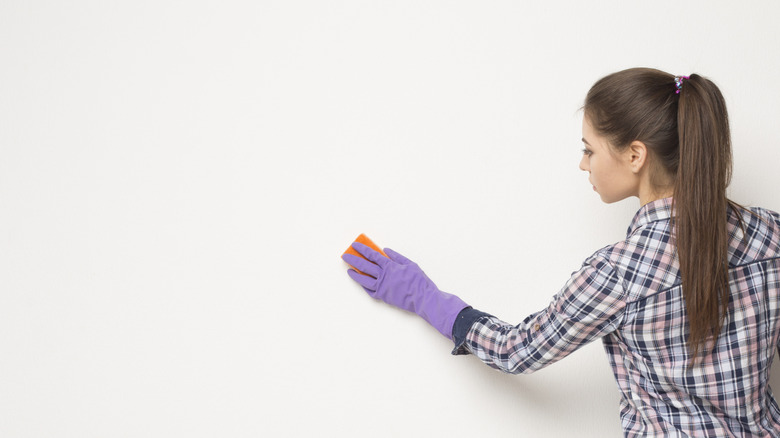
While you might not have thought of this prep step before, you should be cleaning your walls before painting them. This is because various substances can accumulate on the walls over time, leading to uneven paint results when you're applying a new coat. Lest you're tempted to skip this, realize that failing to clean your walls can lead to paint wearing out faster. You'll want to start by dusting the walls, then scrubbing them with a wet microfiber cloth or damp sponge, and rinsing the cloth in clean water to avoid spreading dirt to other walls.
Remove wall-hung items
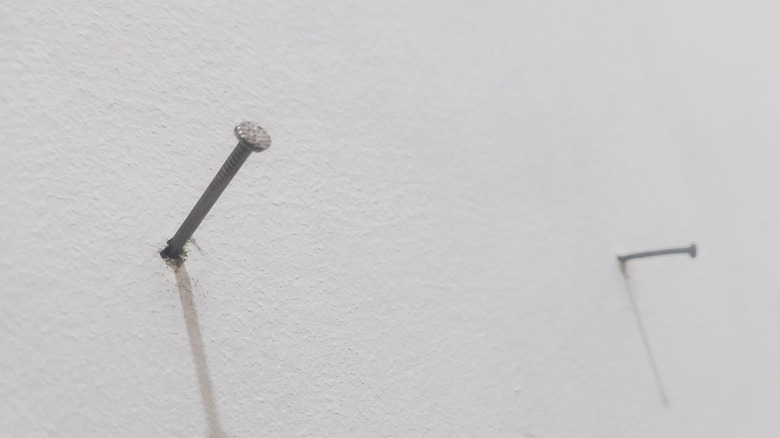
Before you begin painting, take a few minutes to remove items that are hanging from your walls or will otherwise make it difficult to paint in even strokes. This includes artwork, nails, screws, and switch plate covers. In order to make things easier, grab a box to stash everything in so you know where it is once your walls are painted. If you want to keep your screws easily paired with their switch plates, try affixing the screws to the plates with a piece of duct tape.
Patch imperfections
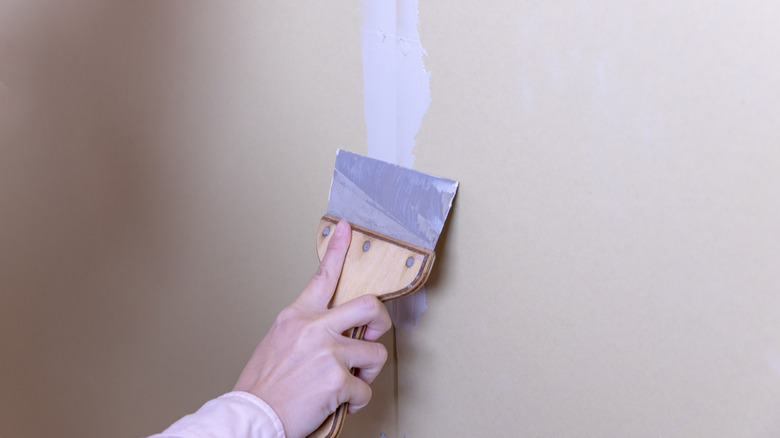
Now is the perfect opportunity to repair drywall to save time and money; it's also an integral part of the prep work. You'll need to have the appropriate materials, which include patching compound, a putty knife, and a sanding block. You'll first apply a thin layer of the patching material to the wall, then let it dry fully before sanding it flat to create a seamless finished product. It's also wise to try to match the texture of the wall to the newly patched portion; be prepared that even professionals struggle to perfectly match textures.
Tape off borders

While some individuals are uncannily good at cutting in at the ceiling and trim without taping off their borders first, it's best to err on the side of caution. Painters tape is affordable, and while it takes a little time and effort to apply in straight lines, it pays in dividends when you're looking at the final product. Be sure to shop for a tape like FrogTape Multi-Surface Painters Tape, which is meant for interior painting, or you'll risk peeling-off paint or paint seeping under the taped borders.
Place drop cloths
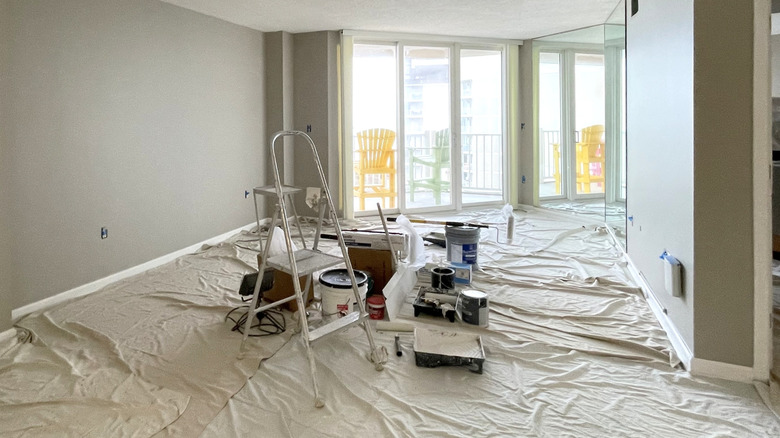
Drop cloths are a certain step you should take when getting ready to paint your walls. Place them on the floors underneath every wall that you're painting to catch any sneaky drips that slip past your sight. When you're done painting, you can roll up the drop cloths, and hopefully you'll be greeted by perfectly clean floors. Remember, however, that big spills will seep through fabric drop cloths, so address any large messes quickly.
Prep your materials
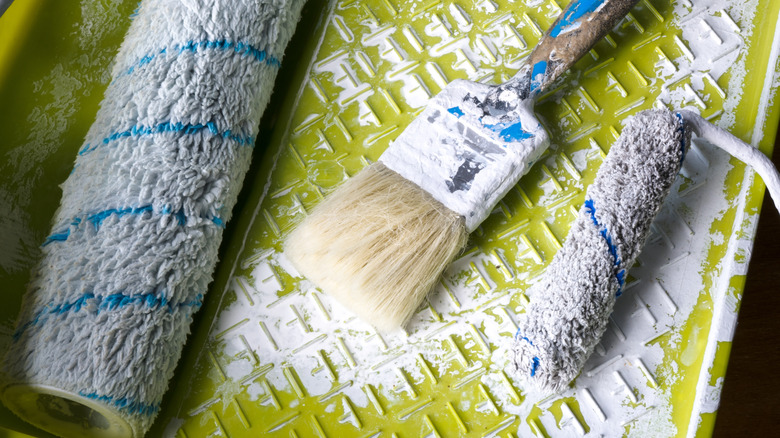
Before you start painting your room, it's wise to gather all of your supplies in advance. This will save you time and frustration in the long run. It will allow you to cover some serious ground without having to go track down a tool. Some basic painting supplies you'll need are paint brushes, rollers, extension poles, paint trays, paint edgers, a paint can key, and stirrer. Remember to keep a roll of paper towels and a spray bottle of water nearby, too, to address messes quickly. For a flawless home paint job, here are 12 must-have tools.
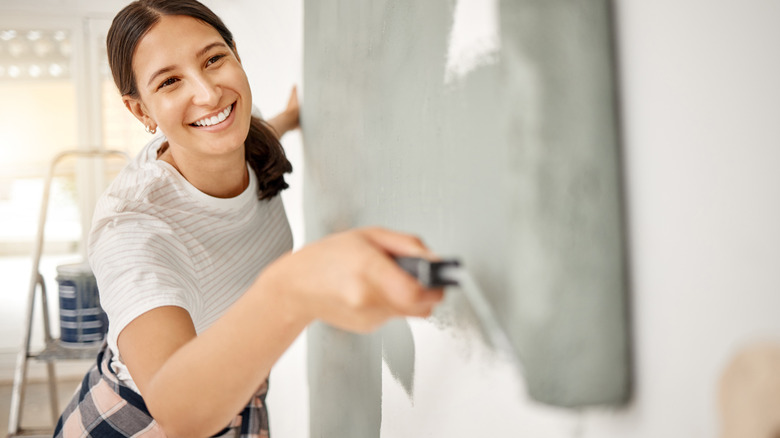
Apply primer
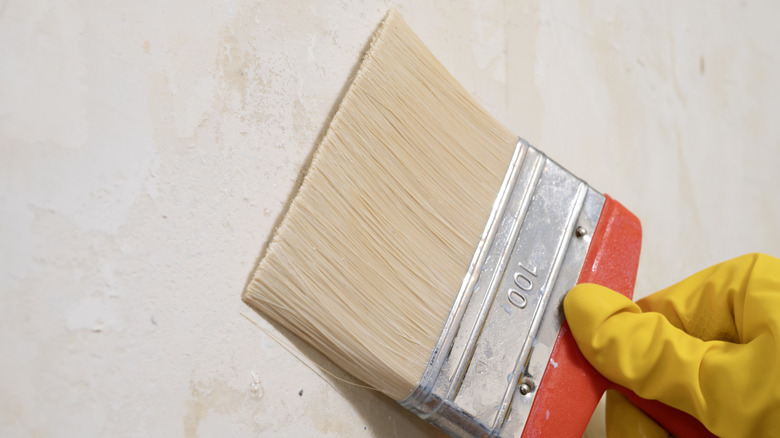
Applying primer might seem like an annoying extra step to take when you're prepping a room for painting, but it's something you might not want to skip. In most cases, changing the color of paint in a room will ensure best coverage and results, while not using primer can mean your paint job will look second rate. If you're not keeping the color mostly the same and if the walls are in good condition, you might not have to use primer — be prepared to take the extra time, though, if you want professional results.