The Biggest Mistakes To Avoid When Framing Your Closet
As you prepare to frame a closet, you want to do it right and avoid the mistakes others have made, including the ones I've made myself. Having purchased and remodeled several homes over the past couple of decades, my experience includes adding closets to bedrooms in unfinished basements and building out the entire framework. Although most states don't require you to have a closet in a bedroom to be able to count the room in a real estate listing, most people do expect to find closets in these rooms, so I'd always recommend finding space in a basement bedroom to frame in a closet.
However, regardless of where in the house you're framing your closet, some of the biggest mistakes I've seen include failing to build the frame to yield enough depth to accommodate clothing on hangers, not taking advantage of the entire height of the space, and failing to square up the framing. These problems are usually preventable by taking time to plan the space to fit your needs and taking your time with the work.
When framing a closet, focus on creating enough space inside
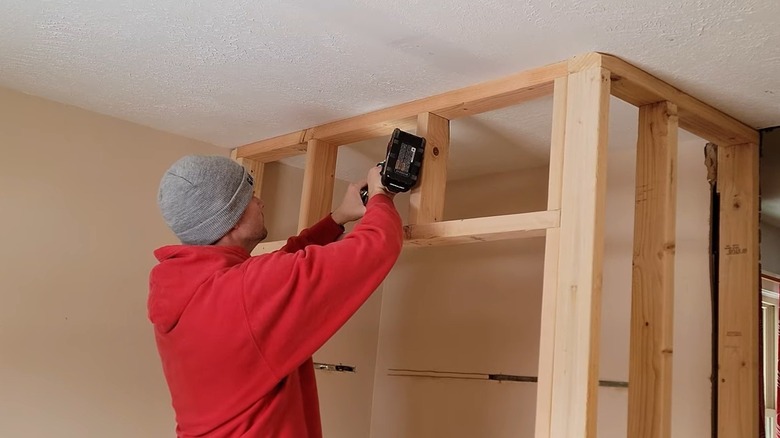
The primary reason to frame and build a new closet is to create an efficient storage space. Although it's tempting to simply squeeze the closet into a space, such as under some stairs, this is a potential mistake. You need to be certain that the closet is large enough to be useful. When planning the closet framing, don't box in the space so tightly that you can't access the space near the ceiling. You might want to build a frame to accommodate taller-than-average closet doors to easily reach the upper section of a reach-in closet.
You'll need at least 24 inches of depth to comfortably accommodate most clothing hangers on a hanging rod. If you have non-standard hanger types for different clothing items, you might need wider hangers and more space inside the closet. It's a mistake to try to preserve space by making the closet depth too narrow, as your clothes may rub against the back wall or door.
I've found that I often initially misjudge how much space will be available inside for storage. It's important to take accurate measurements and visualize the interior space once the framing and drywall are in place. A common mistake is forgetting that the wall will take up at least 4 inches. Remember, the wood framing requires 3½ inches, and the most commonly used drywall for interior walls is ½ inch in thickness. I like placing masking tape on the floor to visualize the borders.
Always take the time to square up your closet framing
One of the biggest mistakes DIYers make when building framing is not making sure it's absolutely square. You may not notice the issue immediately, but being out of square can result in poor load distribution, warped walls, and difficult-to-hang doors.
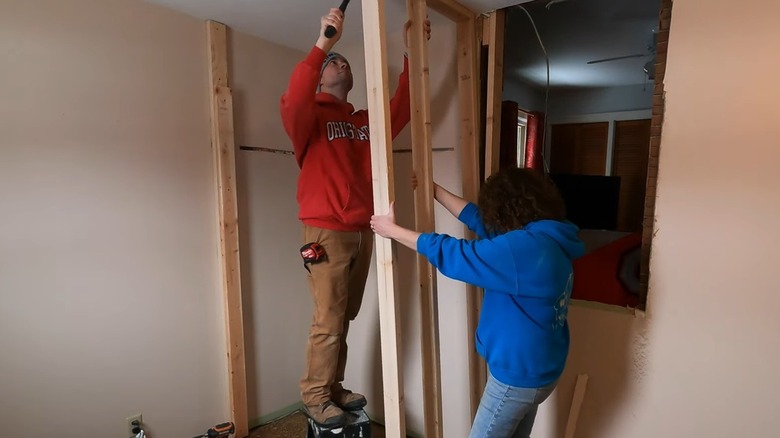
If you have a slightly warped 2-by-4, I've found that you can straighten it by laying it flat and adding weight. This means you don't have to waste it. However, it's always better to avoid selecting or using noticeably warped boards, or you'll struggle to make the closet frame square. I suggest spending a little extra time selecting your 2-by-4s at the hardware store to find straight boards. Look for boards without large knots, as they are often warped. If you still end up with some warped 2-by-4s, use them in spots where you don't need the full length of the board and can cut away the warped section. Additionally, when attaching the 2-by-4s to plates at the top and bottom of the frame, always select the straightest boards you have for these areas to provide a great base for square closet walls.
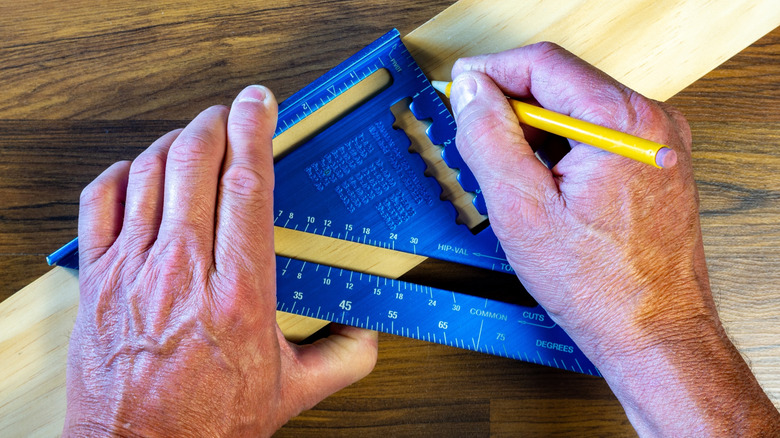
Two of the best options for quickly measuring square framing after you've hung the 2-by-4s are a basic speed square for woodworking and a bubble level. As you secure individual 2-by-4s to the plates, test each one with a level and your speed square. I always recommend making any needed adjustments immediately to keep everything square.