All You Need Is A Glass Vase And Clay For This Adorable Spring-Inspired Decor
We may receive a commission on purchases made from links.
Filling your home with seasonal decor is a great way to get excited about the time of year, especially when you are looking forward to a bright, sunny spring after a long and dreary winter. However, you don't necessarily have to buy brand new products that will put pressure on your pocketbook to get into the mindset of the season. Instead, consider crafting your own piece of spring decor by decorating a glass vase with some clay.
This DIY is perfect for all skill levels because the steps are relatively straightforward. It is also budget-friendly, as glass vases can often be thrifted, and clay, like this DAS air-hardening modeling clay, can be purchased for less than the price of many new seasonal decor items. You can either use polymer or air-dry clay for this project. Polymer clay is waterproof, making it a good option if you plan to fill your vase with water and fresh flowers. However, it has to go into the oven to harden. While air dry clay is not waterproof, it does not need to be cured in the oven like polymer does, making it an easy option if you plan to only display dried flowers or other items. Just keep in mind that because air dry clay hardens over time, you will need to complete your design within a day or two of starting it.
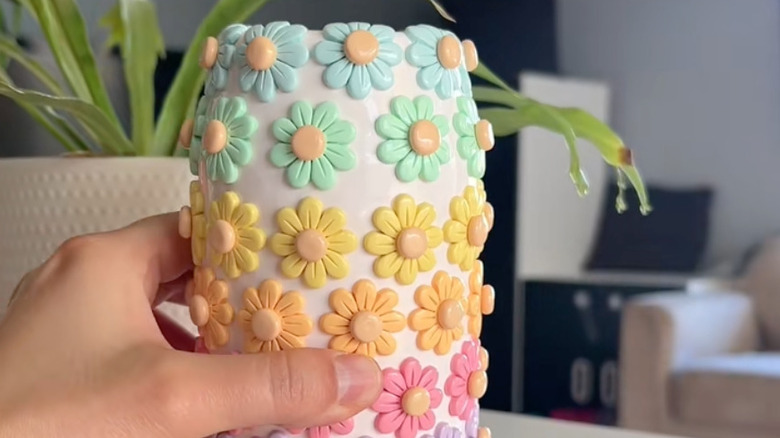
Thanks to the many clay colors available, you can decorate your vase with the best colors and décor ideas to decorate with for spring, such as pastel florals or cream-colored rabbits. Ready to create your own clay vase this spring? Let's examine the key steps and ways you can customize this idea to make it your own.
How to craft your own clay spring vase
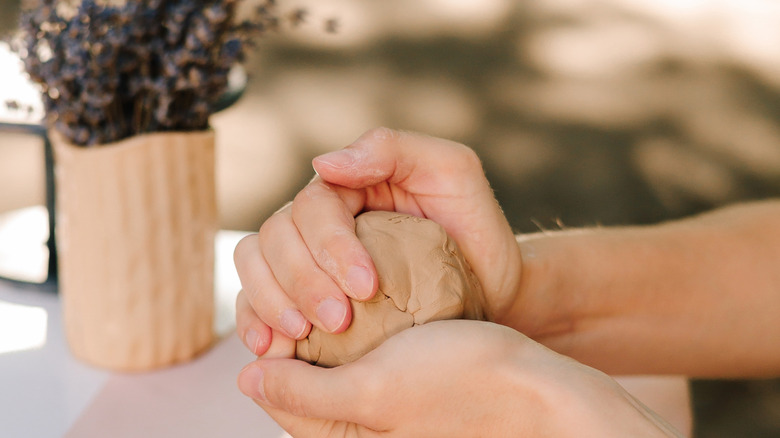
To begin this DIY, start by picking out a vase you like. Make sure to get one large enough to hold the bouquets or dried flowers you plan to display. Then, sketch out your design for the outside of the vase before opening your clay, so that you can get straight to decorating once the clay is out. If you would like the entire vase to look like it is constructed out of clay, you can cover the whole thing with a layer of the clay, then add your spring-themed details on top to decorate your home with flowers. To ensure that your details adhere to the clay layer underneath, score the back of each one, and add a little water or some wet slip, which is clay mixed with water to create a paste-like consistency, so that the clay sticks together to form a stronger bond between each piece.
If, on the other hand, you would like some of the glass vase to be visible, you can skip covering the entire thing and go straight to adding on your decorative details. As glass is slippery, you may need to work a little harder to get your details to stick to the vase itself. You can use tacky glue to help bond the clay to the glass and use supports to keep the pieces in place as the glue dries. If you have any unopened clay leftover, you could always save it for your next seasonal display and create these cute DIY clay leaf dishes, which bring the fall vibes indoors.