The Zellige Tile DIY Step You're Probably Forgetting
If you have been planning a kitchen remodel – your Instagram feed constantly filled with design ideas that could make your kitchen stand out — you may have thought about installing zellige tiles for the backsplash. Zellige tiles can make you fall in love with their handcrafted authenticity and glossy appearance. However, proper installation is key to their durability in the long run, especially in the presence of moisture and humidity. In fact, there's one prerequisite DIY step that needs special attention even before the tiles hit the wall — soaking them in water. Taking care of this detail before applying the adhesive (but after you prepare the tile's surface) can help the adhesive stick better to the tiles.
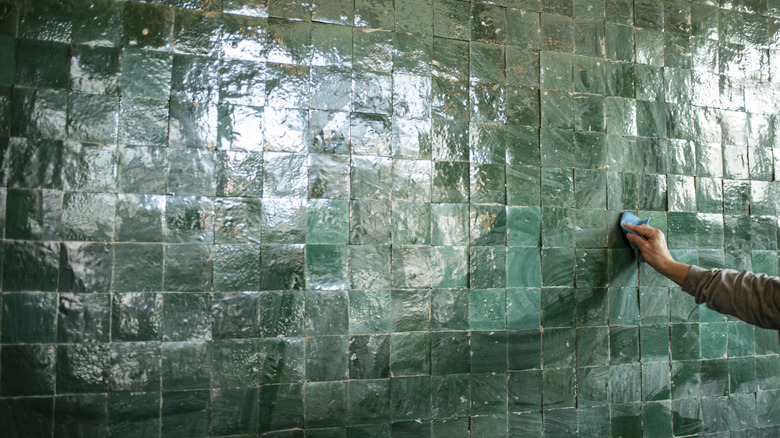
Although they have been manufactured for centuries, zellige tiles have exploded back to life in recent times. Zellige tiles pair well with a lot of materials, such as brass fixtures or gold accents, to create stunning bathrooms. Originating from Morocco, these handmade tiles are excellent options for creative backsplash ideas for your kitchen that add personality and charm as well. Made one tile at a time, each zellige tile is unique in itself — thanks to its irregular edges and distinct tone of color. Zellige tiles are also known for their high gloss, which gives the tile their name (zellige means polished stone in Arabic). Soaking glazed tiles in water ensures that these porous tiles don't just look good but that they set and adhere properly, too.
Why soaking zellige tiles is important for successful installation
The reason why soaking is crucial for installing zellige tiles lies behind their composition. Since they are made from unrefined Moroccan clay (which is highly porous), Zellige tiles are porous. Even after being fire-kilned, the surface of the tile contains microscopic pores and cracks. If you do not soak the tiles in water first, the trapped air inside the porous tiles would not get out, and the adhesive would not adhere to the tiles properly. Therefore, the tiles may have trouble sticking to the wall.
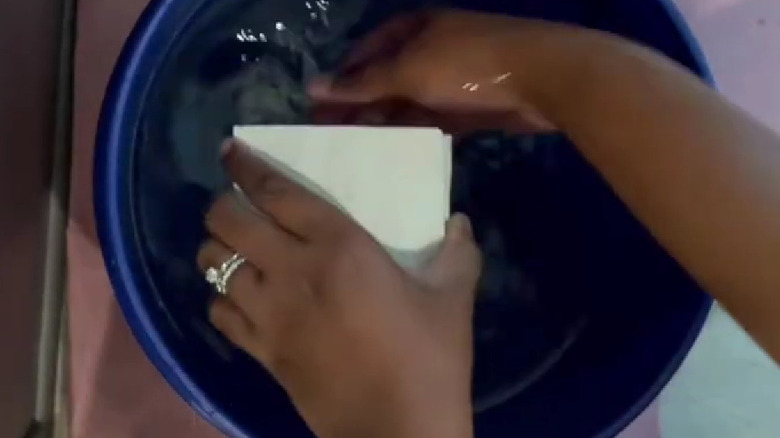
Furthermore, dry clay is also less suitable for installation. Dry clay can quickly absorb moisture from the thin-set mortar, rendering the adhesive less effective, and possibly leading to the tile falling off the wall. On the other hand, if the clay has already absorbed water (by soaking), it becomes more suited for adhesion. Soaking the tile also makes sure there is no trace of dust remaining on the tiles, which can otherwise weaken bonds with the adhesive. While soaking zellige tiles is important, it is not highly complicated. All you need to do is to put the tiles in a bucket of water, for about one to two minutes at room temperature, and you're good.
While you can soak the tiles yourself as part of a DIY installation, you should keep in mind that experienced installers are still best suited for this process. They have the exact idea of the amount of moisture the dry clay can absorb. Moreover, you must also avoid soaking unglazed zellige tiles at all costs. Soaking unglazed tiles can create efflorescence (formation of white, powdery residue) in the tiles, which can make them unsightly.