Upgrade A Basic Folding Table Into A Stunning Hosting Centerpiece Using Leftover Planks
We may receive a commission on purchases made from links.
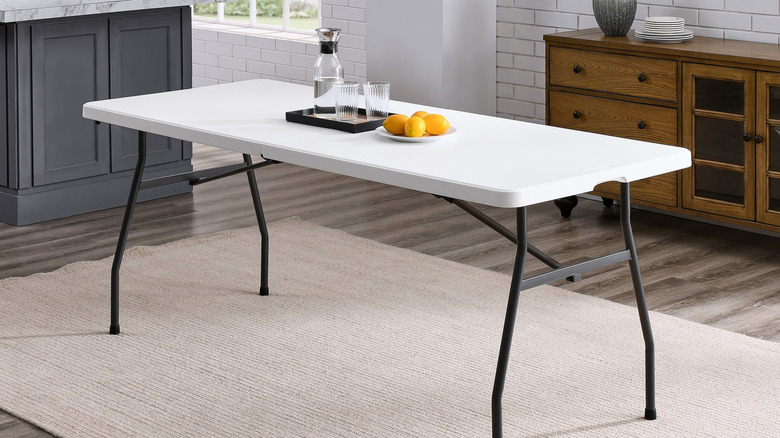
A basic folding table can be very useful to have around. They are great if you suddenly need extra dining space and are definitely furniture you need for your kitchen according to one interior design expert. You can also take them outdoors, of course. The only drawback is that they're usually plastic with metal legs — a bit dull. However, with some leftover planks you can turn them into a stunning hosting centerpiece by creating a herringbone-pattern topper. What's more, it's an easy DIY for beginner woodworkers.
Any kind of leftover plank will do, but something relatively thin like fence pickets will keep the weight down so the topper is manageable. Vinyl flooring planks are equally suitable. You'll also need some ½- or ¾-inch plywood and some high-quality wood glue. Titebond III is often recommended.
As for tools, ideally you'll have a circular saw, a nail gun, and a sander. All three of these devices are among the must-have power tools for first-time homeowners and well worth the investment for a host of woodworking projects. You could also use a handsaw, hammer, and sandpaper wrapped around a scrap block if you're on a budget. If you're working with real wood, you'll want some filler, plus water-based polyurethane varnish to give the finished tabletop a protective coating.
How to put the herringbone table topper together
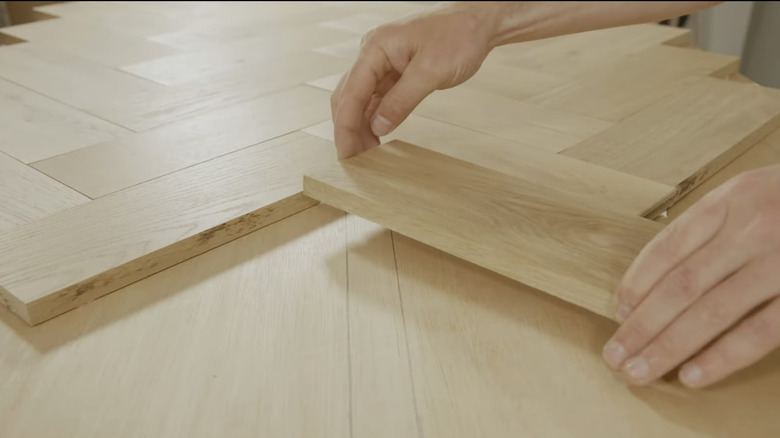
A herringbone pattern sounds exotic, but it's just planks placed at 90 degrees to each other and angled at 45 degrees to the direction of the tabletop. First, measure the top of your folding table and cut the plywood base a couple of inches larger all the way around. Lay the planks onto the plywood, swapping them around until you're happy with the appearance. Make sure they extend beyond the edges. You can have a single 'peak' running up the middle of the topper, or, if you're feeling adventurous, you could have two peaks.
Glue the planks to the plywood base. When using real wood, drive a couple of nails into each one as well, then cover the holes with a little filler. If you're using vinyl, thoroughly scuff the backs with sandpaper to provide a good grab for the glue. Once it's dry, you have a jagged edge that needs to be trimmed to the final size. It should be ½ inch bigger than the folding table so it will fit over. So you should have 1 ½ inches to cut off all around.
Finally, cut some 1-inch deep retaining strips from a plank and nail them all around the edge so the topper won't slide off. Sand all the wood surfaces smooth, and finish with polyurethane varnish. If you've used vinyl planks, you only need to do the edges. That's it. If the finished hosting centerpiece isn't as high as you would like, you can customize that with a simple PVC pipe hack.