The Ancient Technique That Makes Your Favorite Garden Flowers Last Forever
We may receive a commission on purchases made from links.
Imagine being able to keep and enjoy your favorite plants long after they have died off at the end of the growing season. How would you feel if you never had to let go of that gorgeous wedding bouquet or sentimental memorial service arrangement? You could, of course, press these flowers and use them for décor — between the pages of a large book or using a Havenstock Extra-Large Wooden Flower Press. A more lasting solution, however, is to showcase these flowers using an art and architectural practice from ancient Egypt, Mesopotamia, and Greece: bas relief.
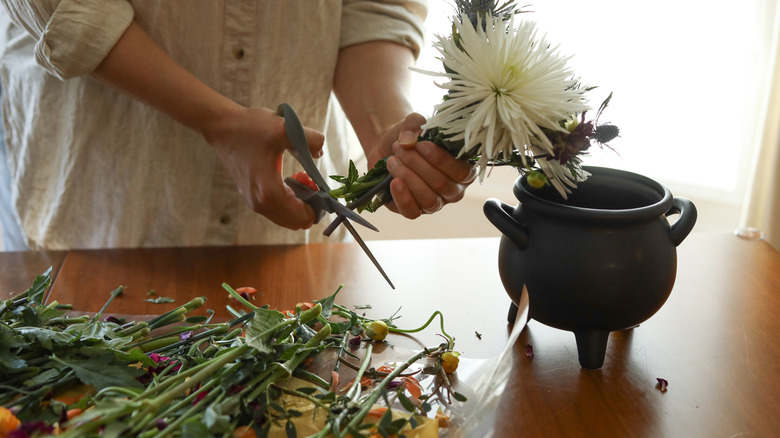
You gently push your beloved garden flowers, berries, foliage, and stems into clay to preserve their impression, then pour plaster of Paris into the mold to create an artwork you can keep essentially forever. The possibilities are wide open when it comes to the flowers and other botanicals you can preserve using bas relief. You could start with this — of course, somewhat subjective — list of the prettiest flowers in the world, according to our garden pro.
Flowers that some bas relief artists have cited as especially effective include plantain, vetch, yarrow, and lavender. Mint, heather, and sage are also said to work well with this medium. Pine needles and pinecones are a dramatic choice, adding texture to frillier subjects. You should use flowers straight from the garden for bas relief. In fact, dried flowers can crumble and stick to the clay, as can seed heads. You'll also need a pack of air-dry clay and some plaster of Paris. Tool-wise, prepare a non-stick mat or wooden board, an empty picture frame, a rolling pin, a pair of tweezers, a craft knife, and a roll of parchment paper.
How to preserve beloved flowers forever in bas relief
Place the clay on the mat or board and roll it out flat using your rolling pin. Press the empty picture frame lightly into the clay to create an outline within which you'll arrange the fresh botanicals. Arrange the flowers, berries, leaves, and stems in any way you prefer inside the border created by the frame. Place a sheet of parchment paper on top of the clay and florals, then roll over it with your rolling pin, pushing the botanicals into the clay. Remove the plant material from the clay carefully to best preserve the imprint — for example, lift each flower out by its stem rather than the petals. Use the tweezers and craft knife to remove every last piece.
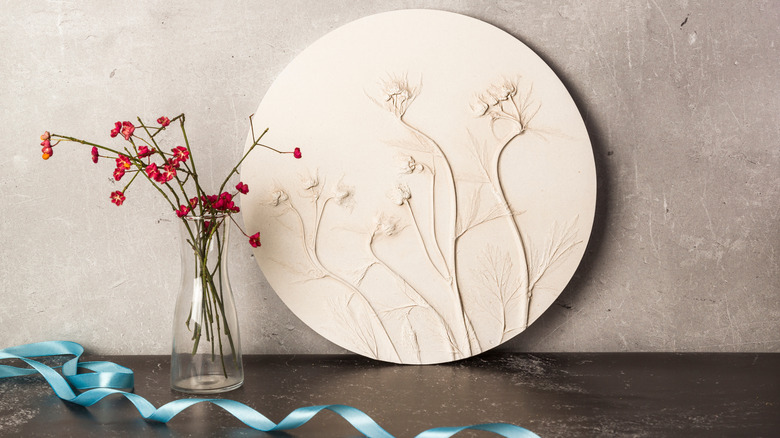
Next, build some watertight walls around your design using the remaining air-dry clay. They contain the prepared plaster of Paris when you pour it onto the mold. Then mix two parts plaster of Paris powder with one part water. For a smooth finish, you need to avoid getting any air bubbles in the liquid plaster, so mix gently and pour the compound slowly onto the clay. The plaster will set in about an hour; carefully peel away the mold. Cure your artwork for up to a week, then clean the piece up using sandpaper and sponge. You can go a step further and paint the piece with watercolor or acrylic paints if you wish. Display your finished pieces on the wall like a painting — bas relief is arguably among the trendiest wall art ideas for every room in a house — or on a Hemylu Gold Plate Display Stand as part of a mantel vignette.