Turn Popsicle Sticks And Scrap Cardboard Into Upscale Hanging Wall Decor
We may receive a commission on purchases made from links.
Boho wall art and decor features a joyous explosion of patterns and hues. Often taking inspiration from colorful Moroccan tiles, the geometric patterns of Latin American blankets, and African wood crafts, the influence of global cultures is everywhere in this decorating motif. But for crafters who are making their own piece of wall decor, it's the hand-crafted element of the Bohemian decor style that makes them eager to pull out their art materials, like popsicle sticks, scraps of cardboard, markers, and leftover yarn. As Instagrammer @tutacuteart reveals, it's from these items that home-based artisans create an upscale wall art piece that would look at home in any Boho-style abode.
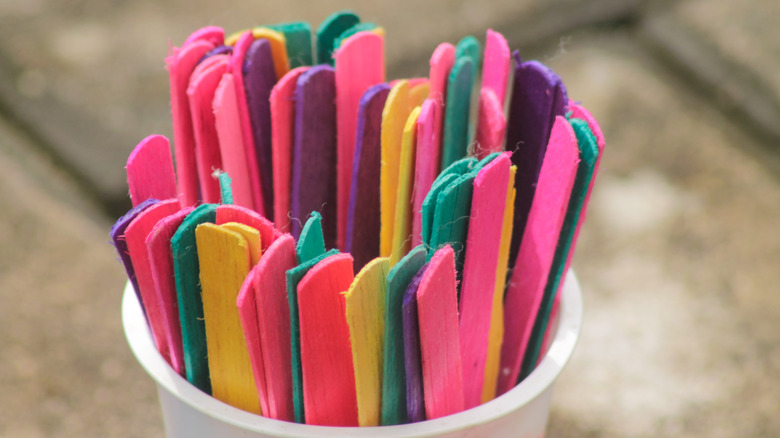
This DIY requires nearly 50 craft sticks for its construction, so get a big package of them before you begin the project. Some Pandaspa Jumbo Craft Sticks would work. However, it's not the plain popsicle sticks that'll make this a standout piece. Rather, you'll look to the mark-making materials, like pens, markers, colored pencils, pastel sticks, and even acrylic paints, to introduce the colorful vibe that the Bohemian style is so known for.
Next, grab a pair of scissors; you'll need them to cut both the scrap cardboard you'll recycle and the yarn tassels you'll make for this. Bring some craft glue, thumb tacks with flat heads, and some D-Ring Picture Hangers with Screws. Have a pencil handy, too.
The basic build for the wall art piece
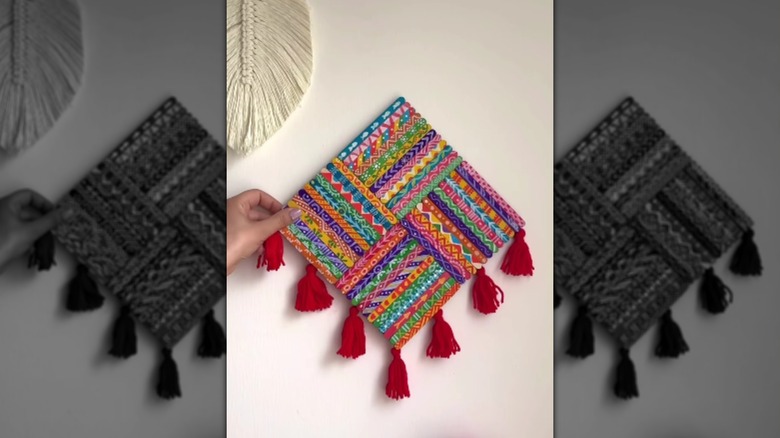
Much of the decorative beauty of this piece comes from the mash-up of disparate geometric patterns, which are introduced to the design in the layout of the popsicle sticks. They'll need a solid back to sit on. This you'll create from cardboard, which will be visually divided into four quadrants that'll each hold 12 6-inch by ¾-inch craft sticks. In two of the diagonal quadrants, the wood sticks run horizontally. In the other two, they face vertically. Measure the cardboard using the sticks as a guide, mark the dimensions with a pencil, and cut out the square with scissors. Make a second piece of cardboard of the same size. Glue the two pieces of cardboard together. Attach the D-ring picture hanger on the back of the cardboard in one of the corners.
Next, paint the craft sticks with various designs. If you need some inspiration, look to the bright colors and geometric designs of Latin American and Southwestern decor styles. For visual juxtaposition, introduce some flowing lines, like curlicues, ocean waves, and flowers. Once you're done drawing, glue the popsicle sticks onto the cardboard. To extend the geometric motif, make "minis" of the wall art. That is, create a couple of small pieces that only feature 12 popsicle sticks instead of the 48 that the larger piece has. Those you'd hang up near the big piece in a gallery to augment the patterned effect of the design.
Making the tassels and other adornments

The wall art isn't done until you DIY some tassels for it. Cut a 9-ish-inch piece of yarn. Hold it parallel to your pinky. Next, grab the end string on your yarn ball and wrap it around your four fingers between 25 and 30 times until you have a big circle of yarn wrapping your fingers. The piece of string that's aligned with your pinky should loop inside the bundle, with a section of the string sticking out on each side of the looped yarn roll. Cut the piece of yarn that's still attached to the yarn roll to separate it from the ball. Tie the pinky string in a tight knot around the bundle.
Cut the yarn roll apart on the bottom of the loop. It should be bound with string at the top and have loose ends at the bottom. Trim them so that they're neat. Cut a second piece of yarn, about 6 inches long. Wrap that around the bundle in the middle and tie it tightly to bind up the tassel. Make seven tassels.
As a tassel alternative, tie feathers on a string or beaded ropes of twine to the art to add more texture and visual interest. Lastly, attach the strings at the top of the tassels to the back of the piece with glue, then reinforce the adhesive with flat-head tacks if you need to in order to keep the tassels attached to the back of the decor piece.