Turn Cardboard Waste Into Beautiful Upcycled Vases
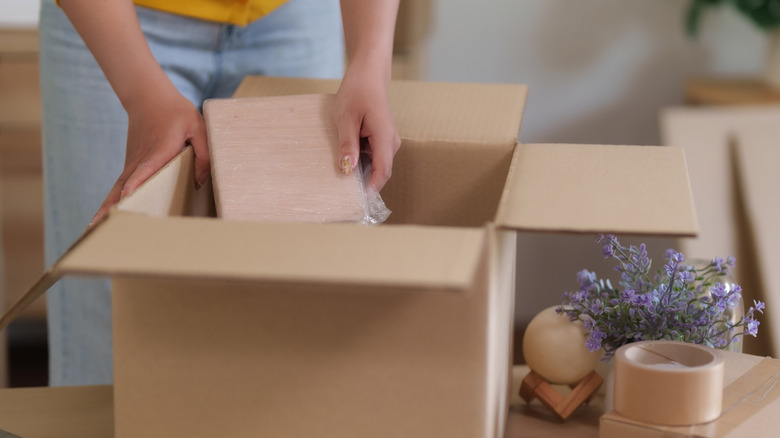
Why buy vases when you can create your own from cardboard waste? If you're looking for smart ways to repurpose cardboard boxes, or if you're craving the hands-on experience from traditional clay pottery but simply do not have the time or the materials, you can work with cardboard scraps at home and turn it into material you can sculpt into beautiful, unique vases. For this DIY, you will be working with your usual papier-mâché techniques, but with one key addition: paper pulp. Simply put, paper pulp is made by turning ripped or cut-up cardboard into a clay-like substance by soaking it in water, straining it, and then mixing in some glue, flour, and a sprinkle of salt. It's a more sustainable choice, costs far less than a pottery lesson, and turns an ordinary afternoon into a fun, experimental DIY project you can do alone or with good company.
Grab a free vase template you can follow — check out a few simple vase shapes to follow from Pillar Box Blue's blog, or you can find more unique, artisan designs to try from Happy Hour Craft Club's Pinterest boards. Apart from cardboard and the ingredients mentioned earlier to make paper pulp, make sure you have some scrap paper, masking tape, and other tools like a basin and strainer for the paper pulp, a paintbrush for applying glue, and some sculpting equipment if you have any (worry not if you don't — your bare hands are more than enough for the sculpting process!).
Make a vase out of cardboard scraps and paper pulp
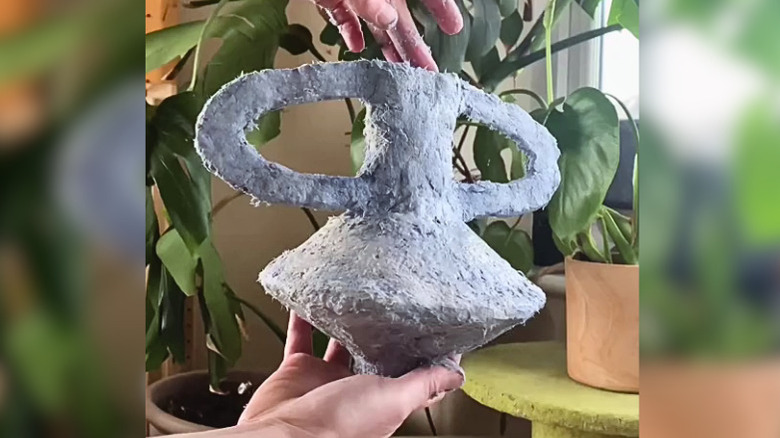
Start with the paper pulp first, since you will need to soak the paper in water for a long period of time. Place torn pieces of cardboard and scrap paper in a basin and soak them for at least 12 hours, or overnight. Once the fibers have softened, blend them into a pulp using a hand mixer or by mashing the mixture by hand, then remove excess water from the paper pulp with a strainer. Creator @happyhourcraftclub on TikTok recommends the following recipe: For every four cups of paper pulp, add one cup of flour, one cup of PVA glue, and a sprinkle of salt, and mix thoroughly. If you want your final outcome to have some color, you can add paint into the PVA glue before incorporating it to the mixture.
Get your vase template ready and affix it to flat, sturdy cardboard. Follow its shape by cutting, folding, rolling, or taping the base structure together. Once you've assembled your base structure, cover it with strips of paper, brushing them with a coat of glue to adhere them. Let it dry before finally applying the paper pulp around the shape. Build up the form gradually, smoothing the surface as you go. Once the vase is evenly formed, let it dry completely. After that, you have yourself a lovely vase from a DIY cardboard transformation that's ready to hold your favorite flora and fauna — and a piece you can use to creatively decorate your home.