Not Paint Or Molding: The Easy Way To Give Boring Baseboards An Elegant Upgrade

We may receive a commission on purchases made from links.
Your baseboards might feel like an afterthought. Swapping them out for new molding can be expensive. Maybe you've considered adding a fresh coat of paint, but it can be messy and time-consuming. There's a surprising method that you may not have considered yet. Confient5 shows on TikTok how you can turn your furniture into a DIY piece of art. Decoupaging your existing baseboard molding with simple tissue paper and glue can completely transform your space and create an upscale, polished look.
This technique is traditionally used on furniture and decor for crafting. There are many creative ways to use decoupage in your home. It involves layering decorative paper onto surfaces and sealing it so it looks painted into place. It's an affordable way to add pattern, texture, color, and personality without committing to a permanent change. It's especially effective in this case on your baseboards because they are flat, continuous surfaces. They present an ideal place for applying thin materials, allowing them to blend seamlessly. The result is a custom finish that can mimic wallpaper.
One of the best advantages, besides cost, is how customized and personal you can make it. To achieve this DIY, you'll need some tissue paper or decorative napkins. They can be in a pretty pattern or a solid color to match and complement your home's existing design. Grab some decoupage glue, like this DRLPSN PVA Glue, and a soft brush or foam applicator. You'll also need scissors, a craft knife, and some sandpaper.
Steps to take when you decoupage the baseboards
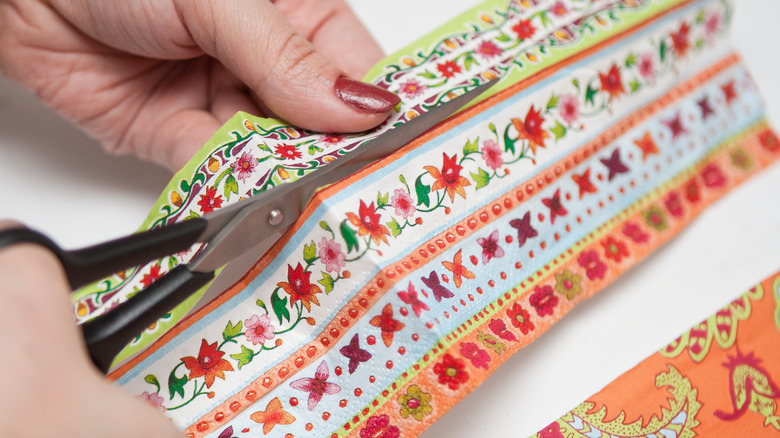
First, prep the surface and clean your baseboards easily by sweeping or wiping them down. Lightly sand any rough or bumpy spots so that the glue adheres well. Dust and grease can prevent a smooth finish. Next, measure each section of the baseboard and cut your tissue paper with your scissors. Cut slightly larger than the board, about half an inch extra on the top and bottom, to ensure full coverage as you go. It can be helpful to arrange your pieces to see how the pattern flows. It's important to do this if you're working with paper that has prints or patterns to ensure you create a continuous look across the molding.
@confien5 Why spend hours hand-painting when you can The £1 skirting board glow-up! decoupage? It's quick, easy, and looks absolutely stunning in this small en-suite. Follow along for the full reveal!❤❤❤❤ #decoupage #diyhomedecor #budgetdiy #interiordesign #floralhome
Brush a thin layer of your glue onto a section of the baseboard with your brush. Carefully place the tissue paper on top. You'll need to smooth it from the center going out, pressing it into crevices with the end of your brush to remove any bubbles or wrinkles. Use your fingers to flatten it as well. While the glue is still slightly wet, you can trim the access paper with your craft knife for a clean, even finish across the top and bottom. Seal it with a clear sealant or more glue.
You can use multiple layers of paper for a more artistic or textured effect. Consider gluing a more neutral colored tissue paper for a subtle, high-end look. Use a beautiful floral to bring a pop of color. You can also mix different patterns for a bold or eclectic style. Since the material is so forgiving, you can experiment without a big investment. And, if it rips, you can easily replace or repair it.