Easily Grow Thriving Spider Plants With A Concrete Tabletop Planter Idea
We may receive a commission on purchases made from links.
Do you have some small spider plants that you've just rooted? Perhaps you're trying to decide whether to give them away or keep them. Either way, you want them to grow into large, thriving plants, right? If you're keeping the seedlings, you'll need a container to display them. Let's say you go shopping and can't find the perfect planter or everything you like costs more than you budgeted. Instead, you can make your own decorative concrete planter that's just big enough to make a statement on an outdoor — or indoor — table.
The supplies and tools for this project are inexpensive. You may already have them in your garden shed or garage. First, you'll need a flat board of some sort, like a piece of plywood or even a piece of melamine. It doesn't need to be all that big; it just needs to be slightly larger than the diameter of the outside rim of the planter. You'll also need some damp sand, a bag of quick-drying cement or Quikrete Concrete Mix, and a flat trowel. Don't forget to grab a bucket or container for mixing the cement. You'll also need ready access to fresh water. If you have any leftover cement, you can use it to DIY a beautiful concrete candle holder that matches your planter.
How to make a tabletop concrete planter for your spider plants
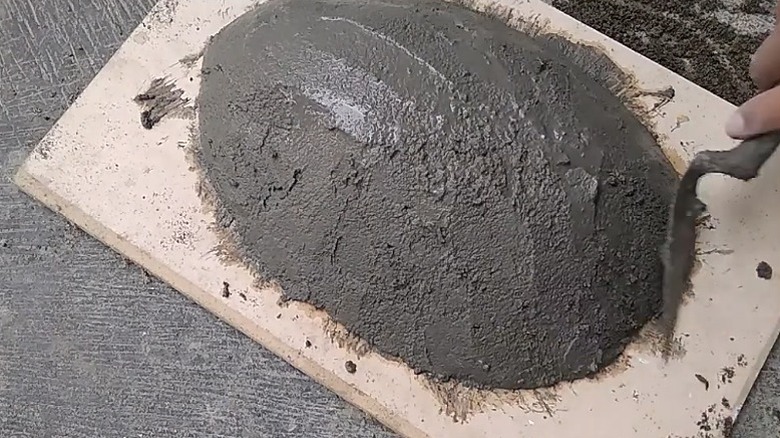
Place your flat board on a table or workbench. Cover it with a piece of plastic, if you have one handy — it will make the later removal of the planter a little easier. Take the wet sand and form a nice mound. This is the mold for your planter, so shape it as nicely as you can and make sure it's smooth all over. If you don't have any sand handy, you could make the mound from damp potting mix. Mix your cement with water according to the manufacturer's instructions. It should resemble a relatively thick, workable paste.
Plain cement is typically gray or white. If you want a colored planter, now is the time to add some cement dye. Invest in a pack of Ootdart Matte Iron Oxide Pigment Powder, and you'll have five colors to choose from (brown, blue, burgundy, green, and black) for about $30.
Cover the sand mound with the cement using the flat trowel. Build up the layers of cement gradually, smoothing the paste as you work. As soon as you think you have applied enough cement to create walls around 1 or 2 inches thick, you can stop. Use a pencil to poke two or three holes in the top of the mound. These will act as drainage holes, ensuring your spider plants don't get waterlogged. Set the planter aside to cure — while it will set hard within an hour, it could take up to 48 hours to cure. When the concrete is cured, flip the planter and board upside down, then remove the board and scoop out the sand. Now, you're ready to pot up your spider plants.
Pot up your spider plants and add some finishing touches

Once your new tabletop concrete planter is cured, it's ready for your spider plants. Place your rooted spider plant seedlings in the bowl and gently fill the space around them with potting mix. A soilless product, like Esbenshade's Professional Lightweight Potting Mix, is best for spider plants. Once the planter is full to the rim, you can add some white river stones or decorative pebbles to finish the display.
While this dish-style container for spider plants looks attractive as is, you could also paint it before filling it with soil and plants. Lightly sand the cured concrete to ensure the paint adheres to the surface. Then paint it a color that matches your outdoor or indoor aesthetic. You could give this ordinary concrete planter coastal-chic vibes with a resourceful DIY: adhere seashells to the exterior while the concrete is damp or after curing using hot glue. This idea would work with glass pebbles or broken crockery shards, too.
Of course, you don't have to stick with just growing spider plants in your new concrete planter — any shallow-rooted houseplant will work just as well. You could even make a deeper container and use it to grow annual flowers for a colorful addition to any outdoor living space. If you don't have any sand, try using upcycled items as the mold. You can, for example, turn a Styrofoam cooler into a beautiful water feature for your garden using concrete.