Turn Simple Cardboard Tubes & Empty Metal Tins Into A Unique Organizer
We may receive a commission on purchases made from links.
You probably have a habit of simply disposing of old cardboard tubes after using them. Each time you do this, you are missing out on the opportunity to upcycle cardboard waste into something unexpectedly useful. Instagram user @peri_azizov proved that you can turn cardboard tubes into a unique organizer that looks high-end. The project requires tubes of different sizes because you must slide wider, shorter tubes onto a longer tube. You can experiment with items you have at home, such as empty paper towel rolls, toilet paper rolls, wrapping paper rolls, and shipping tubes. The pieces provided in the Dewgot Cardboard Tubes set should also get the job done. You'll need a few other items along with your tubes. They include a small rectangular wooden block, four small round metal tins, a hot glue gun, and spray paint in a color of your choice. When you're done using each item to assemble the organizer, you'll have a storage system with four rotating tiers.
Feel free to use each tin to store any small items around your home that do not already have a designated storage spot. You could place the storage system on a bathroom counter and set cotton balls, hairpins, and other bathroom essentials inside. Alternatively, the storage system would work well on a vanity as additional makeup storage. These are just a few ideas for ways to incorporate this storage and organization hack around your home. It might be time to collect a pile or cardboard tubes to recreate this DIY project yourself.
How to build your own small item organizer out of cardboard tubes

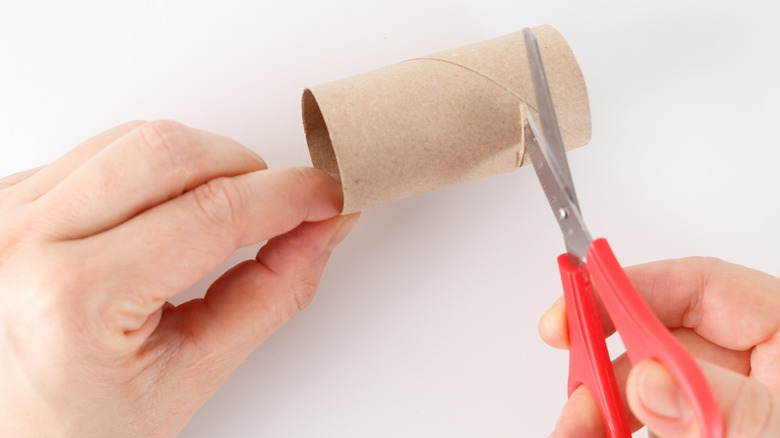
It you're using the 10-inch Dewgot cardboard tubes that come in two different widths, you'll need to cut one of the wider tubes into five 2-inch-long pieces. These will be slid over one of the thinner tubes. Next, spray paint all of your items and allow them to dry before moving on to assembly. Completing this step first will allow you to easily fully coat each component in paint without missing any spots. Consider placing each item on top of a large piece of cardboard outside before applying the paint. You can give this DIY a touch of personality by using a paintbrush and acrylic paint to add designs to each of the 2-inch cardboard tubes and the outsides of the tins after the spray paint layer dries. To begin assembly, glue the long cardboard tube onto the back of the rectangular wood piece using a hot glue gun.
You can purchase your wood from a home improvement store or snag the Wuronxin Unfinished Wood Craft Cubes on Amazon. After the long tube is attached to the wood base, slide one of the 2-inch pieces of cardboard tube over it. Follow that up by attaching four tin containers to the remaining four smaller cardboard tubes. Next, slide them onto the longer tube one by one.
It seems that the content creator used tuna cans, but you might want to use the Hulless Aluminum Tin Jars instead. These jars come with lids you can use to conceal the items you store inside. To attach the tins to each shorter tube, use a stapler as shown in the video or simply combine the components with a hot glue gun. Keep small items organized inside your new creation when you are done with that final step.