Give Simple Plastic Nursery Pots A Chic Upgrade With Peel-And-Stick Wallpaper
We may receive a commission on purchases made from links.
If you're a plant lover and are blessed with a green thumb, chances are you have a thriving garden in your front or backyard. You might even have a few (or, many) houseplants decorating various surfaces. And if you're always adding new species or varieties to your collection, you may even be a fan of garden center math. However, purchasing (read: rescuing) perfectly healthy plants from the clearance section will lead to a teeny-tiny problem: having to deal with basic plastic nursery pots for your prized possessions. Under these circumstances, you'll either have to spend money on fancy planters, spend time thrifting, or make peace with the generic pots. But there's another way out: adhering peel-and-stick wallpaper to these planters for a chic upgrade.
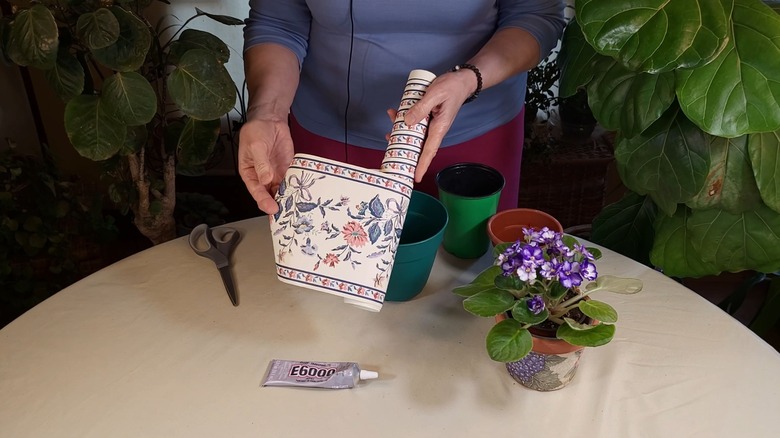
This way, you can make the most of your leftover peel-and-stick wallpaper without having to rehome any of the plants. And, in case, you don't have residual sheets from earlier projects, you can get budget-friendly wallpaper online. If you get new ones, try matching them to your room's primary shade. This will make the gorgeous planter feel a part of the decor, too. Otherwise, you can focus on the basic color connecting all your nursery-bought plants and pick a hue or design accordingly. Alternatively, you can use regular wallpaper, too. But you'll have to use a glue so it adheres to your plastic pots without issues, like air bubbles. Besides the wallpaper, you'll also need a sharp X-Acto knife and a tape measure for this project.
How to wrap nursery plant pots with peel-and-stick wallpaper
To transform a boring nursery pot into a stylish planter, start by giving your basic pots a wipe down. Dampen a microfiber cloth and clean the planters of dirt and debris. Even if you don't see large amounts of soil sticking to the surface, it's still a good idea to wipe them since a clean surface is necessary for a peel-and-stick wallpaper to adhere well. Then, set it aside to dry. Don't forget to wear gloves, or you'll be transferring the dirt on your hands to the cleaned sections.
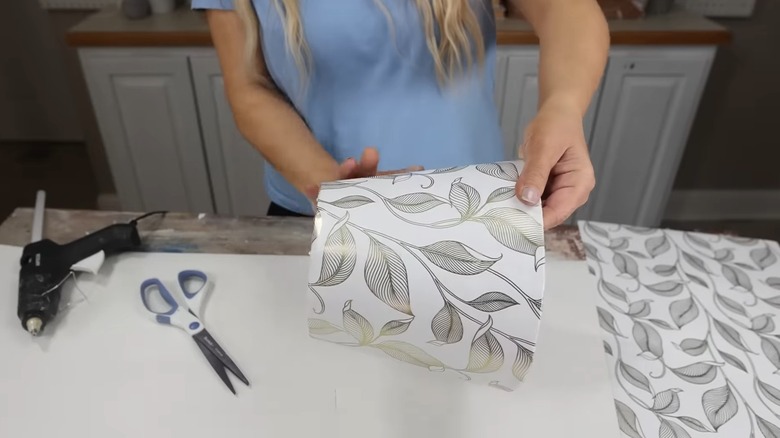
Afterward, take your tape measure and map out the circumference and length of your pots. Since you'll be working with a plant-filled pot, it's best to cut out the required amount of wallpaper before you start. Otherwise, it'll be difficult to make precise cuts later on. If you want to give the impression of a high-end planter, leave about a 1 ½ inch extra on the top and bottom to create a seamless edge. Once you have the required amount of wallpaper, conduct a dry run to be 100% sure. Now, peel off the backing from a small portion and position it over your pot. Go slow and press the wallpaper in place to push out all the air bubbles. Tuck the excess to your planter's top and bottom for a smooth finish. You may have to ask another person to hold the pot while you stick the excess at the bottom and use a little hot glue to secure the edges underneath the planter. Finally, keep your upgraded pots away from humid spots, as prolonged exposure might cause the wallpaper to start peeling.