12 Household Cleaning Tools That You Should Be Cleaning After Each Use (& The Best Way To Do It)
Have you ever dug your trusty cleaning equipment out of the cupboard, only to find that it's in worse condition than the surface you intend to clean? Given that these tools are crucial to our home cleaning routine, they are unsurprisingly prone to becoming dirty themselves. And while some items quite clearly need to be tossed into the washer after use, there are other, less obvious items for which a quick after-use clean can go a very long way.
For example, do you have pets? If so, have you noticed your vacuum cleaner starting to lose efficiency? If so, it could be that the rollers are coated in hair, meaning that the brushes connected to them can no longer gather the grime that's gathered in your carpets. Similarly, as unpleasant as it might be, do you have a routine for cleaning your toilet brush whenever it's used? If not, then it's bound to become filthy, not to mention unpleasant on the nose whenever you walk into the bathroom.
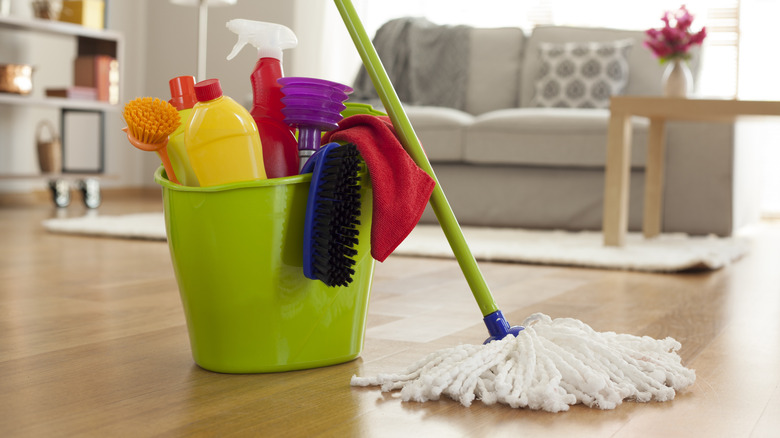
From cleaning rags and scrubbing brushes to robot vacuum cleaners and your trusty shower squeegee, there are lots of everyday cleaning items that themselves require a daily clean. In this guide, we'll offer some insight into why these seemingly innocuous items are worth giving a spritz after each use. And to help you add these day-to-day cleaning habits into your routine, we'll also offer some choice tips on how to go about it.
Throw cleaning rags in the laundry right after use
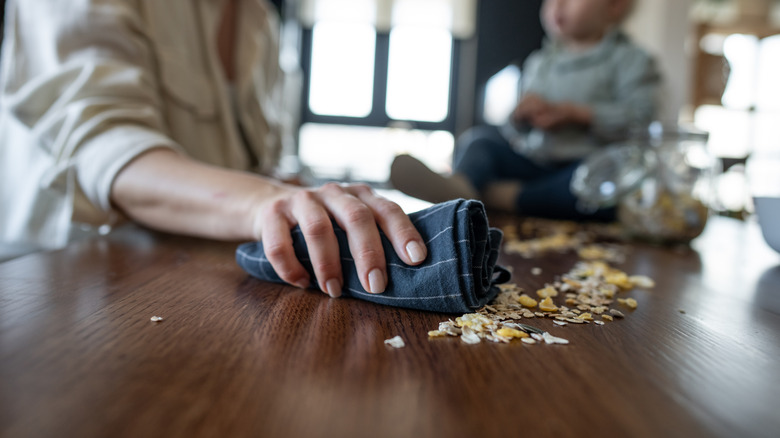
This one's obvious, but it's important to remember. We've all found ourselves wiping our surfaces down with a kitchen towel that's just on the wrong side of dry. The problem is, once they've been used, the fibers in those cloths are unlikely to let go of the germs and other detritus they've managed to gather. And if you reuse them, you'll only end up spreading those things around your kitchen.
So, how to wash them? It depends, to an extent, on the type of cloth you're working with. A standard dish towel should be added to a hot wash, which should help to blast the fibers free of germs. Dishcloths should be cleaned on a daily basis, although you don't even need to wait that long if the towel in question is especially dirty. Whether you just got it out of the cupboard or you used it to mop up spilled meat or seafood juices, the last thing you should do is use it elsewhere.
Now, if you need to wash microfiber cloths or towels, then a slightly different approach is required. Instead of a hot wash, a cold or lukewarm wash is better because overly hot water can cause shrinkage. And because microfiber cloths are so clingy (it's why they're so effective at cleaning), you should try to wash them separately from the rest of your laundry. Otherwise, they'll pick up excess lint and fibers, which in turn risk getting spread around your house.
Wash mop heads after use to avoid dirt and bacterial transfer
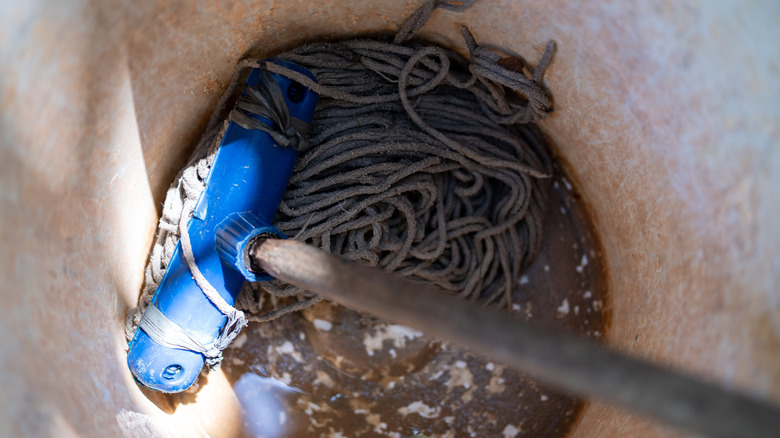
This is another obvious one, especially if your mopping routine usually results in a bucketful of cloudy, smelly water. But even if you use your mops to clear up minor spills, it's best to throw them into the washer. As soon as your clean mop head comes into contact with your dirty floor, the fibers will soak up any liquid, along with any detritus and bacteria swimming around in it.
As for how you should clean your mop, start by untangling the threads of the head. This will ensure as much of the mop as possible is exposed to the detergent. Try to remove any large pieces of debris first, and if you have one, pop the mop head in a mesh bag, which will help to prevent tangling in the wash. With that done, add it to a hot wash, which should kill any bacteria. Regular detergent is fine, just be sure to pull the mop heads out and dry them as soon as the cycle has finished. Allowing your fabrics to sit in the washing machine for too long, mops included, is one of the most common reasons for a smelly laundry room.
Like your cleaning rags, the above method is not a one-size-fits-all approach. For example, if you have a modern microfiber mop head to clean, then it's best to stick to a cooler wash cycle. You should also avoid putting anything else in the machine with them because those tiny fibers are likely to pick up whatever the rest of your laundry puts down.
Protect your investment in technology by keeping your robot vacuum clean
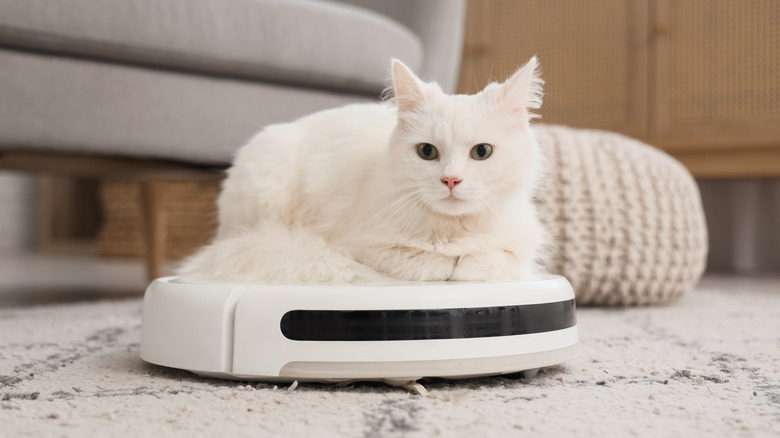
The set-and-forget style of cleaning that robot vacuums provide is precisely why so many households around the country own one. However, it's important not to forget about it for too long. Sure, you can let it go about its morning routine while you pop your feet up and enjoy a cup of coffee. After all, why shouldn't you? But after it's finished its daily rounds, it's important to give it a once-over.
Now, you don't need to dismantle it, wipe down the wheels, clear the filter, and clean the sensors. At least, you don't need to do that after each use. Instead, when your little helper has finished, you should make a point of emptying the onboard dustbin, checking the brushes, and clearing them of tangled hair. It's especially important to do this if you have pets. If hair is allowed to tangle around your robot's brushes, they'll quickly lose their ability to clean. To bolster this daily cleaning schedule, aim to clean the wheels, filter, and sensors once a week. Once every couple of months is usually sufficient for deep-cleaning the brushes and sensors, and you may need to replace worn-out parts (brushes and filters included) a few times per year.
Now, if your machine also helps with the mopping, then there are a couple of extra items to focus on when cleaning your robot vacuum. Just like your regular, low-tech mop, you should wash the mop heads straight away. Otherwise, even with the best artificial intentions, your robot will simply end up spreading grime around your floors. You should also empty and rinse the landing tray to avoid buildups of stagnant, dirty water.
After washing your mop heads, try not to forget about the bucket
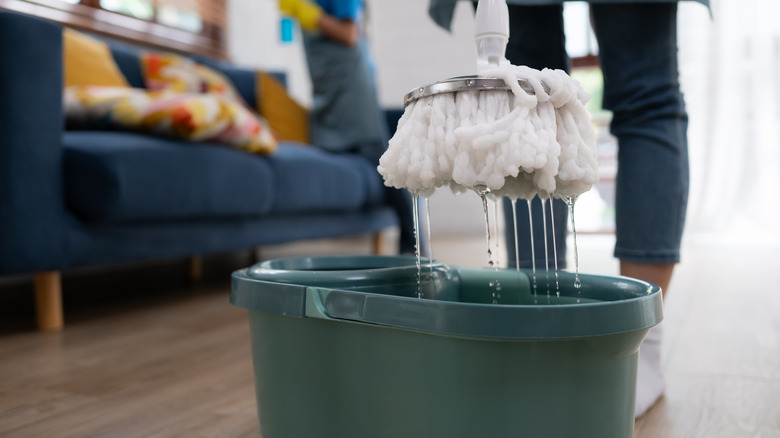
However often you mop your floors, it's unlikely that the water left in your bucket afterward is crystal clear. Your mop head probably scraped free all kinds of food and drink stains, not to mention the miscellaneous bits of hair, dust, and whatever else you accidentally missed with the vacuum. In other words, it's not enough to empty the bucket and then pop it in the sun to dry. At minimum, you should rinse it thoroughly with clean water — perhaps with your garden hose — before allowing it to dry.
If you skip this important step, then residue from your recent mop will dry and cling to the walls of your bucket. When you come to use it again and fill it up with hot water, those residues will dissolve, contaminating your "clean" water before you've even had a chance to dunk your mop. For optimum hygiene, rinse your bucket, scrub it with a cleaning solution, then rinse it again before drying. And if you're mopping an especially dirty floor, and your water clouds up before you finish, don't be afraid to change it mid-mop. When the water's dirty (along with the mop), it's unlikely to do your floor any favors. It's always better to empty the bucket, clean it, grab a fresh head, and continue on your way with fresh water.
Don't be tempted to let your toilet brush go unwashed
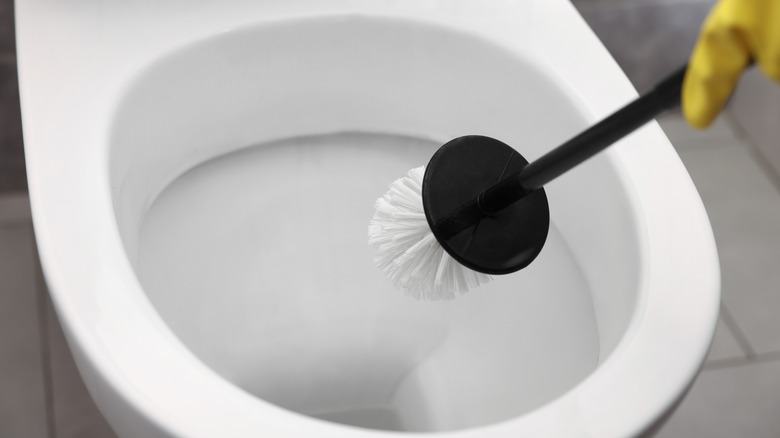
Toilet brushes are one of the most useful (albeit most disgusting) cleaning tools in the household. You can use them to clean the base of your toilet during a deep clean, and they're invaluable for daily touch-ups, ensuring your loo remains lovely to look at. Just don't be tempted to pop it straight back in the rack when you're finished with it. If you do, smells are sure to start offending your nostrils, and the brush is only likely to contaminate your bowl further when you next need to use it.
Fortunately, it's easy to keep your toilet brush clean. Firstly, you can rinse it in the toilet itself to loosen and remove any pieces of, well, debris. After that, you should aim to clean it with bleach. Flush away any bits that are hovering in the bowl, then douse the sides of the toilet with your chosen disinfectant. With that done, give your brush another swish in the water and use it to work the cleaner into the porcelain. Leave it to soak for a few hours if you can, which should help to kill any residual bacteria still clinging to the fibers of your brush.
Scrubbing brushes should be rinsed with soap after every use
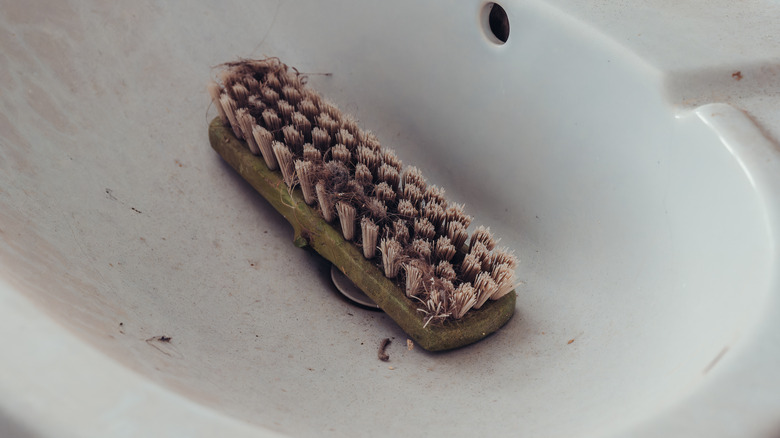
With all of the technology available to us today, it's amazing how useful a good old-fashioned scrubbing brush can still be. But as we've already discovered, the frequency with which you clean your cleaning supplies matters, and it's especially true of scrubbing brushes. Like mops and dishcloths, the dirt you used the brush to clean has a habit of clinging to the bristles and jamming itself between them. If left in situ, this is only likely to spread around your house as you use the brush to clean elsewhere. And if it's a dish brush you're using, this is even more important.
So, how to clean them? Regardless of what you use the brush for, give it a thorough rinse with water. The goal here is to clear the bristles of as much loose detritus as possible. Next, soak it in hot soapy water for 10 to 15 minutes, then give it a scrub between the bristles using a smaller brush or perhaps an old toothbrush. Now, if it's a dish brush, give it a final rinse with hot water, then allow it to dry. If it's a scrubbing brush that you use on your floors, you could go the extra mile and spray it with hydrogen peroxide, which will help to disinfect the bristles.
Give dustpans a quick rinse after use to prevent dusty, grimy buildups
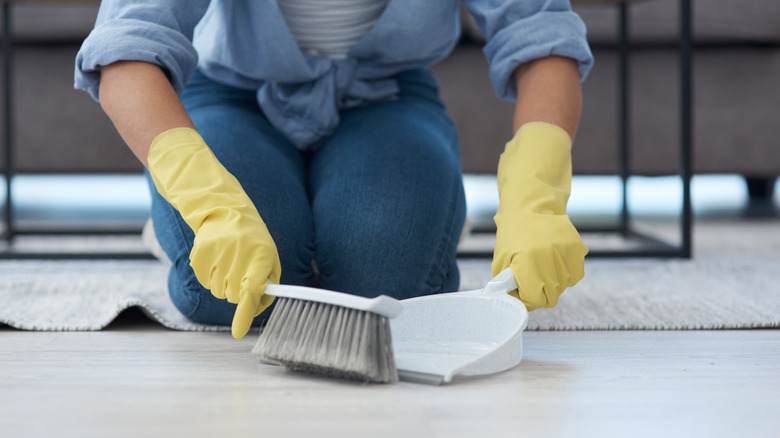
How often have you grabbed the dustpan, swept up whatever it was that was offending your floors, then immediately returned it to the cupboard? Like many other cleaning tools around the house, the lowly dustpan can actually be a sneaky holder-onto of all kinds of dust and dirt. Cleaning it after each use prevents further detritus from clinging to what is already there — rather like snow tends to cling to more snow.
Fortunately, this one's quite easy. Your dustpan and brush should have a clearly printed label with instructions on how to clean them. If not, just give the pan a clean with hot, soapy water, and if you need to, wipe the surface of the pan to ensure it's completely clean. Allow it to air-dry, then return it to the cupboard. Depending on the nature of what you use it to sweep, you may want to treat it with bleach from time to time to kill any bacteria still clinging to the plastic. Oh, and you should also make a point of cleaning the brush — following the same process that we covered earlier for cleaning your scrubbing brushes.
Vacuums need frequent cleaning to ensure reliable performance
The way to clean your vacuum cleaner depends largely on the type of appliance you own. It also depends on the circumstances within your home — namely, the nature of those living inside it. Like with your robot vacuum, it's always worth double-checking the rollers and clearing them of hair after every use. These rollers are usually fitted with brushes, which loosen the dirt in your floor, ready to be sucked up. Human hair quickly gets caught up in these. So does pet hair, making it an essential daily step if you have furry family members who tend to shed.
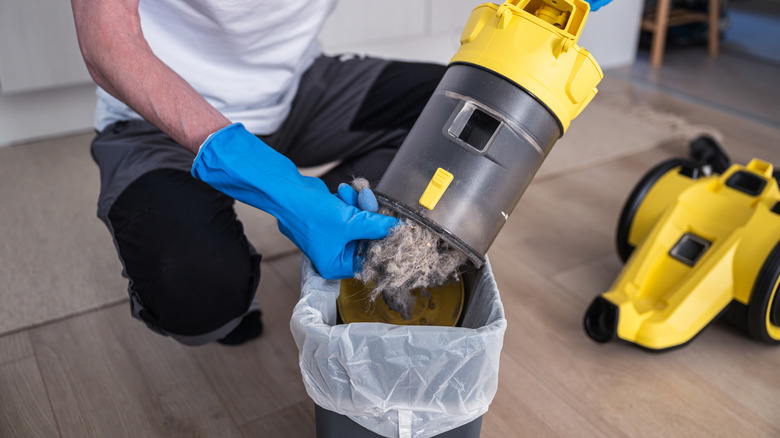
As for the bag and filter, again, it depends. If you have a bagged vacuum cleaner, then you can wait until it's around three-quarters full. The bags are usually sealed, meaning foul odors are unlikely to escape. However, if you have a modern, portable, bagless appliance, you might find that it's worth emptying the dust chamber and cleaning the filter after each use. Some vacuums tend to lose efficiency quite quickly when the chamber becomes too full.
Don't let a grimy shower squeegee prevent your screen from sparkling
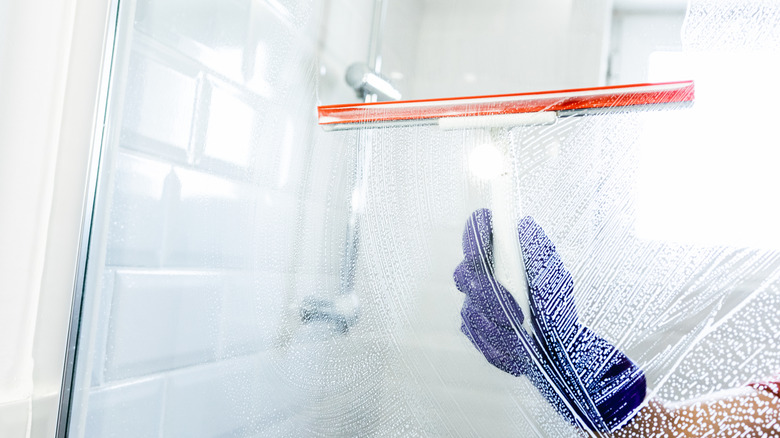
Shower squeegees are essential. In fact, they are one of the best ways to clean your shower screen for a clear, streak-free finish. However, just because they're made from plastic and silicone doesn't mean that they don't cling to grime. If you don't clean it after use, then the next time you come to use it, you may find yourself simply spreading old scum onto whatever you're trying to clean.
Instead, give the squeegee a thorough rinse with hot, soapy water. Make sure that you wipe it clean of any residual gunk and scum from the surface you've just cleaned. When that's done, give it a final rinse to remove any suds, then allow it to dry before stowing it away. There are various areas of the home that you can clean with a squeegee — the last thing you want to do is spread grime from your bathroom around the rest of your household.
Free your rubber lint rollers of hair before using them again
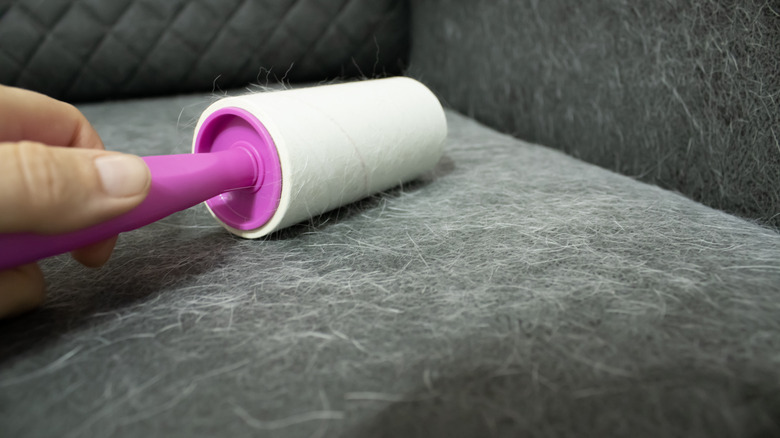
There are lots of ways that a lint roller can help to keep your home clean. But as with every other cleaning tool that you use, maintaining it is the difference between genuinely achieving true cleanliness and simply spreading one room's dirt to another. Consider what you use it to clean: pet hair, human hair, crumb-strewn desks (we're talking to you, remote workers!), and even cobwebs. While their naturally tacky nature is what makes them useful, it's also what makes them so potentially unhygienic.
Fortunately, it's pretty easy to clean your reusable lint roller. Firstly, if it's only collected a small amount of debris, you may be able to manually clean it with either your fingers or a pair of tweezers. You could also try using one of your vacuum's smaller attachments to suck the items off the roller. And if that fails, don't be afraid to use hot, soapy water. Avoid squeezing soap directly onto the roller, as it could impact its cleaning efficiency. Instead, wet a cloth with warm, soapy water, and use it to gently wipe down the roller's surface. Give it a good rinse afterward, then pop it in the dish rack to dry.
Clear out your steam cleaner attachments after each use to avoid recontamination
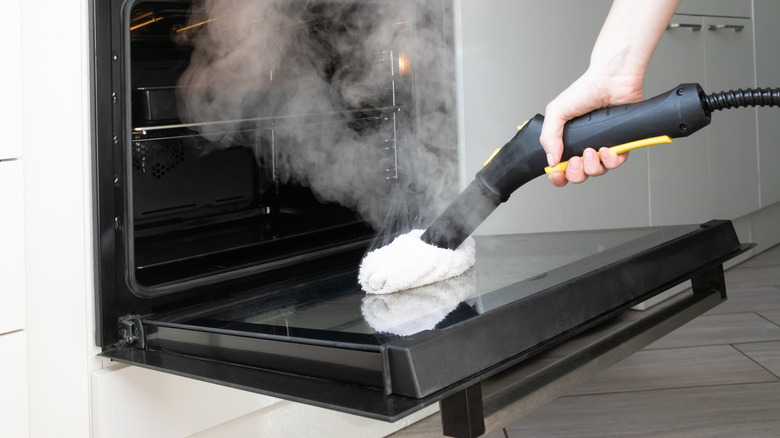
Steam cleaners are an excellent addition to the cleaning arsenal of most households. They can clean some of your home's most stubbornly dirty surfaces, including your bathroom sink and tiles, and even the walls of your oven. The trick to keeping it in fine fettle is ensuring you clean it frequently. The attachments you use are especially likely to hold onto traces of the grime that you use them to clean. If you don't remove it, you risk spreading it around the house next time you come to use your cleaner.
So, how should you clean your steam cleaner? To begin with, give the attachments a thorough wash with hot soapy water after every use. For any brushed attachments, use a smaller brush to clear between the bristles and ensure they're clear of cling-ons. You should also try to avoid the appliance becoming calcified — a likely outcome if you fill your cleaner with tap water. Cleaning the attachments after each use will prevent them from collecting mineral deposits, and a regular wash with a dedicated decalcification solution will help to protect the tank and water system. If it's already happened, then, again, the decalcification solution will enable you to clean the appliance. You'll also want to inspect your attachments and wipe away any white, chalky deposits.
Upholstery vacuums are only effective if you keep them clean
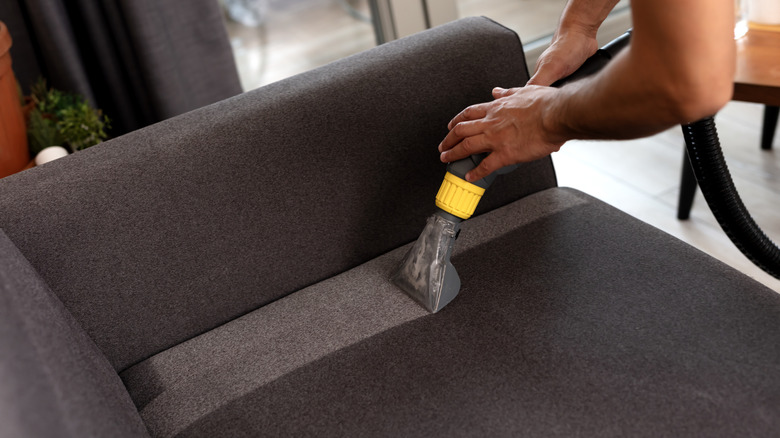
Upholstery vacuums are becoming increasingly popular in households that wish to forgo the cost of hiring a professional upholstery cleaner. And if you use them regularly, they can help you to keep your furnishings reassuringly clean. However, even if you clean them regularly, you may still be amazed by how dirty the nozzles and hose manage to get. They tend to collect gunk like it's going out of fashion, which means that a clean after each use is essential to ensure your next one is effective. Not only that, if you don't clean and dry the equipment properly, your unit may begin to grow mold on the inside.
So, clean it! Run the nozzle through a bucket of warm, soapy water after each use, to flush it free of any hair, gunk, and other detritus that's stuck inside. When that's done, remove the water tank and flush that out as well. If it's a carpet and upholstery cleaning appliance, clear out the main "head" of the cleaner to ensure that it, too, is cleared of detritus. Finally, if your appliance has removable "wands" or other attachments, take those off, clean them with hot soapy water, and ensure they're thoroughly flushed through.