

Use Old Water Bottles To Create An Eco-Friendly Raised Garden Bed With A Smart DIY
We may receive a commission on purchases made from links.
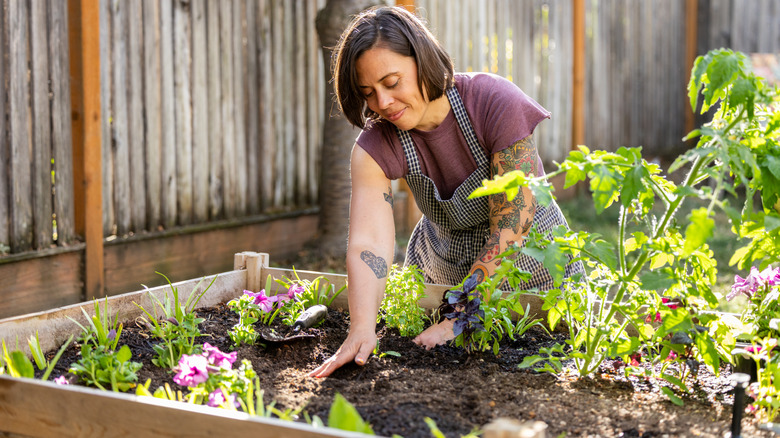
Many people are drawn to raised garden beds because of how attractive they look in a yard or garden. But beyond aesthetics, this gardening method also offers several practical advantages over the in-ground version. For one, you can create the best possible soil mix to start growing your crops, drainage is way better, and the convenience of easy access to the plants is good news for your back and knees. And as a bonus, making the beds doesn't have to be an expensive venture. You can even repurpose budget-friendly items like old water bottles, giving plastic waste a second life instead of sending it to the landfill.
In this DIY project, the plastic bottles act as the siding for container-style raised beds. As demonstrated in a TikTok video by @fatma.dvlog, the final creation is super customizable, so you can easily create different designs for your raised garden beds. The main thing you'll need is a pile of plastic bottles, either water or soda bottles. Try to use bottles that are similar in size and shape for a more uniform look, though there's really no harm in mixing up slightly different shapes. It all depends on what you have available. You'll also need a tool for digging a narrow trench. The TikTok creator improvised with a small machete, but a specialized trenching shovel can make the process much easier. Besides the tools and bottles, have your gardening soil ready and water.
Building a raised garden bed with old water bottles
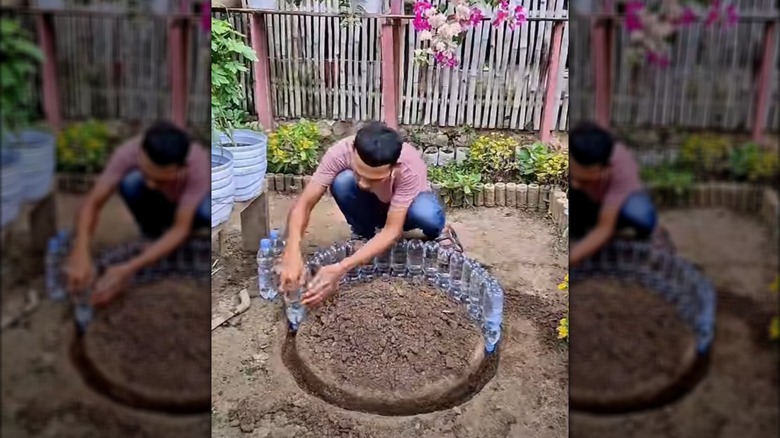
Gather the empty water bottles, wash them thoroughly, and remove any labels. Then fill each with water to make them sturdier and therefore ideal for edging the raised garden bed. Next, choose the perfect spot in your yard for the raised garden bed. It should be on level ground in an easy-to-access location that also receives sunlight for a minimum of six hours a day. It's also helpful to place the bed near a water source for easier watering.
Once you have identified the spot, mark out a circular area for the raised garden bed. You can do this by securing a long stick in the ground, tying a rope to it, and attaching the other end to a smaller stick. Now pull on the rope, keep it taut, and then press the small stick to the ground as you take it round to mark out a perfect circle. Alternatively, use a large round bowl placed on the ground and then draw its circular outline on the ground using a stick.
Next, use the trenching tool to dig a narrow, shallow trench along the marked outline. Remove the dirt as you go. Arrange the water-filled bottles inside the trench facing upside down. Pack them close together, pressing them down firmly, before refilling the trench with loose dirt. Now that the frame of your raised garden bed is set, you can begin filling it.
How to fill (& customize) your DIY raised garden bed
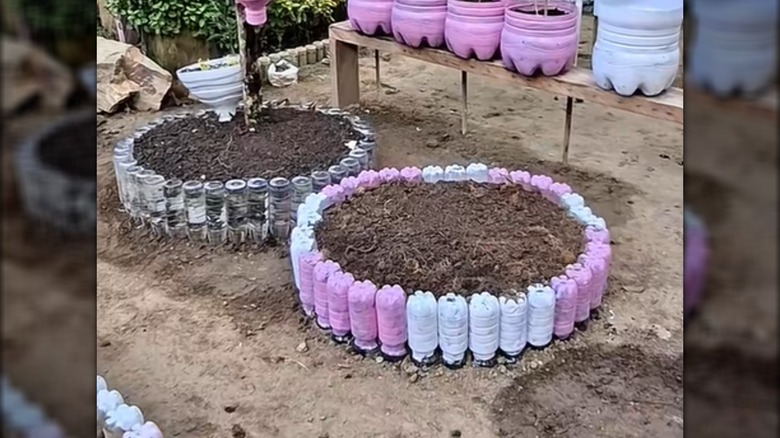
Before filling up the raised garden bed with soil, you want to first remove any grass or weeds and place cardboard at the base to help suppress weed growth. After the weed barrier, add a bottom layer of organic matter – such as leaves, grass clippings, and little twigs. Having this layer will help you save money as you won't need to use as much garden soil. Additionally, it can also help build fertile soil over time as the organic matter gradually decomposes
Be strategic in how you add the organic stuff. Add a few inches at a time, compress the material by stepping on it, then wet it lightly before adding another layer. This way, the final soil level of your garden bed won't drop drastically within days of installing it. Once your layer of organic matter is well compressed, you can now fill up the rest of the bed with soil. But don't make the raised garden mistake of using regular garden soil, as it's typically heavier and may be of poor quality. The better option is to purchase a high-quality garden soil mix that's made for raised gardens. Finally, you can transplant your crops or plant your seeds.
There are several ways to make this DIY raised garden bed uniquely yours. For example, instead of a round bed, you can make it rectangular, square, or even L-shaped. You can also add color by painting the water bottles. Just make sure you choose an outdoor-safe acrylic paint designed to withstand weather exposure, like this FolkArt Outdoor Acrylic Paint on Amazon.