

Use Old Milk Jugs To DIY Garden Tags On The Cheap
We may receive a commission on purchases made from links.
Perhaps you've completed all the essential garden prep tasks you started in March for a thriving harvest, and now your flower, vegetable, and herb seeds are neatly planted in pretty rows. It won't be long before those beautiful plants begin popping up out of the garden. You promised yourself you would remember what you planted when you sowed all of those seeds. But if you didn't mark them, how will you know which young sprouts are a weed and which ones are a vegetable or flower? One of the biggest challenges when it comes to gardening is that it can get expensive fast, especially with all the tools and materials you're expected to buy. Rather than waste money on fancy garden tags, you can quickly and easily make your own using leftover milk jugs.
No one wants to spend tens or hundreds of dollars just to grow a tomato, so it's a smart idea to save money anywhere possible. This easy project will make good use out of those leftover plastic jugs languishing away in the recycling bin and keep you from forgetting what you planted. You just need some empty gallon or half-gallon plastic milk jugs, heavy duty scissors or a crafting blade and cutting surface, a ruler, and a weather-resistant marker.
Cut milk jugs into plastic garden markers that last
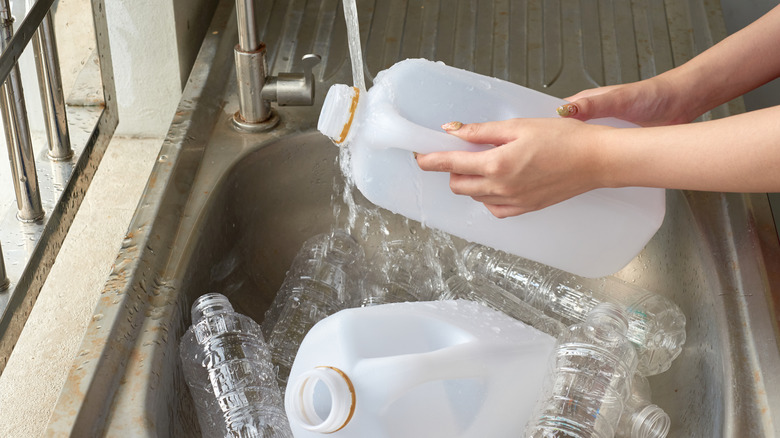
Remove any labels from your milk jug, and then wash and dry the jug thoroughly before getting started. Any leftover milk residue could create an odor or make it difficult for your marker ink to stay put. The curved parts of the jug won't make good markers, so use a utility knife or scissors to cut off the top, bottom, and handle, leaving a squarish-looking cylinder. Cut straight down each corner to make your cylinder into four flat panels. Be careful because the cut plastic can be sharp along its edges. But don't throw the top and bottom out just yet! You can set aside the lid for a genius bottle cap that makes seed starting easy, and repurpose the base of the milk jug to create a planter drip tray with another clever DIY.
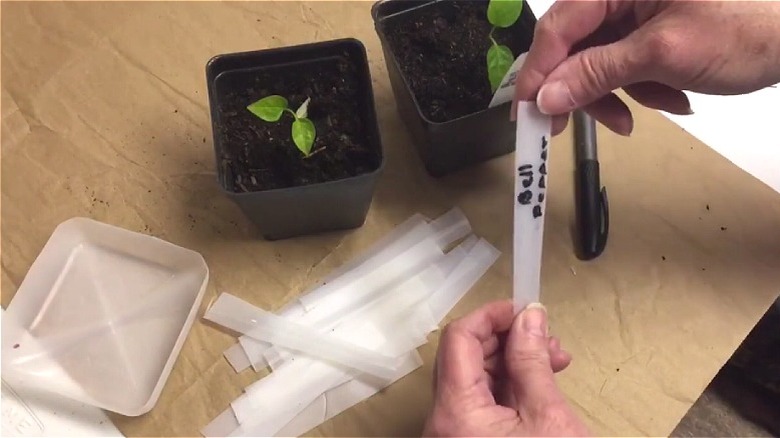
All that's left is to cut the remaining plastic into strips, but if you want your plant markers to look uniform, measure and cut a cardboard template first. Consider the length and width of each tag, making sure it's large enough to write on. Trimming the bottom of each tag to a point will make it easier to stick in the dirt. Finally, you can choose to round the corners with your shears or a corner punch so you don't get cut. You should be able to get many markers from a single gallon container. Since dye-based markers will fade in the sun, write on the tags with a specialized garden marker, like these 133 Supply UV Fade Resistant Permanent Markers.