Ditch Cluttered Plastic Lids With A Space-Saving DIY Storage Idea
We may receive a commission on purchases made from links.
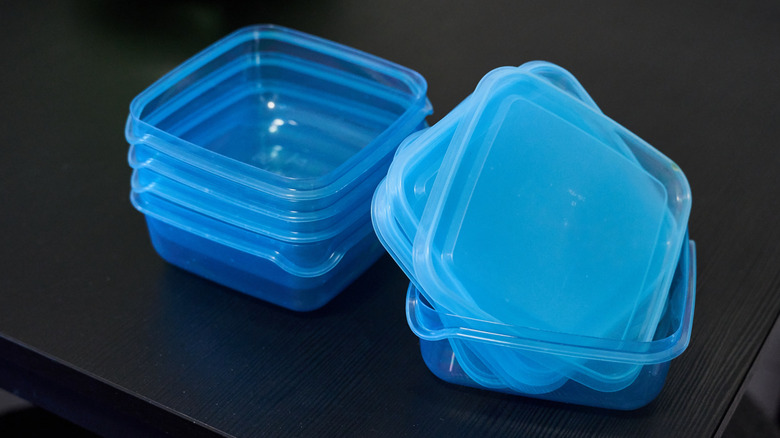
Food storage containers are a kitchen reality — nay, an essential. They hold scoops of leftovers, accompany us in our lunch bags, and stock our freezers with ready-made meals. However, they are a real pain when they're not in use. Sure, the containers can usually stack nicely, but the lids become cluttered and hard to find. In a situation like this, lazy susans are a kitchen's best friend. You can deepen that friendship by adding a Slinky to the mix. One of these metal or plastic toys fixed in a permanent loop is just the thing to hold lids on their sides, bookshelf-style. Glued to the center of a lazy susan, this "lid-sy susan" DIY allows you to spin the turntable to reach your chosen container top without fumbling through the collection.
Give this hack a spin in your own kitchen cabinet with a wide lazy susan, a Slinky, a couple of scraps of wire, scissors, and a glue you can count on. This DIY is easy, but it's only helpful if it holds up in the long run. Skip the plastic Slinky in favor of a more durable metal one, and invest in a glue that's known for strong bonds between differing materials, like E6000. Also, some DIYers have plastic bread tags to hold the Slinky's ends together. However, there are more clever ways to reuse them that don't rely on their iffy holding ability. Instead, stick with a couple of twists of wire that are strong and don't take up lots of space. Lastly, choose a lazy susan that's a bit wider than twice the length or width of your largest lid(s).
Piece together a lid-sy susan

Before you commit to glue, play around a bit with the Slinky to see how wide you'd like it to sit on the lazy susan. Consider the lids you'll be storing in it; attaching the Slinky a little wider than it would naturally sit on the platform would support larger lids better, since you'll be able to slide them farther through the coils. If you go this route, grab a glue gun, too.
Form the lid holder by coiling the Slinky into a loop. Secure the Slinky's ends together at two points with wire. Wrap the wire around the ends several times for extra strength, and snip off any excess. Now it's ready for the glue treatment. Either set the Slinky coil on the center of the lazy susan, or expand it a bit before attaching it with E6000. For the latter option, use both hot glue and E6000; the quick-drying hot glue will hold the Slinky in place while the stronger E6000 dries and cures. (Without this step, the Slinky may contract to its original size.) You could either squeeze a generous ring of glue at the spot where the Slinky will sit, or you can be more precise by applying dabs of glue directly under, say, alternating rings.
E6000 needs to cure 24 hours to reach its maximum hold before you manipulate the "lid-sy susan" too much. Once it's ready, set it in your chosen cabinet, slip lids through the rings, and experiment with how best to arrange them. Larger ones might work better stored with their longer edges standing vertically to keep your cabinets tidy and clutter-free.