Turn An Old Binder Into A DIY Storage Solution That Keeps Your Desk Organized
We may receive a commission on purchases made from links.
Who else here has a compulsive need to load up on school supplies, even though it's been at least a few years since you were last in school? (Please don't let it just be us.) If you don't squeal whenever you find your favorite notebook restocked at your local stationery store, you may have kids whose leftover school supplies are quickly taking over all of the storage cabinets in your home. Most old pens and notebooks can find new purposes, but what about those old, ratty binders? They're not always as simple. Luckily, a clever YouTuber discovered how to repurpose an old binder into a stylish DIY storage box that keeps your desk tidy.
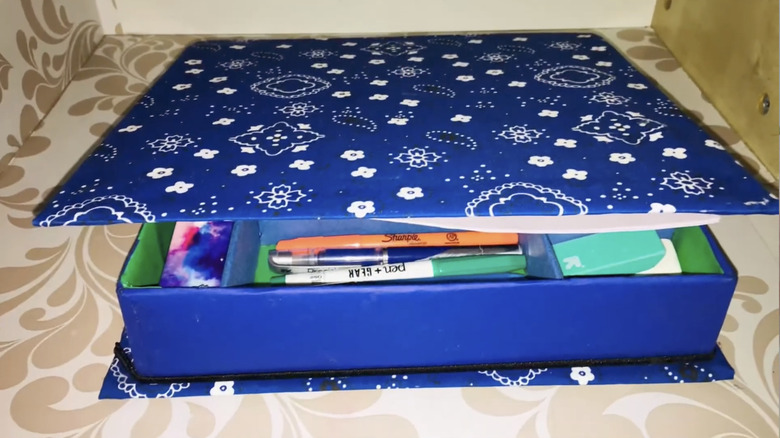
In the video, YouTuber Maryam's precious world transforms an old binder into DIY desk storage by removing the binder's ring mechanism, then covering the outside with fabric. After trimming an old game box to size, they line it with construction paper and glue it onto the back binder cover. They create dividers with thin cardboard and slide them into the box to organize their things. Finally, a pocket folder is glued onto the inside top lid, and then a stretchy headband is glued along the back of the bottom outside cover to secure the lid in place.
It's simple, it keeps your school supplies organized, and it's made with things you already likely have hanging around your house. You could also buy all of the materials new for about $30, but keep in mind that it may be hard to buy just one slim box or one stretchy headband, meaning that you may spend more. So, to avoid buying 25 2-inch tall gift boxes, we recommend checking your house first before heading to the store.
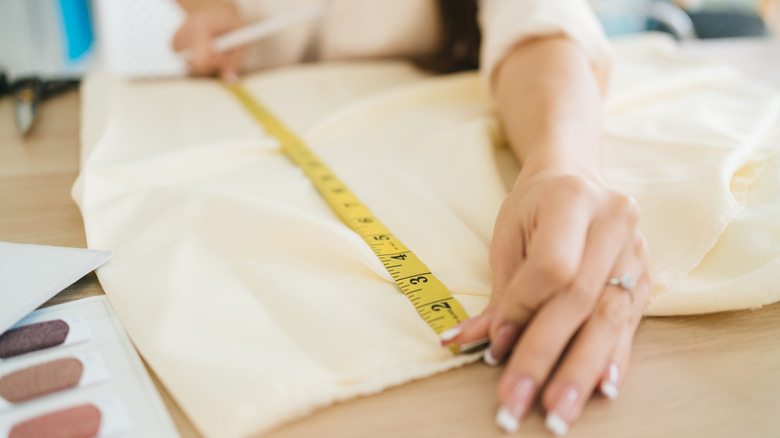
Start by collecting and measuring your materials
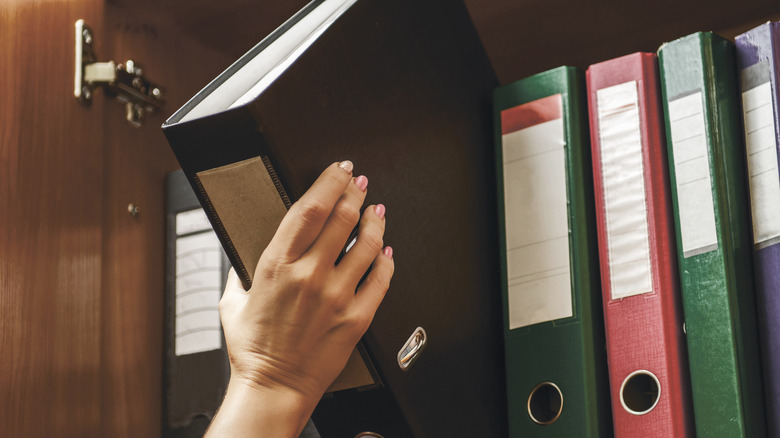
On the surface, this DIY feels fairly simple — cover the binder, add a box, and decorate — and don't get us wrong, it is. However, making sure your materials fit together is key to ensuring that you don't start building your desk storage box only to realize that the box is too big or the binder covering is too short. Let's start with the two most important components: the binder and box. First, check the binder's structure. Confirming that the binder is structurally sound — the spine is intact and the covers aren't bent — will ensure your storage box lasts. Then, make sure the box fits inside the binder. Remove the ring mechanism by sliding a flathead screwdriver underneath it and gently prying it loose. Don't throw it away — you can repurpose it around your house to organize craft supplies, a DIY calendar, or even a photo wall.
Next, check to make sure your binder covering is big enough to actually, well, cover the binder. If you want to follow in the YouTuber's footsteps and use fabric, we'd recommend measuring the length of the open binder, plus a half-inch around the edges to fold in. Then, when you check your fabric stockpile or head to the craft store, you'll know exactly how much you need instead of guessing. If fabric isn't your vibe, you could use 20-inch by 30-inch paper sheets or wrapping paper to create a stylish cover — just make sure to diagonally trim to corner edges so they lie flat. Or, use up that leftover peel-and-stick wallpaper for a cover that matches your decor — just measure closely first.
Tips to put your DIY desk storage box together
Once you've confirmed that everything is the right size, it's time to put it all together. Start with your binder cover. If you're using fabric, an all-purpose adhesive like Mod Podge Matte Sealer, Glue, & Finish is likely your best option. For paper, an adhesive spray such as Elmer's Multi-Purpose Craft Spray Adhesive works well.
Next, decide what kind of closure you want to use. You could, of course, skip this entirely and keep the box horizontal on your desk. However, stacking it vertically saves tons of space — you just need to make sure it's secure. YouTuber Maryam's precious world glued a stretchy headband to the back, which is a great choice. For a hidden closure, glue a washer to the top edge of the box and a neodymium magnet, like Cartuledas 5x2mm Small Round Magnets, to the corresponding spot on the inside top cover. Be aware that neodymium magnets have been known to interfere with medical devices, so use with care. Keep the inside top cover blank if you like, or add a little extra storage, like a folder pocket, pen loops, or a pouch.
The nifty thing about this DIY is that, while it's fantastic at storing your desk essentials, it can also store so much more. Use it to organize school or work papers, or make it a memory box (simply skip adding the cardstock inserts). Maybe build the ultimate work-from-home kit with your favorite pens, blue light-blocking glasses, and lucky sticky notes. Or, perhaps make a kids' craft kit, a battery organizer, or use it to keep your essentials tidy in your car.