

13 Baseboard Cleaning Dos & Don'ts, According To Pros
We may receive a commission on purchases made from links.
If you've been trying to keep your house clean and tidy, but feel like something isn't quite up to scratch, then it could well be your baseboards. Since they usually run around the entirety of the house, if they're dirty, they can dramatically detract from the cleanliness of your home. Of course, if you keep on top of them regularly, then they should never become much of an issue. What's more, there are lots of easy ways to clean your baseboards, and if you do it with regularity, then they should never need more than an occasional wipe down.
However, if you've left it too long, and your baseboards have started to look seriously grimy, then you'll need to think more carefully. To help, we asked professional cleaners for their top baseboard cleaning tips. In exclusive interviews with House Digest, they offer an array of advice and suggestions on how to clean them. Perhaps more importantly, they pointed out some common baseboard cleaning misconceptions, including several cleaning methods that you should avoid at all costs. From preparing your baseboards for cleaning to the order in which you should clean them, if your home is feeling dirty and your baseboards are behind the problem, then this expert-led guide is for you.
Do: Move furniture when possible
Our first piece of baseboard cleaning advice comes from Scott Benson, Director of Operations for The Cleaning Authority. In an exclusive interview with House Digest, he explains that effective cleaning is as much about preparing your space as it is about the cleaning itself. More specifically, it's about making the areas you're cleaning easy to access. After all, there's nothing more annoying than arming yourself with your tools and getting into the rhythm of cleaning, only to find yourself blocked by an unwieldy piece of furniture.
With that in mind, says Benson, "Shifting items like couches, chairs, and side tables helps ensure you're cleaning the full length of the baseboard." Whatever you do, don't be tempted to clean around them. Even if your dirtiest baseboards are out of sight, they're unlikely to remain out of mind for long if the wood is starting to molder, which can happen in the light-starved spaces behind your furniture. Instead, take a few minutes to move your furniture safely, then give the baseboards a good clean. The bonus is that you'll also be able to vacuum the floor beneath your furniture, thus ticking another annoying item off your to-do list. Plus, if you have kids, you never know which toys or missing socks are likely to turn up when you check beneath the sofa.
Do: Start with dust removal
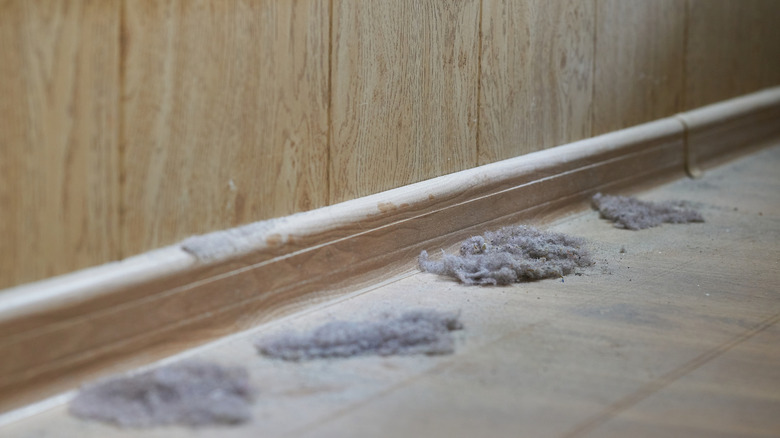
Once you've taken the time to pull out your furniture and inspect your baseboards for mold, the next thing to do is dust them down. Depending on the style of your boards, they could have little grooves running through them, or a flattened edge along the top. These are magnets for dust and debris, and if you try going straight in with a wet cloth, you'll end up spreading the dirt around and creating streaks. Not only is this annoying, but depending on your baseboards' finish, that dirty water could end up seeping into the paintwork, thus staining your boards and leaving you needing to repaint.
While you can go in with a duster, Scott Benson advises using "a vacuum with a bristled brush attachment to pick up loose dust and debris." Go slowly, and give the appliance time to work its magic. Aim to work those bristles gently into any grooves and along the top of any flat edges. Once you've dusted the baseboards, run the vacuum over the floor by the baseboards, too. That way loose, dislodged dust won't get kicked up and resettle on your baseboards when you wipe them down.
Do: Use a gentle cleaning solution
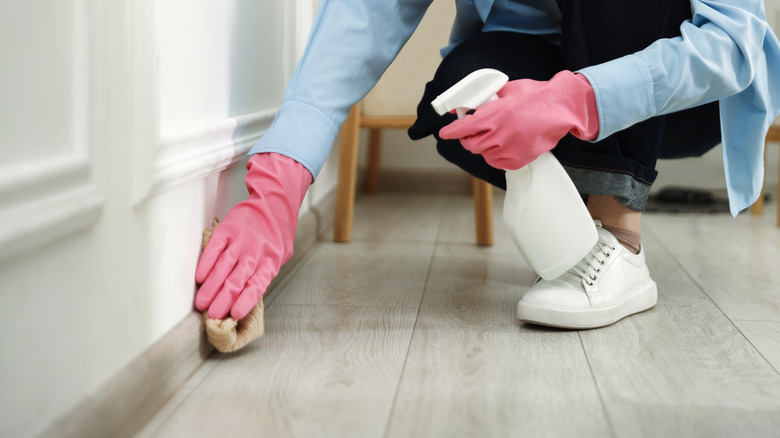
Now that your baseboards have been dutifully dusted, it's time to actually clean them. Depending on the level of grime, you may not need to use anything more than a damp cloth. But even if they're really dirty, you should try to avoid strong chemicals. For example, one questionable baseboard cleaning hack is to use a foaming window cleaner spray in order to lift and remove stubborn stains. The problem with this method is that these cleaners are quite harsh. In fact, some foaming cleaning products actually state that they should, under no circumstances, be used on finished wood surfaces.
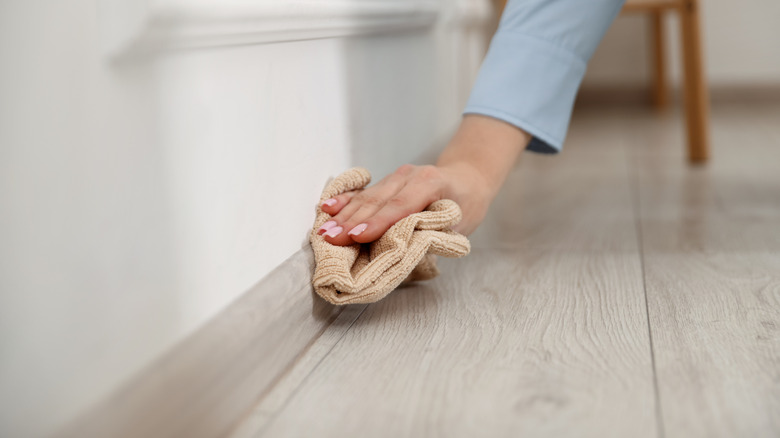
Fortunately, you don't have to shell out on specialized cleaning products in order to give your woodwork a lift. "A mix of about ¾ warm water and ¼ dish soap works well for painted baseboards," shares Scott Benson. It helps to lift build-ups of grime, he explains, but it's not so harsh that it'll damage the finish of your boards. Use warm water, and if you have one, wipe your boards with a microfiber cloth. This should help to work away any surface grime, without scratching or damaging the paintwork.
Do: Test any cleaning solution in an inconspicuous area first
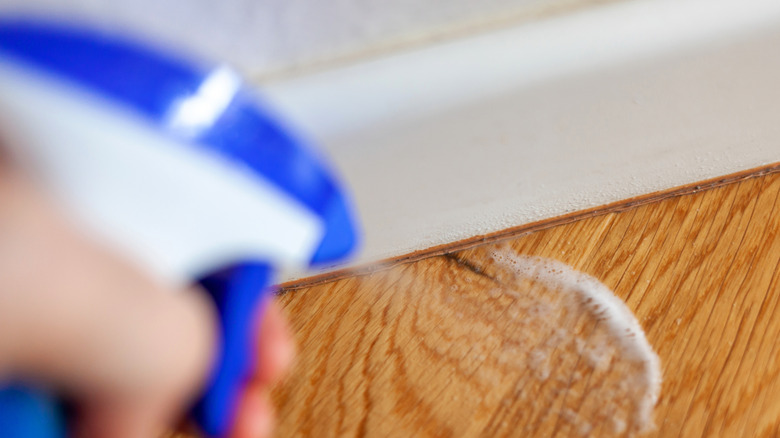
If you are using a specific cleaner on your baseboards, it's important to test it on an inconspicuous area first. Speaking exclusively with House Digest, Ashley Matuska Kidder, founder and CEO of Dashing Maids, agrees with Scott Benson that soapy water is the safest solution. But for anything stronger than dishwashing liquid, testing is key. "This is especially important if you have painted or delicate wood trim," shares Matuska Kidder. By cleaning a small, unseen area first, you can ensure that it doesn't cause paint to run. Even on unpainted baseboards, if you're using a cleaning product with chemicals, it's best to ensure that they don't leave stains in the wood.
Thankfully, since you've already pulled away your furniture from the walls, you have the perfect place to run a spot test. Spray your cleaner on a small strip of board somewhere behind your sofa, and check to see what happens. If the finish turns cloudy or dull, or traces transfer onto a cloth when wiped off, then you know it's not safe to use.
Don't: Use harsh, abrasive scrubbers or scouring pads
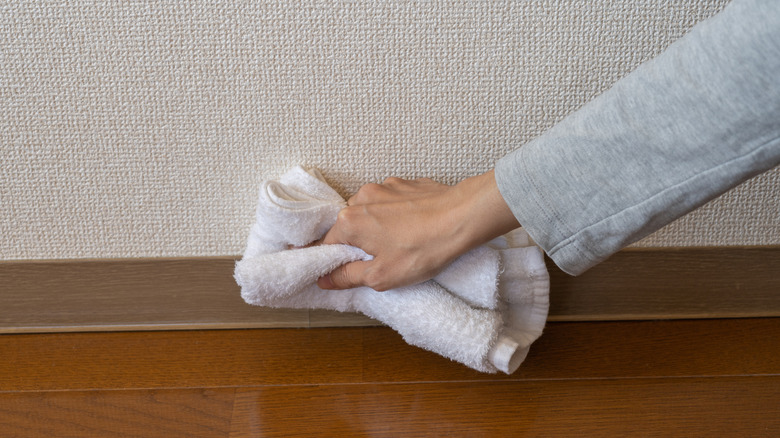
As well as paying close attention to the chemicals you use to clean, experts generally recommend avoiding harsh and abrasive scrubbers. "These can easily scratch or damage the paint or wood finish on your baseboards," warns Ashley Matuska Kidder. To many, this will sound like obvious advice. But if it's been a while since you cleaned your baseboards, and you're dealing with multiple layers of grime, it can be tempting to try coarser materials.
One way to avoid this temptation is to schedule a cleaning routine for your baseboards, ideally once per month. This will keep dirt from piling up and make it easier to remove with softer scrubbers or a microfiber cloth. If you do need something more aggressive to lift stubborn marks and scuffs, Kidder says it is possible to use a Magic Eraser to clean your baseboards. "Just be careful with the magic eraser," she cautions, "as they are essentially sandpaper and can remove the paint if too much pressure or scrubbing is used."
Do: Try a steam cleaner (carefully) on stubborn marks
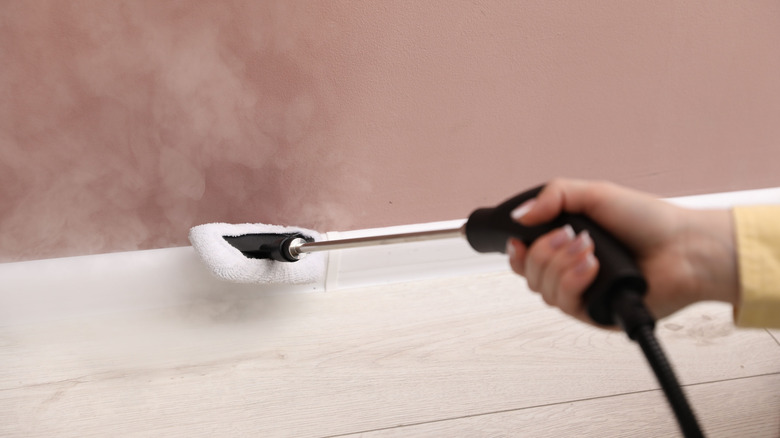
Speaking exclusively with House Digest, Michael Bogoyavlenskiy, CEO of Cleaning Express, agrees that a Magic Eraser is a useful tool for removing scuffs. But like Kidder, he warns that it can remove the paint if you're not careful. As an alternative, Bogoyavlenskiy suggests that one of the best baseboard cleaning tools is a steam cleaner. This, he says, "can help lift the scuff without damaging the paint, so you can then scrub it away."
In order to get the most out of your steam cleaner, you'll need to bear a few things in mind. Firstly, as we mentioned earlier, you'll want to vacuum the baseboards clear of dust, and give the flooring around them a once-over. Any loose dirt or dust will quickly turn into a mucky paste once you blast it with your steam cleaner. Secondly, "make sure you test the steam cleaner somewhere hidden first in case it damages the paint," cautions Bogoyavlenskiy. The last thing you want is a blistered patch of paint on your home's most visible baseboards.
Don't: Use too much water
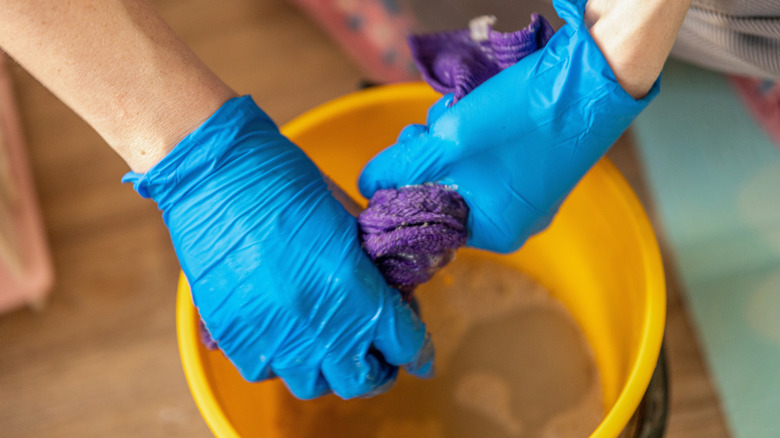
Homeowners who've spent hours mending fences and treating their hardwood floors will know that water rarely plays nicely with wood. It's an organic material, and highly porous, meaning water can easily seep in and cause warping. In the case of your baseboards, "too much moisture can damage the finish on wood or painted surfaces, and can cause swelling over time," warns Scott Benson. And the problems can potentially go further than that.
Once the wood swells, it'll never return to its original state, leaving you potentially needing to replace it. This is even more likely if your boards are made from MDF, and if they are, repeated applications of excessive water could even cause the boards' layers to delaminate. And don't forget, any boards that are tucked away in the dark behind your furniture are already more susceptible to mold — a problem that you'll only encourage by adding lots of moisture to the equation. To avoid drenching your baseboards, it's best to wring out your cloth before cleaning and ensure that it's damp, and not dripping. If water runs down the face of your boards when you wipe across them, then that's a fairly reliable sign it's too wet.
Do: Let your baseboards air dry
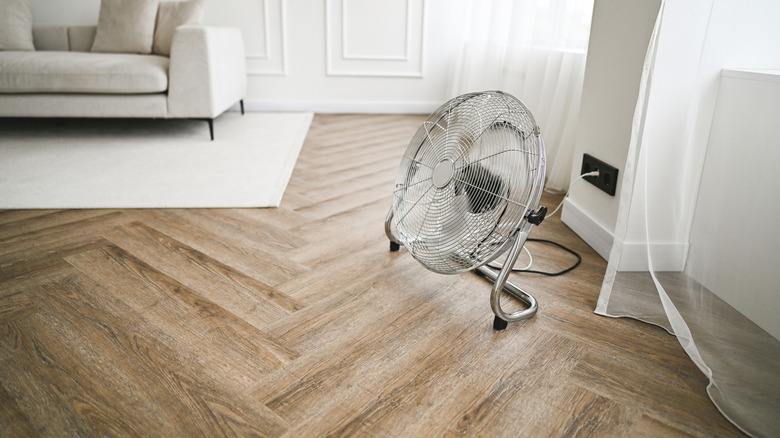
This one may seem counterintuitive, especially given the previous point about the potential issues with water. But according to Scott Benson, provided that you "squeeze out excess water from your microfiber cloth or sponge to minimize moisture," there's no reason not to let your baseboards dry by themselves. In fact, he says, allowing your baseboards to air-dry achieves the best finish.
Wiping your boards down after cleaning runs the risk of leaving streak marks. More than that, depending on the cloth that you use, you could leave behind traces of lint, which could spoil the clean aesthetic you're shooting for. If you're concerned about leaving moisture behind, then you could try to get some air moving around. An oscillating fan can help with this, and if it's nice outside, then so can opening a window. Alternatively, if it's cold, you should find that switching on your heating speeds up the drying process.
Don't: Leave your baseboards too long
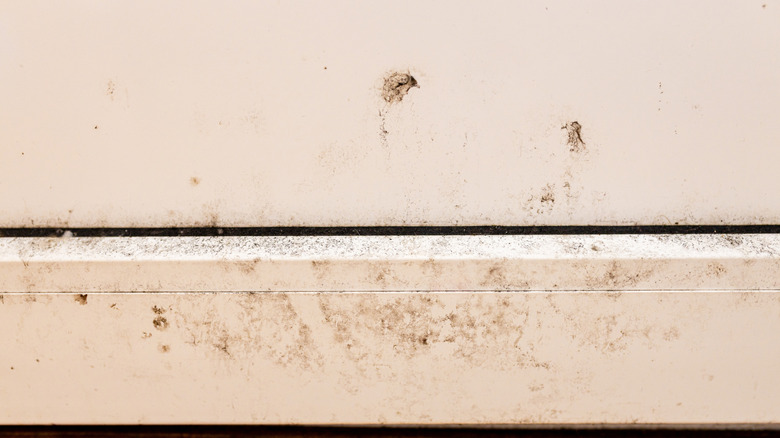
Have you ever heard the phrase "a stitch in time saves nine?" It means that it's better to solve a problem immediately than allow it to become a larger issue. It's sound advice, regardless of the problem in question. But in the context of your cleaning, says Scott Benson, "the longer you go without cleaning your baseboards, the harder it will be to remove all the buildup." In other words, the more you put it off, the harder you'll have to work to clean them when you finally get around to it.
It's also worth remembering that the more stubborn the dirt on your baseboards, the harder you'll need to scrub them. And the harder you scrub, the more likely you are to damage the paintwork. So, clean your baseboards regularly, aiming for around once per month. You may need to clean them sooner, depending on your specific household, or you could find that once every six weeks is more your rhythm. You may also want to keep a closer eye on some areas of the house, like those dark, mold-prone spaces behind your furniture, or high traffic areas where grime accumulates faster. As long as you avoid dramatic buildups of dirt, that's all that really matters.
Do: Try a Swiffer duster with the extendable handle for touch-up cleans
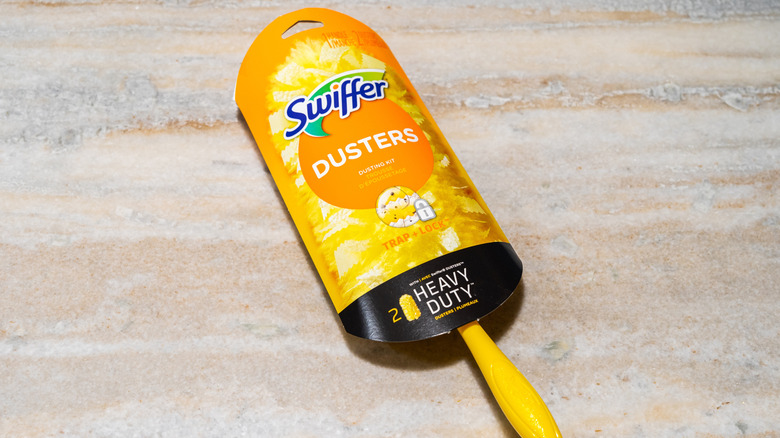
There are various unexpected things that you can clean with a Swiffer duster, but according to Alex Varela, cleaning expert with Oakville Maids, they're especially effective on baseboards. In an exclusive House Digest interview, he says, "We use these frequently as our go-to dusters," adding that they're handy for quick cleans and maintenance.
To those who've used a Swiffer before, this will come as no surprise. These nifty little tools feature thousands of dirt-grabbing fibers, which help ensure that dust is actually lifted from your baseboards, instead of merely spread around. Of course, being dusters, they're not the best option for wet-cleaning. As we mentioned earlier, you're better off using a microfiber cloth to clean layers of grime from your baseboards. But if you're planning to clean your boards more regularly, you'll find that a Swiffer or a similar duster can make it quick and easy to stick to your new routine. Pairing the duster head with the Swiffer Extendable Handle also means you don't have to bend down to remove dust from your baseboards — making fast touchup cleans more achievable.
Don't: Forget to check the caulking before cleaning baseboards
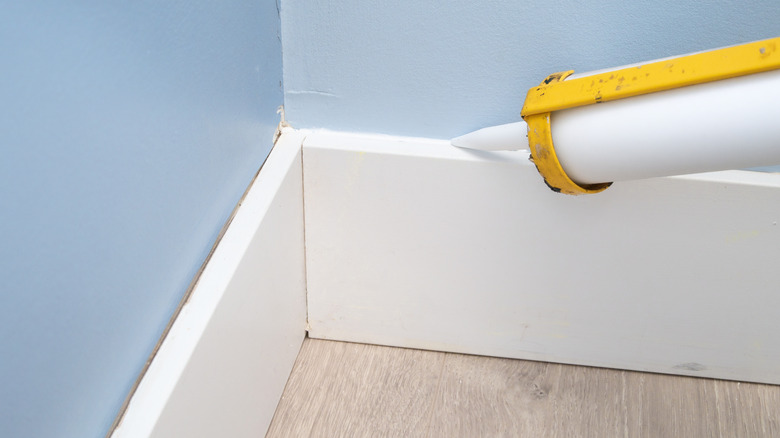
With a routine now in place to clean your baseboards once a month, you should also make a habit of checking them to ensure they're structurally sound. Baseboards typically feature a bead of caulk along the top edge, as well as along any vertical joints and corners. It creates a seamless finish that helps to hide the natural gaps between the woodwork and the wall, while protecting them from dirt and moisture ingress. But as with caulk in any part of the house, it rarely lasts forever.
In an exclusive conversation with House Digest, Alexis Rochester, investigative chemist and owner of Chemistry Cachet, explains that "if you have a missing or cracked caulk, it can get worse when you clean it." Not only that, but if you clean around damaged caulk, any excess moisture could easily run into the gaps. If that happens, you could run into issues like mold and water damage. To avoid this, Rochester advises keeping tabs on baseboard caulking and repairing it promptly.
Do: Test out the viral dryer sheet hack
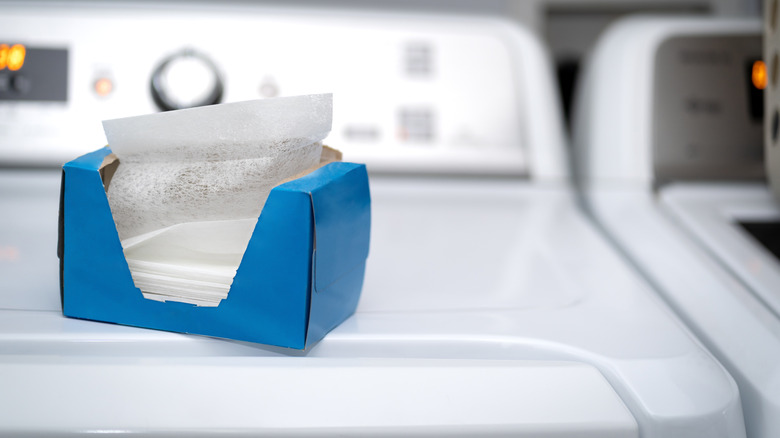
If your Swiffer's struggling to deal with layers of grime or grease, but you'd prefer to avoid using water, Alex Varela suggests cleaning your baseboards with dryer sheets. "They're nice and soft on the surface," she explains, meaning you're unlikely to damage the paintwork. She also says that the chemicals contained in dryer sheets are as effective on baseboards as they are on clothes.
As well as making your clothes smell great, dryer sheets contain anti-static compounds called cationic surfactants. These help to neutralize the electric charge that builds up on fabrics as they tumble around in the dryer. But they also make the sheets an excellent choice for cleaning. The anti-static coating works to pick up dust, pet hair, and light layers of grime. And when you wipe them over your baseboards, the sheets leave behind a waxy film that is said to repel dust from settling on your woodwork. It may not be the best solution for heavier build-ups of dirt, but if your baseboards are in reasonably good condition, and you have a few dryer sheets going spare, then it's certainly worth giving it a go.
Don't: Start with your baseboards
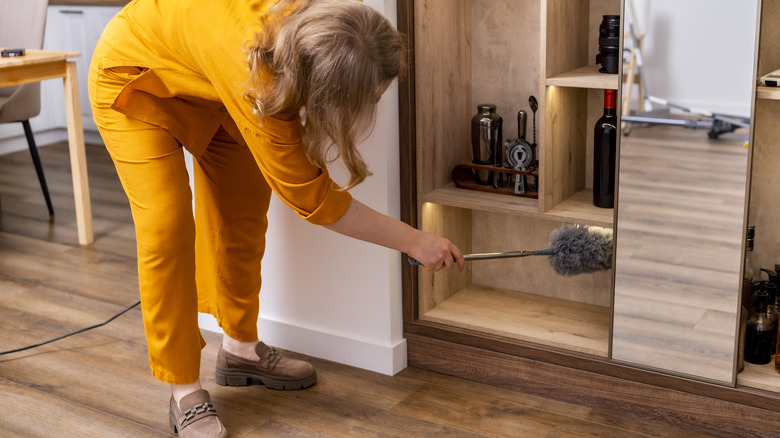
Our experts' final piece of advice is to clean your baseboards last. "Sometimes people start with the floors and/or baseboards and then they start cleaning areas like countertops or shelves," says Alex Varela. The problem with this is that you'll only end up making the baseboards dirty again. Dusting off shelves can send thousands of particles into the air, all of which have to eventually settle elsewhere. Similarly with kitchen counters, the laws of gravity dictate that crumbs have but one direction to spill in.
With that in mind, says Varela, "Always leave baseboards and floors for last in your cleaning checklist." If you can, work your way down methodically by cleaning the uppermost shelves first, followed by the next highest surface, and so on. Give any dust a chance to settle before moving onto the next level, and only start dusting your baseboards once the rest of the room has been cleaned. Think of them as the final (sparkling) touch to your cleaning session.