

Easily Sharpen Your Garden Shears With A Tool You Already Own
We may receive a commission on purchases made from links.
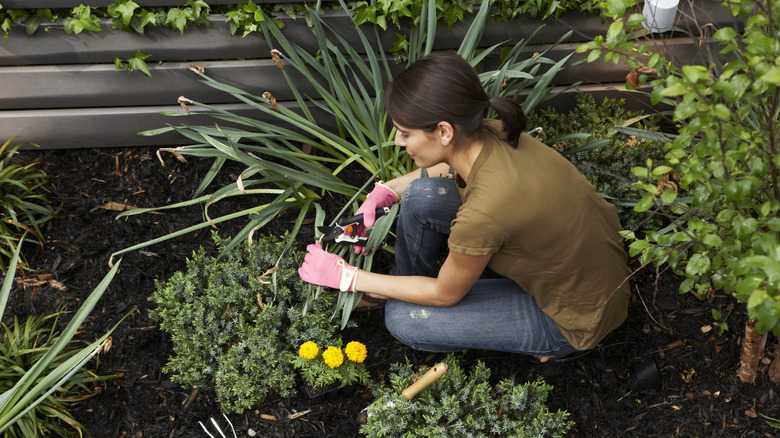
Shears are one of the most important gardening tools out there. They help you prune, shape, deadhead, harvest, and break down plants. The thing that really makes them unique, though, is that you don't use them all year. After a flurry of activity cutting back and cleaning up your garden in the fall, they get unceremoniously tossed into the garden shed — dull, dirty, and vulnerable to rust. By the time you bring them out a few months later, you're prepared to clean and disinfect these gardening tools before you can use them again. However, that's not the only important maintenance task you need to do regularly.
Sharpening your garden shears is equally important. Thankfully, this chore can be made quick and easy with the help of a common tool: a Dremel, sometimes also called a multitool. With its rapidly spinning, abrasive head, this seemingly simple appliance is a major help in just all sorts of DIY or maintenance projects. In a pinch, you can use a Dremel as an electric metal sharpener, helping to simultaneously hone and polish shears that have seen better days.
Restoring cutting power to your garden shears means it will take less force for you to chop through stubborn branches. Plus, it can help keep your plants healthy. Clean snips leave your plant less prone to disease and speed up the healing process. Because of this, commit to sharpening your shears with a Dremel at least once a year. It takes a matter of minutes with the right tool, as long as you follow all the safety protocols and employ the correct method. You don't want to abrade your fingers alongside your shears!
Setting up your work station for sharpening
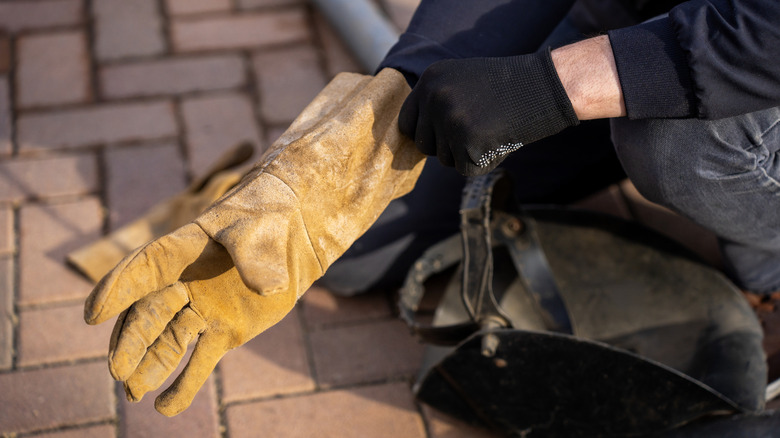
Now that you know your shears rank high among the gardening tools that you should be sharpening regularly, knowing how to do it properly is key. This is a task you should approach with more caution than you may have first thought. You're working with a rapidly spinning abrasive tool and sharp metal blades, after all. Make sure you're equipped with hand protection (gloves), eye protection (goggles), hearing protection (ear muffs), and clothing that covers your arms, legs, and feet. Sparks will be flying, and you don't want them causing burns.
You'll also need a Dremel Rotary Tool 3-in-1 Multi-Vise Attachment, which stabilizes the tool while you handle the garden shears. Set it up on the edge of a table or your workbench, securing it in place with the clamp. Once everything is immovable, you can start preparing the shears for sharpening.
Start by disassembling and inspecting your shears. If they're rusted beyond the point of no return or otherwise heavily damaged, they may not be worth the effort it takes to sharpen them in the first place. It might be the right time to invest in a pair of Decerk Ultra-Sharp Steel Titanium Blade Pruning Shears. If they look restorable, unscrew the bolt attaching the two blades together and put it somewhere safe. Fit your multitool with a Dremel Aluminum Oxide Grinding Stone, if one isn't already attached, and turn it on to begin sharpening your shears.
How to safely use a Dremel to sharpen your garden shears
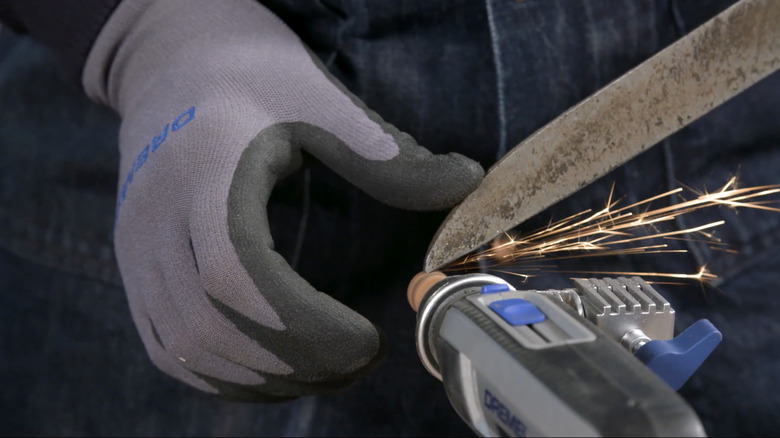
The secret to a truly sharp metal blade is to follow the factory angle. If you try to sharpen a blade at another angle, you could accidentally end up with something a bit shinier but still blunt. Once you find this angle, follow it, running the blade back and forth along the spinning head of the multitool in a smooth motion. Continue working until the blade appears sharp — stop and check the blade periodically throughout the process. Once you're satisfied with the job, repeat the same motion with the second garden shear blade.
Once you're done sharpening the blades, you may notice some rough patches. To smooth those out, swap out the tip on your Dremel for a ⅜-inch Dremel 80 Grit Flapwheel Sander and regrind the blades. A simple Sackorange 80 Grit Washable Sanding Block may also do the trick. Use whatever's easier to get or you already have on hand. After sanding the blades, reassemble your shears, adding some grease to the joins as needed. They should be clean and ready to tackle the toughest branches in your yard after this process.
The Dremel Multi-Vise is an add-on that makes this DIY maintenance job safer, but it's also a relatively pricey accessory. If a new tool isn't in your budget, it's also possible to complete this task without it — at least with smaller shears or bypass pruners. Instead of securing the Dremel in the Multi-Vise, position the open shears so that they overhang the edge of a tabletop, holding them firmly in place with one hand. Then hold the Dremel in your other hand. This is, of course, decidedly riskier. Wearing protective gear is non-negotiable with this alternative method.