

Skip Store-Bought Sheds: The DIY Alternative That'll Come Out Cheaper
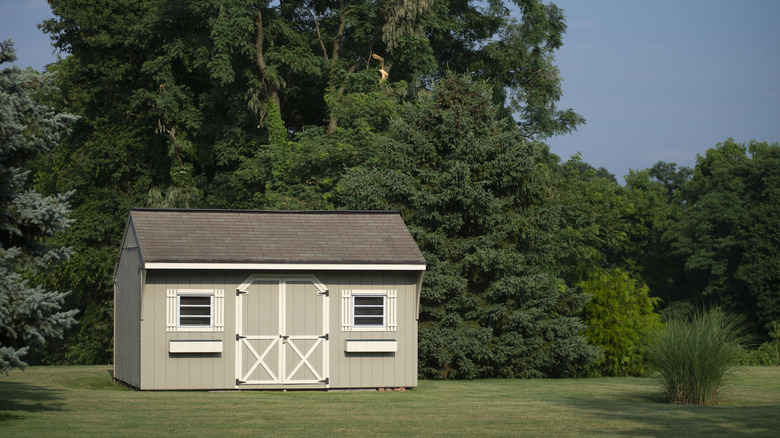
Store-bought sheds look nice, but they can be out of many people's price range, especially if you just need something to keep valuable tools away from harsh elements. While you may be able to find flimsy metal sheds for a few hundred dollars, quality sheds can range well into the thousands. Instead, consider DIYing your own shed. A lean-to shed may be a more affordable option than a store-bought shed. There are two ways you can build a lean-to shed. First, you can add it to an existing structure by installing posts and a roof. Alternatively, you can use a free DIY shed plan to build a lean-to shed on a foundation. However, foundations can make the job much more complicated. You can easily complete a lean-to extension on a budget that is much more affordable than buying a prefabricated shed from a store or installing a foundation.
The total cost of materials will ultimately depend on the size and style you choose, but YouTuber WashburnFabCo finished his 20-by-10-foot lean-to shed for under $1,500, excluding the foundation. A professionally installed concrete slab typically costs between $6 and $10 per square foot, totaling about $1,200 to $2,000 for a 20-by-10-foot shed. That brings the total cost of a more expensive DIY lean-to option to up to around $3,500. If you choose to build the shed as an extension with no foundation, you could be looking at costs of $1,000 or even lower, depending on the size. Store-bought options typically cost at least $3,000 for the same size shed. Factor in the cost of the foundation, and you're looking at a total of $5,000, minimum.
Building a lean-to shed as an extension of an existing structure
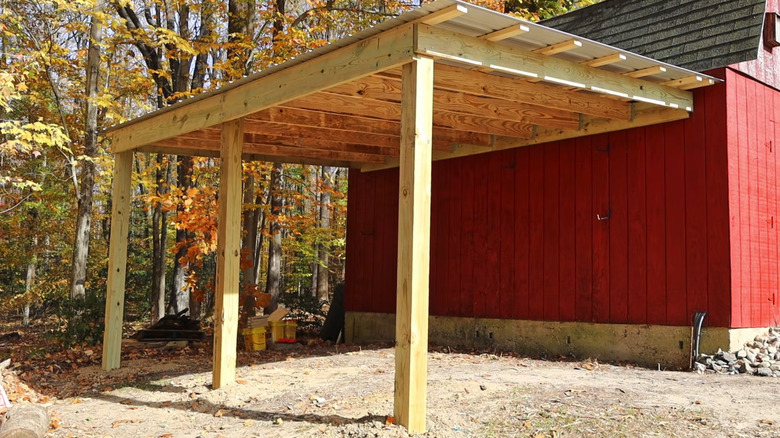
If all you need is a structure to protect your outdoor tools from the elements, you can save some cash by building a lean-to shed as an extension of an existing structure. This option is great for a DIY lawn mower shed to keep your yard tidy and organized. It also works great to house items like wood that need a roof more than they need a foundation. Instead of installing a concrete slab or building a wood foundation to use as the base for a frame, this method involves installing posts in the ground and on the side of the building to support a roof.
Start by using flags or posts and string to mark out the distance between the posts and the main structure. The strings allow you to ensure that the posts are installed square and level with the structure. Dig holes for the posts that are at least one-third the height of the posts and three times the width. Install roofing brackets to the flat side of 2-by-8s, and attach them to the structure where you want the roof to begin. Then, set the posts at a height lower than the 2-by-8s so that when you add the framing to the top of the posts, the rafters will rest evenly in the brackets and on the frame. Level off the posts, and set them using quick-dry cement. Install the rafters and the roof. From there, you can install plywood walls and a door and finish it off in any way you like.