

This Simple Task Is A No-Brainer If You Don't Want A Flooded Basement

For homeowners with a basement or crawl space, there are few sounds more terrifying than the steady drip of water during a midnight downpour. While major projects like kitchen renos get all the glory, there are several vital home maintenance tasks you should be doing more often than you realize — and inspecting your sump pump is at the top of the list. Failing to realize your home needs a sump pump, or worse, neglecting the one you have, is a high-stakes gamble that can turn a finished basement into a costly, mold-ridden indoor pool overnight.
If you don't want a flooded basement during the next big storm, take the simple steps to regularly check your sump pump. This maintenance task takes no more than a few minutes per season, but can potentially save you thousands in repairs. Regular inspection is the easiest way to make sure the pump actually kicks on when a heavy storm hits or when rapid snowmelt happens. Ideally, you should inspect your sump pump at least twice a year, once in early spring and once in early fall. You should bump your inspections up to a monthly or bi-monthly schedule if your unit removes water from a washing machine or if your home has flooded regularly.
A set-it-and-forget-it mentality works fine for something like insulation, but a sump pump is a mechanical device sitting in a wet, dirty hole. It is highly susceptible to debris, electrical glitches, and component wear. Staying on top of your inspections ahead of peak rainy seasons is the only way to guarantee true peace of mind and banish the mold in your basement for good.
How to inspect your sump pump
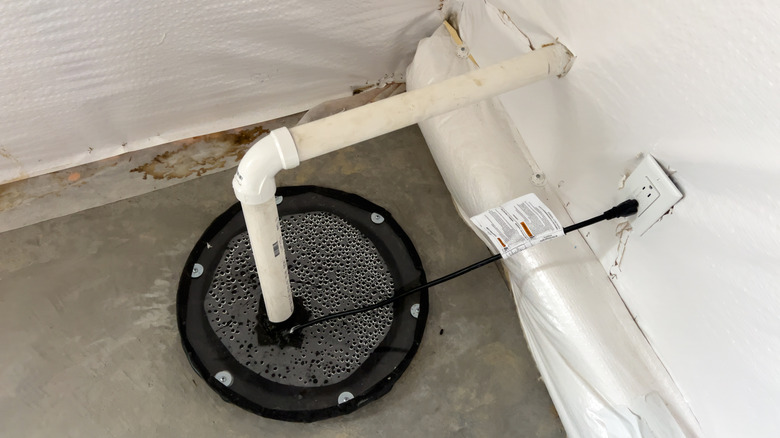
Luckily, checking this subterranean defender doesn't require a plumbing degree — just a little time, a quick eye, and a bucket of water. First, step outside to check that the discharge pipe's exit point isn't buried under mulch, blocked by lawn debris, or clogged by nesting rodents. If water cannot escape freely outside, the pump won't be able to push it out, causing your sump pit to quickly overflow and defeat the entire purpose of the system. The water should also flow away from the foundation.
Then check the power supply. Your sump pump must have its own dedicated Ground Fault Circuit Interrupter (GFCI) outlet rather than sharing a plug with other appliances. Check to ensure the cord isn't frayed and the breaker isn't tripped — it's always a good idea to run routine outlet tests for your home's safety to verify that these moisture-prone plugs are ready to protect against dangerous electrical faults. If you have a battery backup system, make sure that it's fully charged. Now, safely unplug the pump to inspect the pit. Sump pits naturally collect dirt, gravel, and slime over time. Take a peek inside with a flashlight and check for clogs or damaged components.
Lastly, plug the pump back in for the ultimate test. Slowly pour a 5-gallon bucket of water into the pit. Watch for the mechanical float switch to rise like a buoy and automatically start the pump. Listen for any rattling, grinding, or whining when the unit is turned on, since this can indicate a damaged or misaligned part. The water should drain quickly. When it's done, the float switch should fall back down and shut the motor off quietly. If your sump pump does not pass this test, professional repair or replacement is needed.