

Pricey Wood Stains Are A Waste — DIY A Cheaper One That You Can Easily Customize
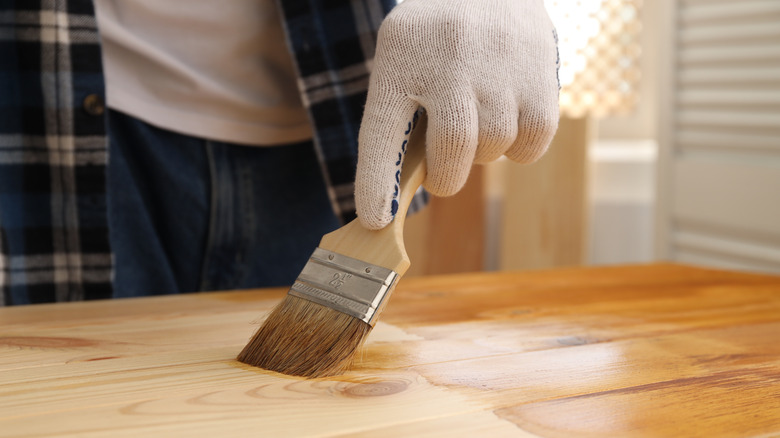
Did you fall in love with Unicorn Spit when it exploded onto the scene a few years ago? This vibrant gel wood stain comes in unconventional colors that you'd rarely find in other brands. Unicorn Spit is as costly as it is cool, but you can mix up a bold DIY wood stain with just two inexpensive ingredients. Food coloring and water is all you need, according to frugal YouTuber Nick from the channel Build Dad Build. You can still make all of your colorful maximalist furniture dreams come true. Applied with melamine sponges or a paintbrush and topped with a protective layer or two of lacquer, this solution and the tools ring up for a tiny fraction of what you'd pay for Unicorn Spit and even the cheaper knockoff stains.
The ratio of food coloring to water are mainly up to you. Nick eyeballed the mixture, testing it on the wood as he went. If you're staining a large piece, it's smart to pay attention to the amounts of food coloring versus water you experiment with; write down the ratios as you go, and this will help you recreate the exact tone when you mix up further batches.
After preparing the wood, Nick dabbed on the mixture with pieces of melamine sponge, but you can get satisfactory results by applying it with a brush or even a wad of paper towel. FYI, skipping the melamine sponge will save you some money. Plus, this common cleaning tool has proven to be a source of microplastic pollution. Along with your water and dye and applicator of choice, grab sandpaper and paint- or spray-on lacquer.
Stain wood with food coloring and water
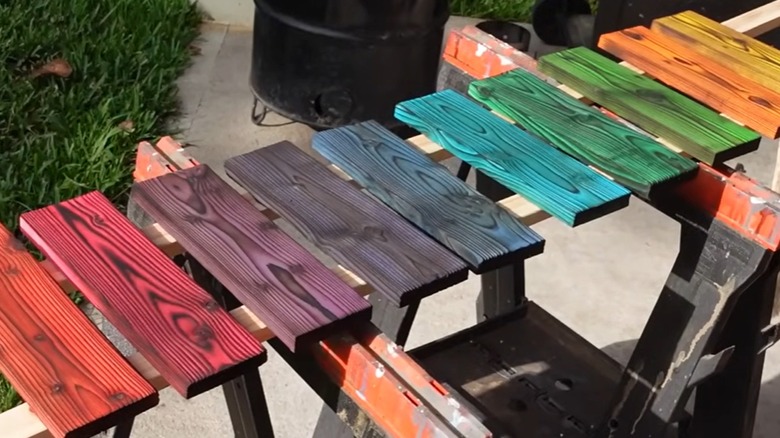
Prepare your wood by sanding it, or by stripping and then sanding it if it's already coated with paint or another finish. Nick first treated the wood using shou sugi ban, a Japanese charring technique also known as the Yakisugi wood technique, before sanding it. Brush away the dust with a microfiber cloth before continuing.
Now on to the dyeing detail. Although the color solution is non-toxic, it's smart to wear gloves and old clothes while protecting your work surface before you begin. Mix together the water and dye, noting how much of each ingredient you've used, and brush it onto the wood. As long as you keep track of how many drops of dye you use, you can still adjust the color at this point. Unless one color is all that sparks your fancy, stir up a new tint for your next piece. Use a similar ratio of water to dye so that the color intensity will be similar. After resting overnight, what Nick had initially thought would be too dark developed into a slightly lighter tone that allowed the grain to show through. Protected with a topcoat, both the wood and the color should be well preserved.
If you're feeling experimental, you can swap out the water for white vinegar. Vinegar has traditionally been used to set dyes in fabrics. Although there isn't strong evidence that it has the same effect on wood, you may find it produces a slightly different hue. Also, the wood Nick used appears to be pine, but woods with other densities may take the color differently.