

For More Beautiful Wood Furniture, Paint It Norwegian-Style And Never Go Back
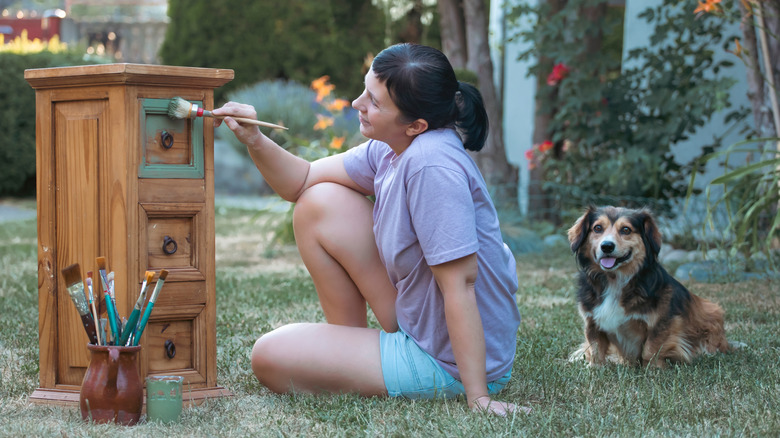
Wood furniture will never go out of style, but it's certainly seen plenty of changes throughout the years. Ornate, highly detailed antiques, sleek, mid-century modern pieces, and shabby chic, whitewashed builds have all had their time in the sun at one point or another, leaving you reeling as you shop around for future heirlooms that will remain stylish for decades and set your children up for success. If you're tired of settling for plain, risk-free wood pieces, consider upgrading them with some detailing that's timeless enough to stand the test of time. After all, it's been around for centuries.
Rosemaling is a type of painted Norwegian folk art that found its way onto furniture, functional items, and surfaces. Most popular in the 18th and 19th centuries, this decorative style was a natural extension of a long history of wood carving and weaving in the area. It most often features similar motifs to these art forms, with a particular emphasis on scrollwork and floral patterns. It's colorful, sprawling, and distinctive, but it's far from overwhelming — in most cases, the chosen palette remains earthy, and negative space is embraced as an artistic choice. The final look is ornamental but not dominating, especially if you only add these details to one or two pieces in each room.
While rosemaling is a fairly complex art form, DIYing your own pieces is certainly possible, especially if you're a fan of simpler designs. With some brushes, paints, and a piece of wood furniture that's in need of a zhuzh, you can create a piece that's sure to impress for decades to come.
How to add rosemailing to your wood furniture
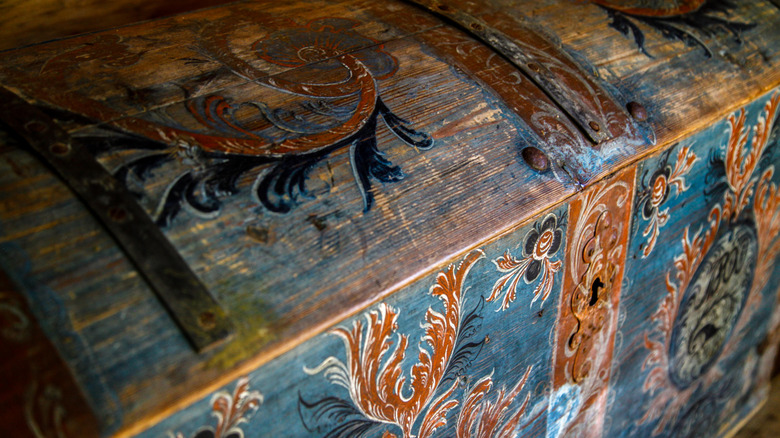
Before you get started on your artistic project, you'll need to gather the proper supplies. Acrylic and oil paints are go-to choices, but bear in mind that oil paints take quite a while to fully cure — anywhere from 6 months to over a year. If you're working with a furniture item that you want to be able to use soon, acrylic is likely a safer bet. You'll also need some paintbrushes; sizing will depend on the intricacy of your design, but a few medium brushes and some smaller liner brushes for detail work should be enough to get you started. A larger sponge brush might be needed if you plan to paint a background color, but you could also opt to apply straight on the wood for a more subtle look.
Now, it's time to prep your furniture before refurbishing it. This means sanding off any existing finish and giving it a good clean. Go in with your base color, if desired, and let it completely dry before you get to work on the details. Consider planning out your design with some chalk before committing — you can also opt to print out shapes on transfer paper for a more precise finish. The exact design you choose is, of course, up to you, but consider looking up some photos of traditional rosemaling to get more inspiration.
Once your design is complete, all that's left to do is finish off with some varnish to protect both the art and the wood. Make sure your paint is completely dry, then apply the varnish in smooth strokes across the entire piece. Once it's fully dried and cured, you can proudly display it in your space.